The Best Whole Wheat Bread
For my birthday this year I requested a wheat grinder, since I have accumulated quite a few cans of red wheat for food storage. I really wanted to start turning those wheat berries into whole wheat flour, which if eaten right away, is super healthy. I’m here to tell you…I have been blessed! I have a new wheat grinder!!
I love baking, I really do! Yet some recipes really try my patience when they don’t turn out the way they’re supposed to. This recipe for Whole Wheat Bread definitely was one of those recipes. I think a lot of my problems came from my new altitude here in the high desert of New Mexico. But I didn’t give up. I was determined to create fabulously tasting and healthy wheat bread from my freshly ground whole wheat flour!
Turns out there are a few secret ingredients to create the ultimately delicious wheat bread. One of them is a portion of white flour. (Yes I know it sounds like cheating, but it helps lighten the texture of the loaf.) Another is toasted wheat germ and a bit of rye flour, which give the bread a depth of flavors and heartiness. I have reworked and reworked this recipe to get it just right. Altitude can make a huge difference in your baking, especially with breads and cakes. The higher the elevation, the less air pressure. Less pressure means your breads will rise more quickly. My loaves would fall flat in the oven. They would rise beautifully, then just cave in like a balloon that lost all it’s air! Completely deflated!
After doing a little research, I now believe I was letting the dough rise too long, and the gluten eventually over came the gasses from the yeast and deflated the loaf. I shortened the rise time and the amount of yeast just a bit. Finally~ perfect loaves of deliciously hardy wheat bread! Perfect texture and the heartiness of American bread in a classic loaf. Mind you this recipe is tailored to 5600 feet above sea level :0)
Print
The Best Whole Wheat Bread
- Total Time: 2 hours 25 minutes
- Yield: 2 1x
Description
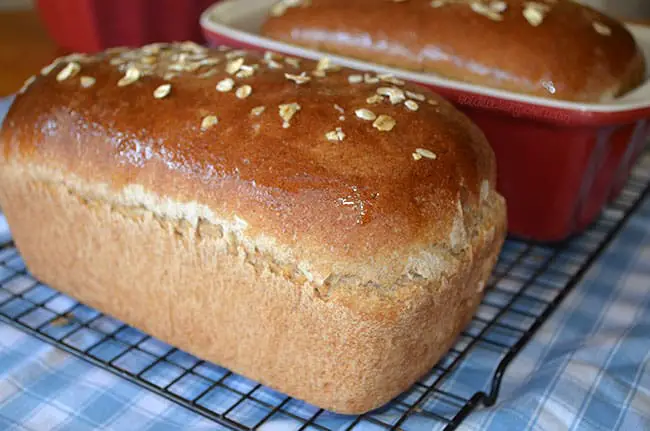
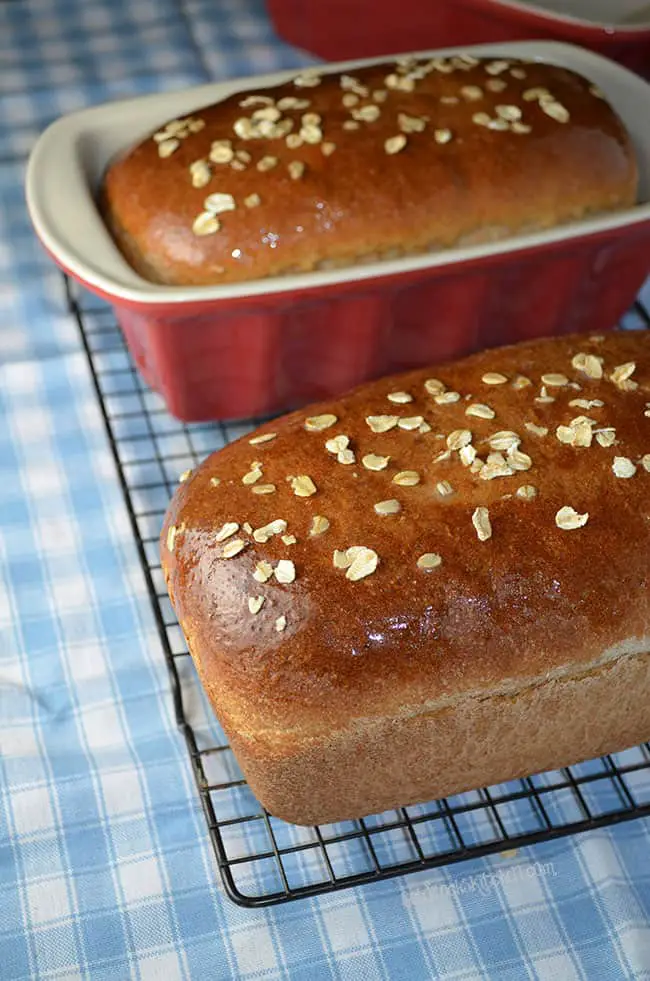
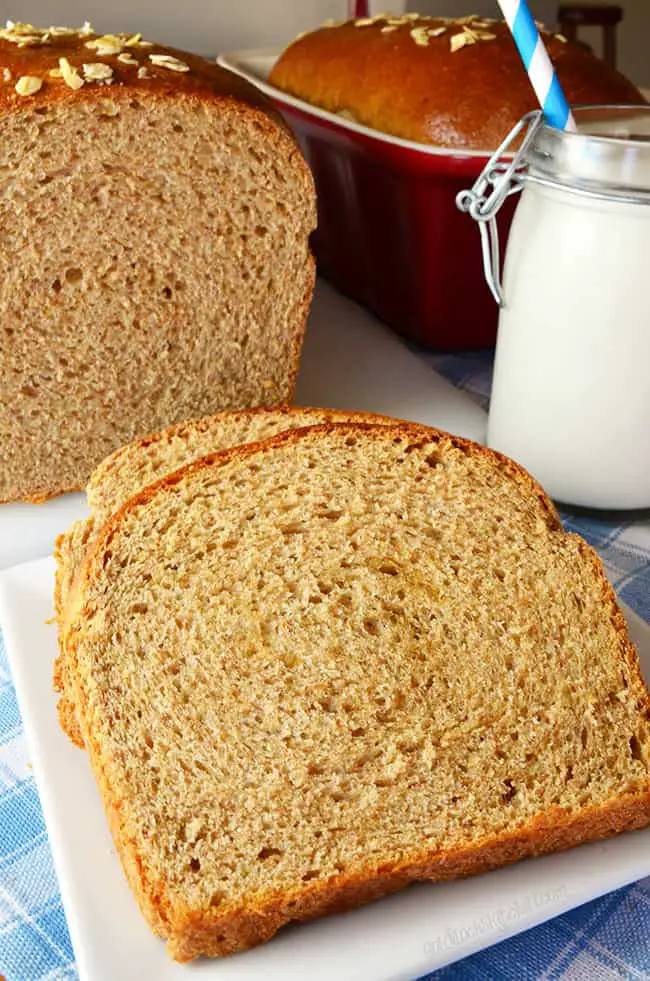
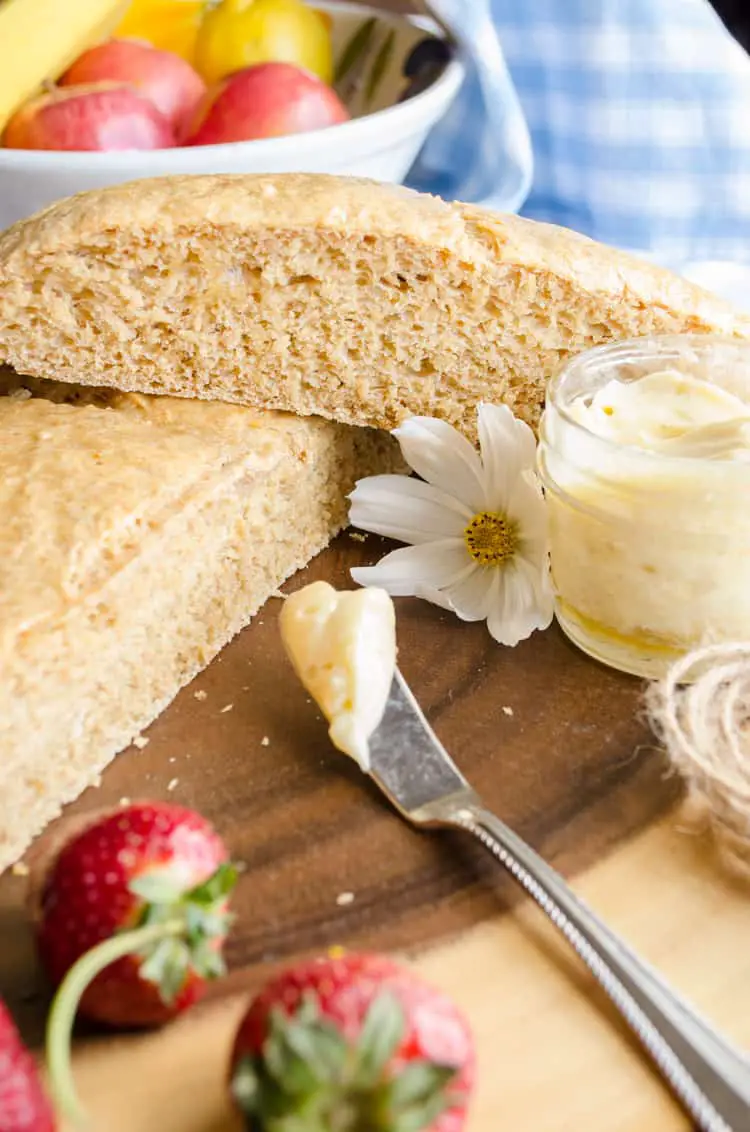
This recipe produces loaves of wheat bread that are light in texture, with a great ‘chew’ and great nutty flavor.
Ingredients
- 2 1/3 cup warm water about 125 degrees
- 1 1/4 tablespoons instant yeast
- 1/4 cup honey
- 4 tablespoons unsalted butter, melted
- 2 1/2 teaspoons salt
- 1/4 cup rye flour
- 1/2 cup toasted wheat germ
- 2 tablespoons dough enhancer
- 3 cups whole wheat flour
- 2 1/2 cups white flour, plus more for dusting
Instructions
- In the bowl of a stand mixer, combine the water, yeast, honey, butter, dough enhancer and salt with a rubber spatula.
- Mix into your liquids 1 cup each of the whole-wheat and white flour.
- Add the rest of both flours, attach the dough hook and knead at low speed until the dough is smooth and elastic, about 8 minutes. Transfer the dough to a lightly floured surface and knead by hand for a few seconds to create a smooth and soft ball of dough.
- Place the dough into a large bowl lightly sprayed with nonstick spray. Turn the dough so it is coated all around with oil. Cover tightly with plastic wrap and place in a warm oven. (I turn my oven on warm setting when I start compiling the ingredients, then turn it off and place the dough in the oven to rise.) Let dough rise for about 50 minutes, or until doubled in size.
- Empty dough onto clean surface. Divide in half. With a rolling pin, roll each piece of dough (one at a time) into a rectangle approximately 8 or 9 inches by 15 to 18 inches. Roll the dough short side to the other short side and crimp the edges and ends together. Place dough seam side down into a greased (or sprayed) loaf pan and gently press it to touch all four sides.
- Cover loaves lightly with sprayed plastic wrap and let rise in a draft free place for about 20-30 minutes. In the mean time, set your oven to heat to 375 degrees.
- Slowly remove the plastic wrap and place loaves into oven. Bake for about 40 minutes, or until the loafs reach an internal temp of 200 degrees. Dump them out immediately onto a wire rack to cool.
- Prep Time: 1 hour 45 minutes
- Cook Time: 40 minutes
- Category: Bread
- Cuisine: American



Those look beautiful!!!! Yummmmm!!!
Yum! I love the smell of bread baking. Any tips for adjusting the recipe for a different altitude? I'm at about 4,700 ft. So happy to have you back 🙂
Sure! I would use a pinch more yeast (literally like a pinch :0) and lengthen the second rise by just a few minutes. The lower you go in altitude the more pressure pushes on your expanding dough. But really it just takes subtle changes in a bread recipe for altitude adjustment. You may have to play around with it for a bit but you'll get it! And it really is great bread. Thanks for the question Kristen~ hope you and your family are well!