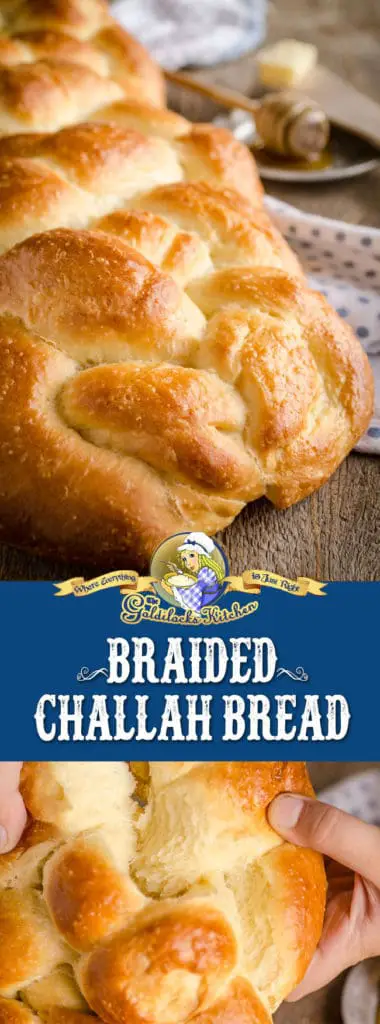
Braided Challah Bread
Impress your friends and family by baking this (surprisingly easy) Braided Challah Bread
Spring is in the air (yay!) and so is the pollen (booooo!) here in the desert southwest – so I choose to stay safely inside and celebrate spring by baking beautiful Braided Challah Bread, instead of sneezing my head off outdoors. This is a loaf I’ve been wanting to try for a long time! It’s made from a very simple egg dough, but surprisingly there are a lot of variations on this recipe. I’ll be adding one more variation to the internet today, but I think it’s one any home baker will find surprisingly easy and relatively fast from start to finish!
I ALWAYS use Rapid Rise yeast when I bake bread. Why? Because I don’t have a million hours to wait around for bread to rise. Who has that kind of time anymore??? A real travesty is that most home baker’s (and food bloggers too!) don’t know how to properly use this wonderful baking tool; they treat it like regular yeast. So sad!! Rapid Rise yeast is specially treated to thrive in hot liquids, so it’s essential that you use a food thermometer so you know when your liquids have been heated to the optimal temperature.
Rapid Rise yeast is simply added strait into your flour. No proofing needed. Also, no first rise needed; instead a quick 10 minute rest in a covered bowl replaces the entire first rise of your bread. There’s an hour of your time right there that you can do lots of other productive things. Sheesh! Rapid rise yeast will have your dough doubled in size within about 20-30 minutes, then it’s ready to bake!
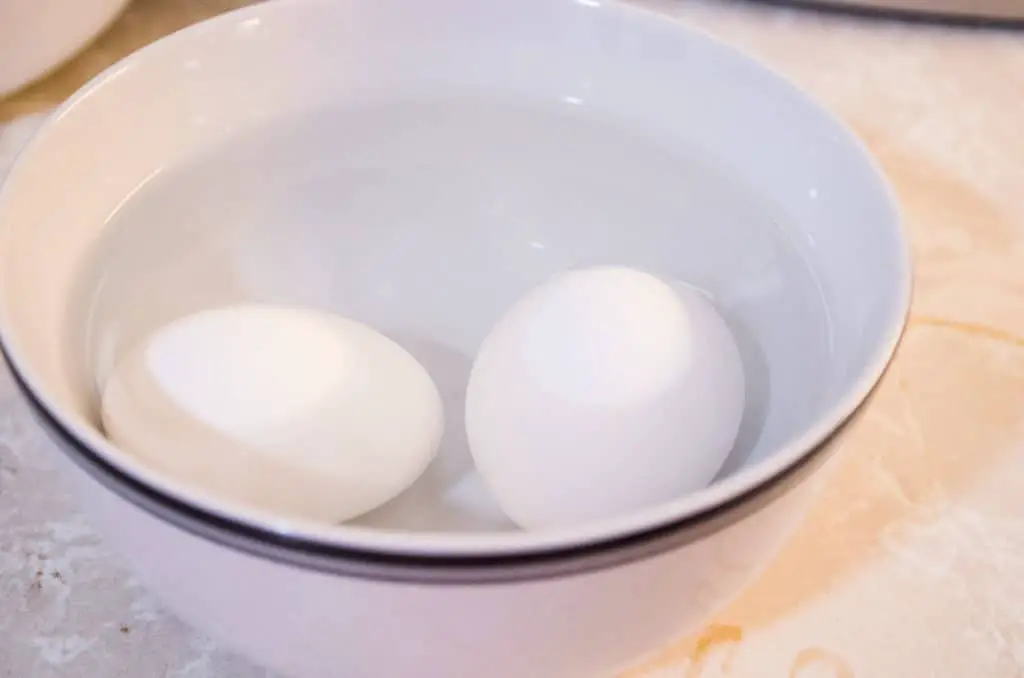
This recipe requires room temperature eggs. But you just pulled your eggs out of the fridge and they’re pretty cold, so what to do? Simply place them in a bowl of hot water for about 10 minutes while you assemble the rest of your ingredients. Changing the water out half way through for more hot water will warm them even faster.
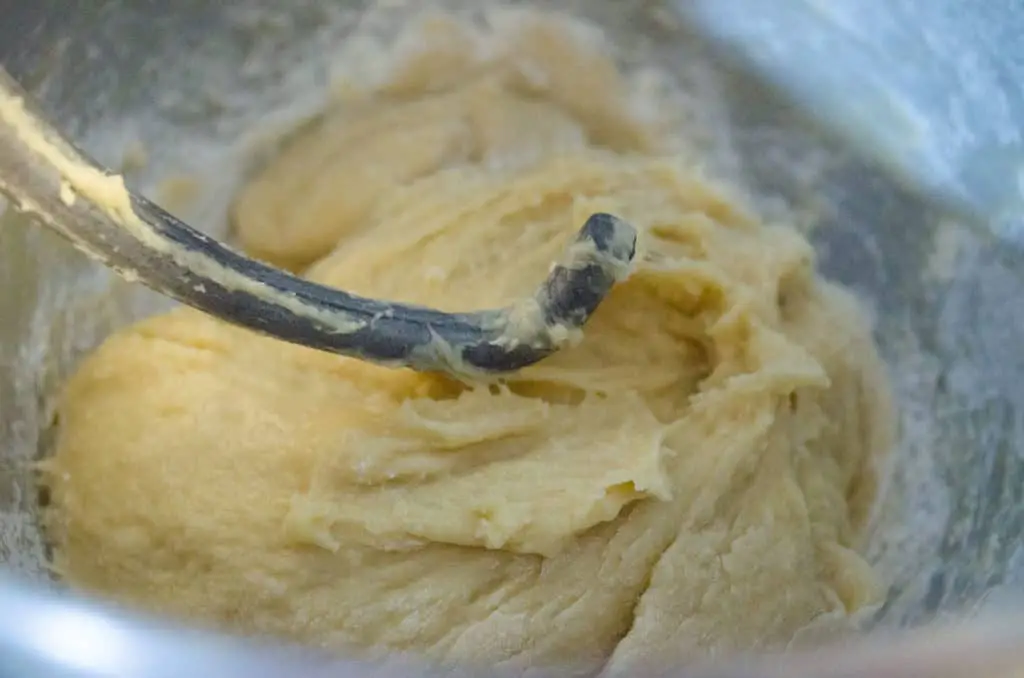
Braided Challah Bread dough has a lot of egg in it (which makes it deliciously moist and rich), it is also a very sticky/loose dough. After kneading it for 5 minutes, I knead in a few more spoonfuls of flour to release it from sticking to the sides of the bowl and make it a little easier to handle.
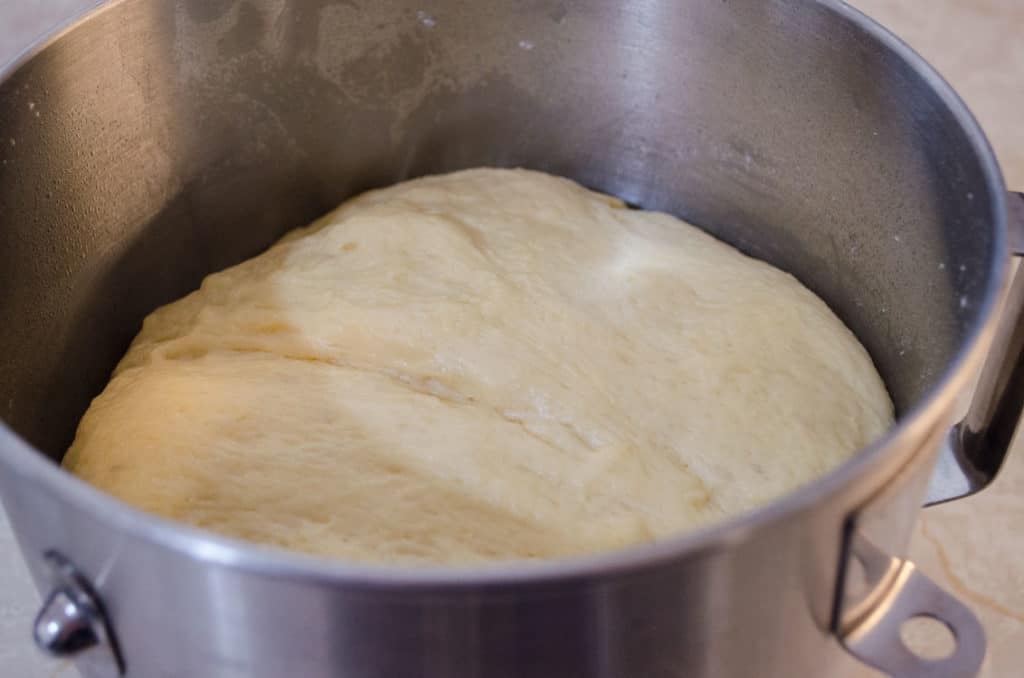
Once you’ve let it rest for 10 minutes, spray the sides of the bowl and the top of the dough with non-stick cooking spray. Tipping the bowl on its side, pull the dough away from the bottom and spray the bottom of the bowl and the dough with spray also. Roll the dough around to ensure it is completely covered. Cover the bowl with plastic wrap and place in a very warm oven to rise. Traditionally, challah bread has three(!) raises before finally being baked. We only need two with my streamlined recipe, and both go quickly thanks to rapid rise yeast!
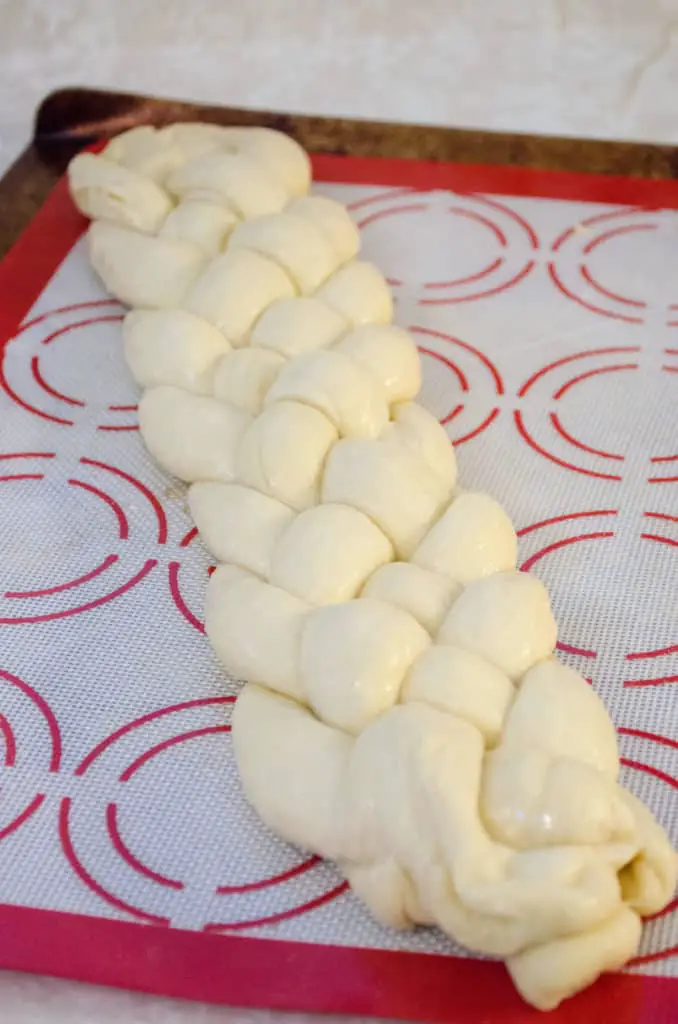
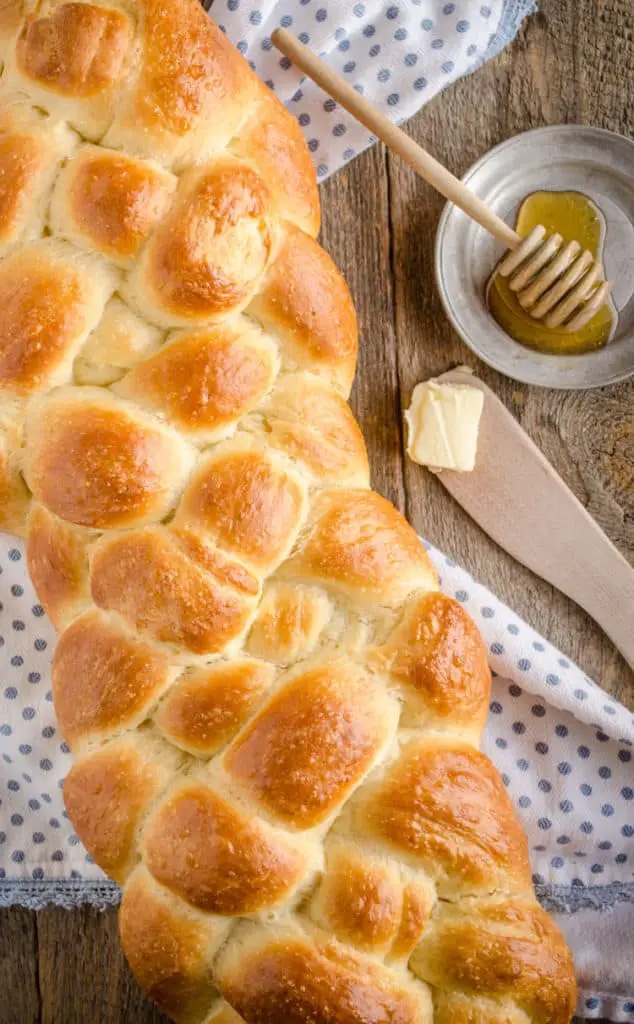
After the first rise, empty the dough out onto a clean work surface. Divide into 5 equal dough balls. If you can do a three-strand braid, a five-strand braid is no problemo! At all! Seriously. I have included instructions in the recipe for creating the five-strand braid for this loaf (seriously it is soooo easy, ya gotta trust me on this). AFTER braiding, brush with an egg wash/water mixture to get that ‘challah’ golden brown color on top.
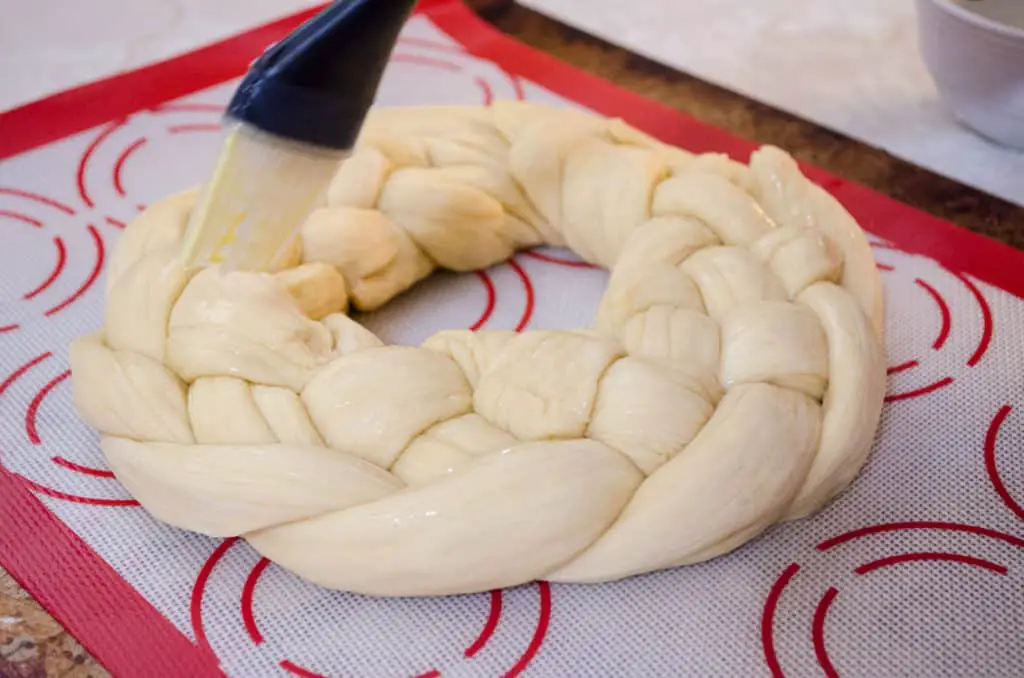
Feeling adventurous?? Smoosh the ends of your braided loaf together to form a wreath- so pretty! Tie a ribbon around the section with the ends to discreetly cover, and give the baked loaf as a gift! (Totally optional btw.) I completely BURNT this lovely wreath or I would have included pictures of it when it was finished. I was trying to multitask a bit too much that day….
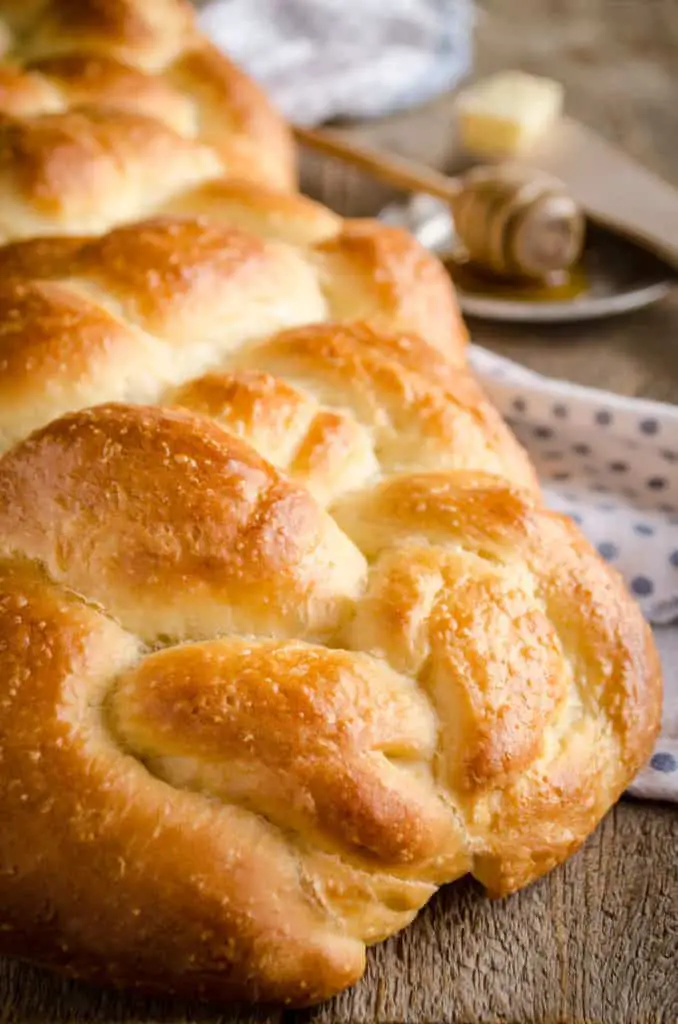
Oh! Look at that amazing color! That crunchy crust hiding the rich and fluffy bread below- this is baking at it’s finest folks. Braided Challah Bread is a recipe all home bakers should master.
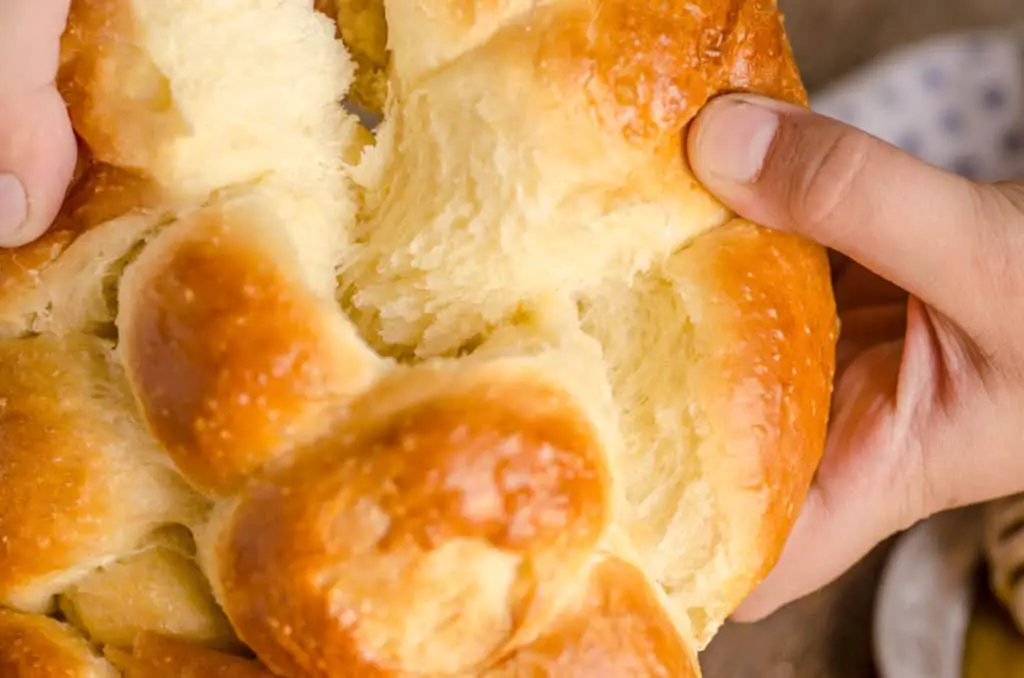
This amazing Braided Challah bread will become a true favorite, and makes a lovely addition to any special meal. Enjoy, and as always I love to hear your feedback and please rate the recipe :0)
Print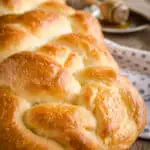
Braided Challah Bread
- Total Time: 1 hours 35 minutes
- Yield: 1 loaf 1x
Description
Braided Challah Bread is a rich and fluffy bread that is both delicious and beautiful. This streamlined recipe will get your fresh Challah loaf on the table in 1 and 1/2 hours from start to finish. Both ‘stand mixer’ and ‘by hand’ directions included!
Ingredients
- 2 large eggs at room temperature + 1 additional egg, yolk and white separated
- 4 tablespoons unsalted butter
- 1/2 cup water plus 1 tablespoon water (for glaze)
- 3 and 1/4 cups all purpose flour
- 1 envelope rapid-rise yeast
- 1/4 cup sugar
- 1 and 1/4 teaspoon salt
Instructions
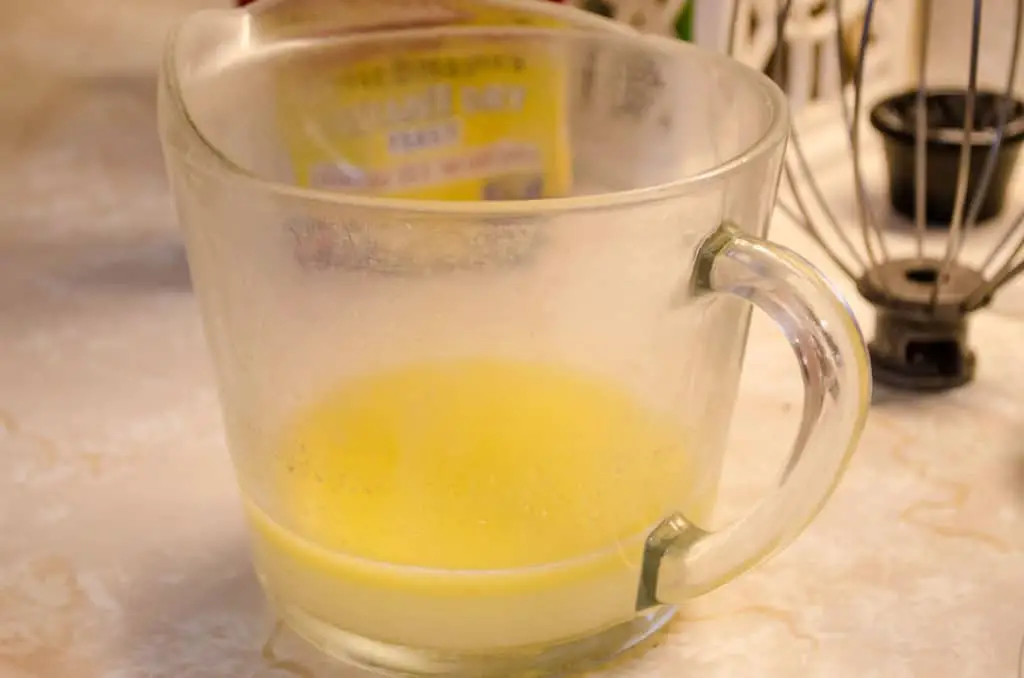
- Set your oven to heat to it’s lowest setting or ‘warm’. Add two whole eggs and one egg yolk to the bowl of a stand mixer (save the egg white for later). Place butter and water in a microwave safe container (I use a glass measuring cup) and microwave until butter is melted and the butter/water mixture reaches 125-130 degrees F. Add mixture into stand mixer bowl with the eggs and whisk all ingredients together.
- In a mixing bowl whisk together 3 cups of flour, yeast, sugar and salt. Attach the dough hook to the stand mixer. Turn on the lowest speed and slowly add the flour mixture into the liquid mixture, stopping to scrape down the sides and the dough hook with a spoon as needed. The mixture should knead into a wet/sticky dough in about 4-5 minutes. Add in flour, one spoonful at a time while the machine continues to mix, until the dough clears the bowl and doesn’t stick to a clean dry finger pressed against the surface.
- Remove the dough hook, cover the bowl with plastic wrap and let it rest for 10 minutes. Turn your oven off. Remove the plastic wrap from the bowl. Spray the bowl and top of dough with cooking spray. Gently pull up the dough from the bottom of the bowl and spray the bottom and underside of dough with cooking spray as well, ensuring all the surfaces of the bowl and dough ball are covered. Replace the plastic wrap and place in the warm oven to rise for about 30-40 minutes.
- Remove the dough from the oven when it has doubled in size. Dump out onto a clean surface. Divide into 5 equal dough balls. Roll Each one into long thin strips about 14-16 inches long. Pinch the ends of the top of each one together. Braid the dough into a five strand braid (see note), pinching the ends together same as the top. Place on a non-stick baking sheet, or a lightly greased cookie sheet. Whisk together the remaining egg white and 1 tablespoon of water and brush over loaf. Cover loosely with plastic wrap sprayed with nonstick cooking spray. Place in the warm oven to rise again, about 20 minutes.
- Remove from the oven and set the oven to heat to 375. Remove plastic wrap and brush again with remaining egg/water glaze. Bake for 30-40 minutes, or until golden brown on top. Remove and let cool. Serve.
Notes
To make by hand:
Combine wet and dry ingredients in separate mixing bowls. Mix together with a wooden spoon until dough is smooth and no longer sticky. Cover with plastic wrap and proceed with recipe as written.
To braid five strands:
If you can braid with three strands, braiding in five strands is actually pretty easy. You still braid in three’s, just alternating right and left ‘sides’. Starting with the right three strands, braid just as you would a three strand braid, placing the outside right strand in the middle of the three, then the left hand strand (which is in the middle of all five strands) into the middle of ‘the three’. Repeat on the left hand side with the left three strands of dough. Go back to the right side and braid again. Continue this pattern, alternating right and left, weaving a tight braid of dough all the way down.
- Prep Time: 1 hours
- Cook Time: 35 minutes
- Category: Side
- Cuisine: Jewish
Nutrition
- Serving Size: 1/10
- Calories: 215
- Sugar: 5.2 g
- Sodium: 335 mg
- Fat: 5.1 g
- Saturated Fat: 3 g
- Carbohydrates: 36.4 g
- Fiber: 1.3 g
- Protein: 5.7 g
- Cholesterol: 12 mg
Too long to read – so if you didn’t note that traditional challah bread is NOT Made with butter, you should have. It has to do with dietary laws. If it has butter it’s brioche bread
Hi Sarah,
Thank you for your informative comment, I didn’t know about the butter. I’ll definitely have to revise this recipe.