Ultimate Butter Cookies
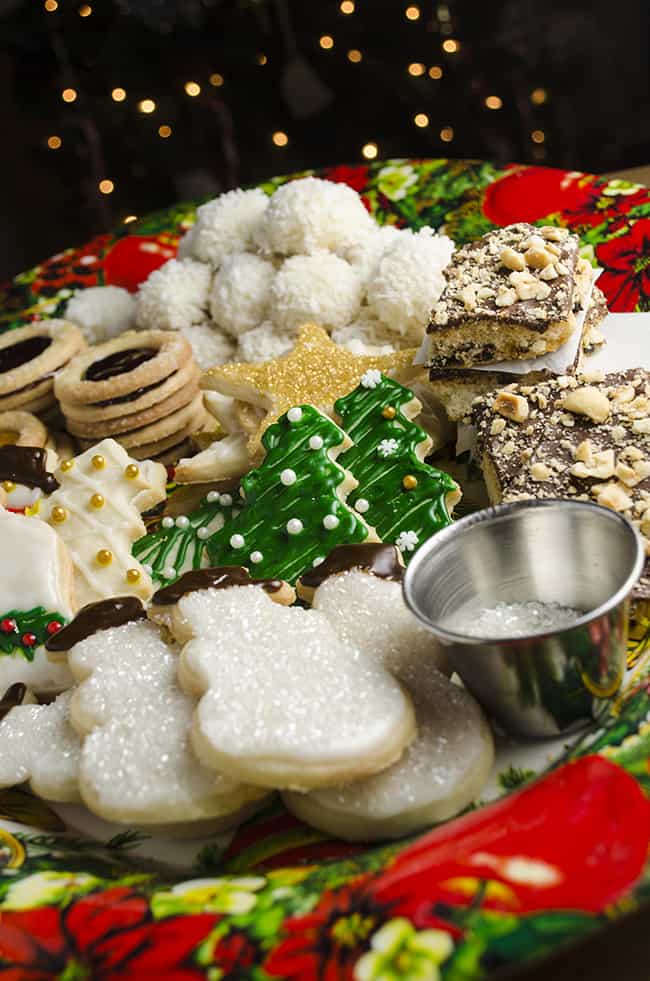
One recipe; endless possibilities….all the cookies pictured above made with the same butter cookie dough.
Links to all the Butter Cookie recipe variations can be found below the recipe.
Once again the chefs at Cooks Illustrated have created the perfect no-fail recipe. I researched quite a few butter/sugar cookie recipes for my 2015 holiday season cookie bonanza and their recipe for butter cookies in Baking Illustrated was the best. I have to say, time and time again I find excellent recipes from this franchise and I want to thank all the chefs there that put the time and effort into engineering these fool-proof type recipes!

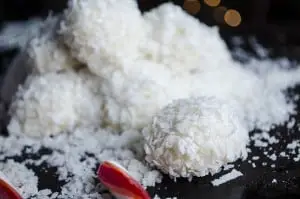
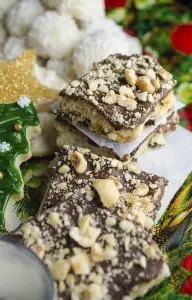
Because this recipe is so versatile (and frankly yummy); the same basic dough can be made into a lovely variety of cookies, from jam filled sandwiches to snowballs to chocolate bar cookies. I had some major self control issues in snipping too many bites of raw dough. But hey, there’s no raw egg in this recipe, so I partook with little guilt :0)

Processing regular granulated sugar in a food processor for about 30 seconds brings the sugar crystals down to just the right size to create a perfect texture and crumb for these cookies. Not to brittle or crumbly, but just right. The surprise ingredient for these butter cookies adds a great dimension of flavor, cream cheese. And rolling the dough out between two large pieces of parchment paper makes cutting shapes and placing them on a baking sheet effortless! Simply cut your shapes, remove the excess dough, and pull the parchment paper (with cookies on top) onto your cookie sheet and bake it. Maybe y’all knew this trick, but this problem has perplexed me since childhood! I would roll out the dough on a counter top, have a grand ol’ time cookie cutting, and then try to get a spatula under the raw dough so I could transfer them to a cookie sheet. They would turn into deformed little mutants! I’m a bit embarrassed admitting this out loud, but I tell you there seriously was a light bulb going off in my brain when I learned this simple way to get my beautiful cookie cut-outs into the oven in a pristine condition!

This dough should stay fairly cold as you work with it. It needs to chill in the fridge for at least 20 minutes before it’s ready for cookie cutters. Part of what makes them bake up so nicely are tiny little ‘pockets’ of butter in the dough. When baked they help the cookie to puff ever so slightly and add flavor and help with texture also. If the dough is worked too much while it is too warm, those little pockets will go away and you’ll start to have cookies that will be puffing up very unevenly. It’s important to follow the directions to chill the dough after you roll it out. Work quickly with it once it’s removed from the fridge so it doesn’t have time to warm up before you pop it in the oven.
My next few blog posts will highlight some of the various Christmas treats you can create with this recipe, as shown in the photos below. I hope you find this butter cookie recipe as tasty as I did. Christmas cookie baking, delivering, (and ring and run) is a tradition that I have started in my own family, and I know it’s a favorite among many this time of year. And we mustn’t forget above all that “He is the reason for the season.”
Links to all the Butter Cookie variations can be found below the recipe.

Ultimate Butter Cookies
- Total Time: 55 minutes
- Yield: approx. 35 cookies
Description
If you don’t own a food processor, check your local grocery store for superfine sugar. (Not powdered sugar.) This sugar is very similar to what you create in this recipe. Dough can be refrigerated for 3 days or frozen for two weeks. Let it sit in the fridge to thaw out before using.
Ingredients
Dough
- 2 1/2 cups unbleached all-purpose flour
- 3/4 cup granulated sugar processed 30 seconds in a food processor
- 1/4 teaspoon salt
- 16 tablespoons (or two sticks) unsalted butter softened but still cool, cut into individual tablespoons
- 2 teaspoons vanilla extract
- 2 tablespoons cream cheese at room temperature
Glaze
- 1 tablespoon cream cheese at room temperature
- 3 tablespoons of whole milk
- 1 1/2 cups confectioners’ or powdered sugar
Instructions
- In the bowl of a stand mixer, add the flour, sugar and salt and mix at low speed for a few seconds. With the mixer running on low, add the butter one chunk at a time. The mixture should form a small crumbly texture. Add the vanilla and the cream cheese and mix on low until the dough begins to stick together in large clumps. (About 30 seconds.)
- With your hand press the dough together into a cohesive ball. Place on a clean surface and divide the dough in half. Form the dough into 2 round disks. Roll each one out between two large pieces of parchment paper. Place in the fridge (stacked if needed to save space) for at least 20 minutes.
- Move your oven rack to the middle position and set the temp to 375 degrees. Remove one layer of rolled dough from the fridge and remove the top piece parchment paper. Cut into desired shapes, removing the excess dough around the shapes. Slide the parchment paper with cookies on top onto a baking sheet.
- Bake until the cookies are a light golden brown on the edges, about 10 minutes, rotating the baking sheet halfway through. These cookies are best baked with only one cookies sheet in the oven at a time. Remove and cool cookies on a wire rack.
- Whisk the cream cheese and milk in a mixing bowl until combined and smooth. whisk in the confectioners’ sugar until smooth, adding the remaining milk as needed until the glaze is thin enough to spread easily. Add food coloring if desired. Drizzle or pipe lightly onto each cookie.
- Prep Time: 45 minutes
- Cook Time: 10 minutes
- Category: Dessert
- Cuisine: American
Butter Cookie Variations:



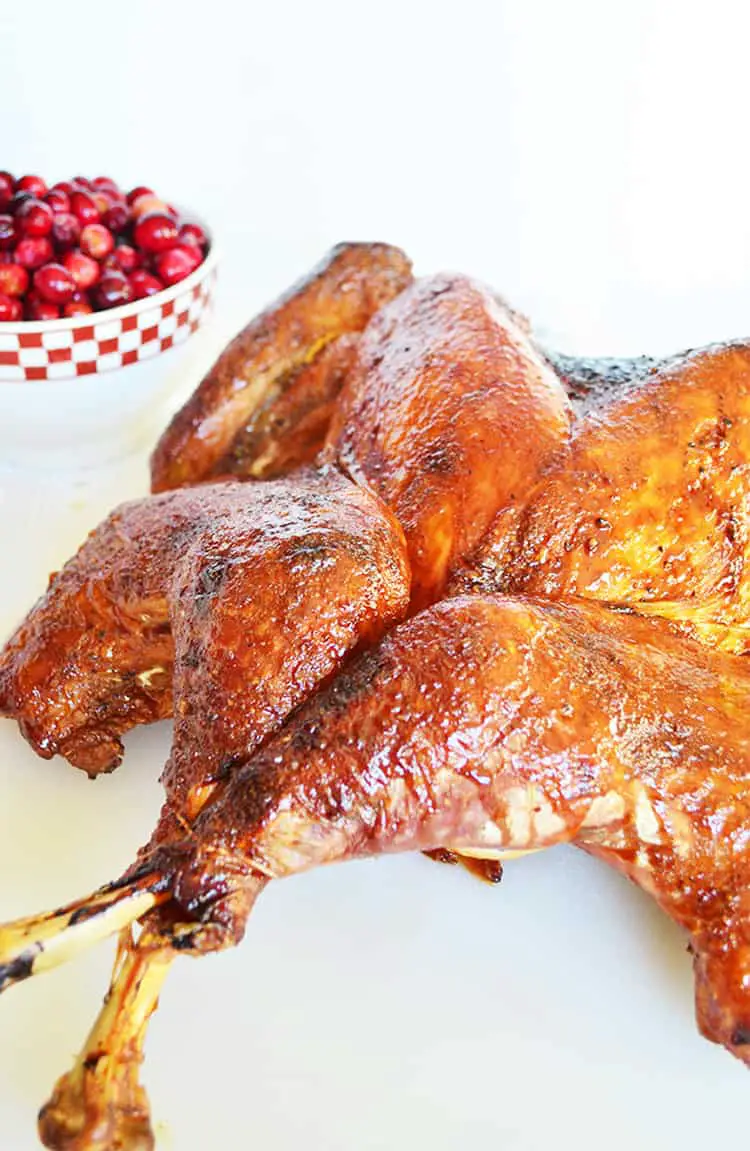

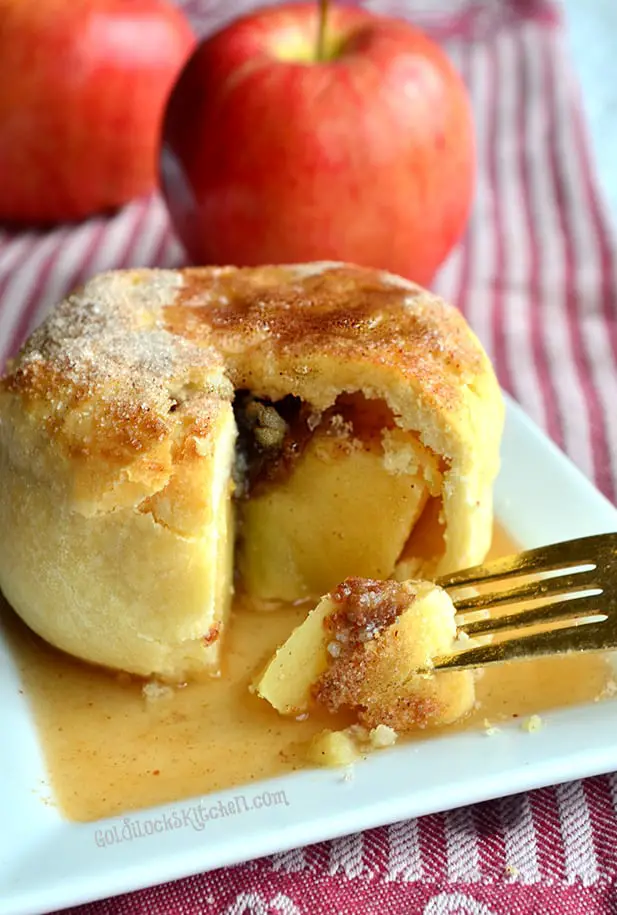
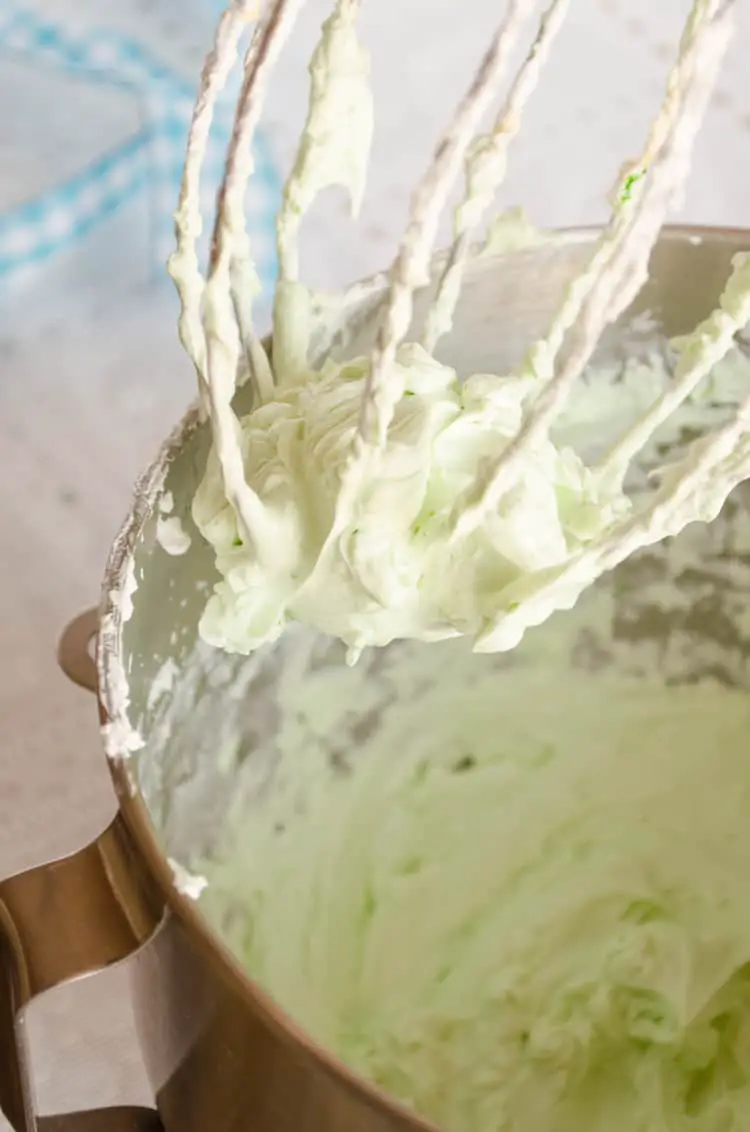

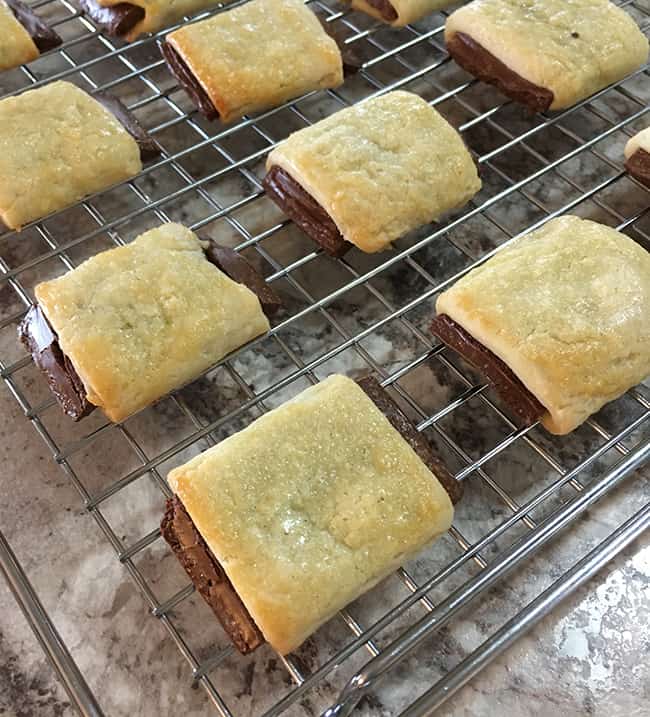
Can you tell me how much flour is two and a half cup of flour in grams is used in this recipes
Hi Barb,
I believe it would be 850 grams of flour. That’s according to Google. Try it and let me know how it turns out!
Hi I made this lastnight and I would like to give some pointers / some comments! 1. The cookie was amazing!!!!!! The taste it delicious.
So for people that don’t follow the whole recipe like me lol I’m gunna share some common mistakes that I made and how they really made a difference. So I underestimated how crumbly the dough really is. And me just being me and wanting to take the easy way out instead of rolling out the dough before chilling it, I just cut it in half and wrapped in plastic wrap and chilled it for like an hour and half while I was occupied. Now the recipe says to roll it out before chilling and now I know that part is important , although it worked with the plastic wrap and me rolling it on a flour surface after it chilled it was also way more difficult. The dough was so tough that it would break every time I tried rolling it. eventually it warmed up and worked fine but the thing is if I wasn’t in such a rush and if I would’ve rolled it out before chilling , it would’ve been so much eiaser and I could’ve just did the cookies cutters and boom it would’ve been done and probably not half as messy. But now I know for the future. Now for the glaze , it didn’t have a nice taste to it. I added vanilla and still nothing. So I added peppermint extract and it turned out amazing. And went on with coloring the glaze a bunch of different colors and decorated our cookies. Such a fun time and so thankful for this delicious recipe thank you!!! Next time I’ll be sure to follow it by the dot
Hi Gloria!
Thanks so much for the feedback; I loved reading through your experience 🙂 If you want to warm this dough after chilling it in the fridge, it can be cut into small pieces and left at room temp for about 40 mins. Then pick up a piece and work it in your hands for a few seconds, it will soften and return to it’s original fresh consistency and is much easier to roll out. I agree with you that the frosting needs some tweaking~ I made several batches of this recipe a couple days ago and realized the frosting could use some improvement. I like the idea of flavoring it with cream cheese, but I couldn’t taste it very well. Great to hear from you!