Witch Fingers Halloween Treats
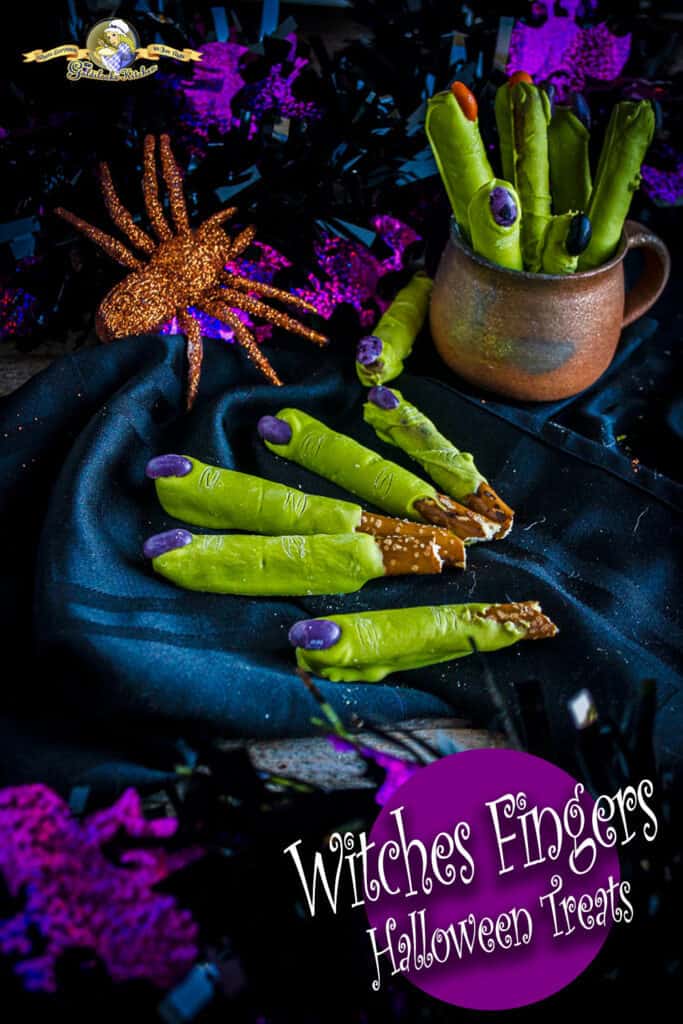
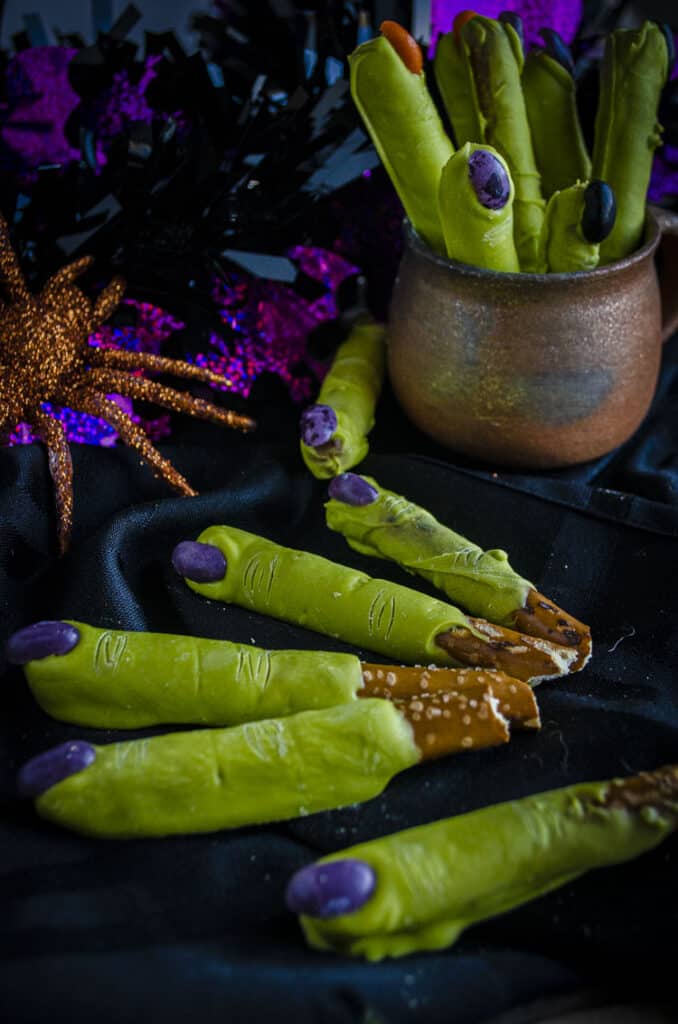
If you really want to ‘treat’ your friends and family for Halloween, trick them with these Witch Fingers Halloween Treats! So incredibly realistic and spooky-looking, people will certainly do a double-take when you start chomping on one of these genuinely delicious treats.
Witch Fingers Halloween Treats are simple to make
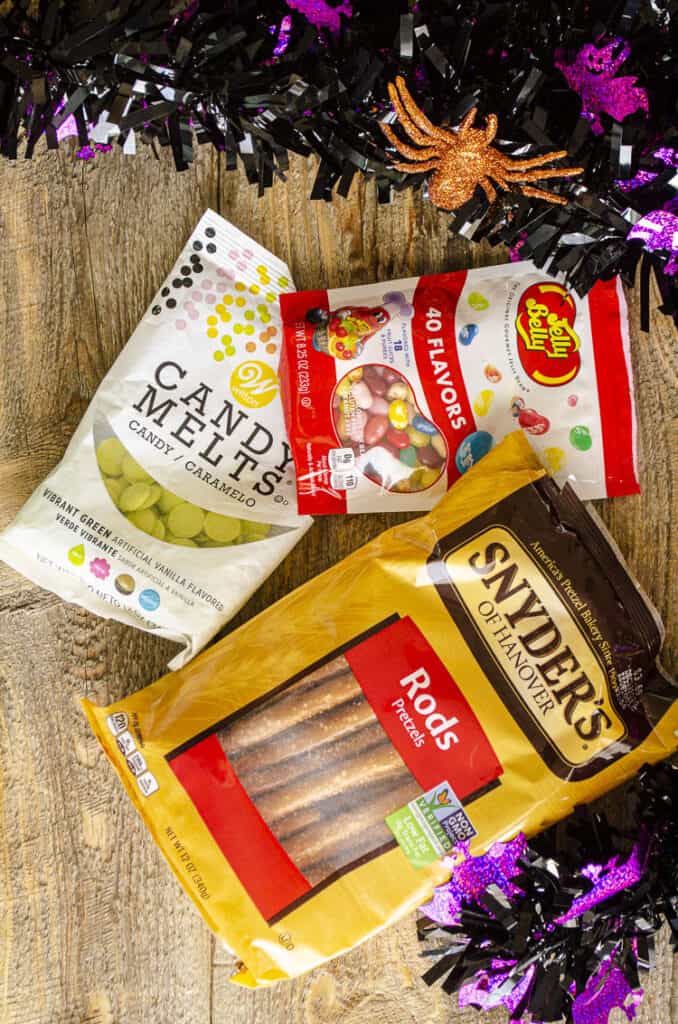
Pulling these off (pun intended) is actually crazy easy. You’ll only need three ingredients, and I got everything I needed at Walmart. Yes, Walmart.
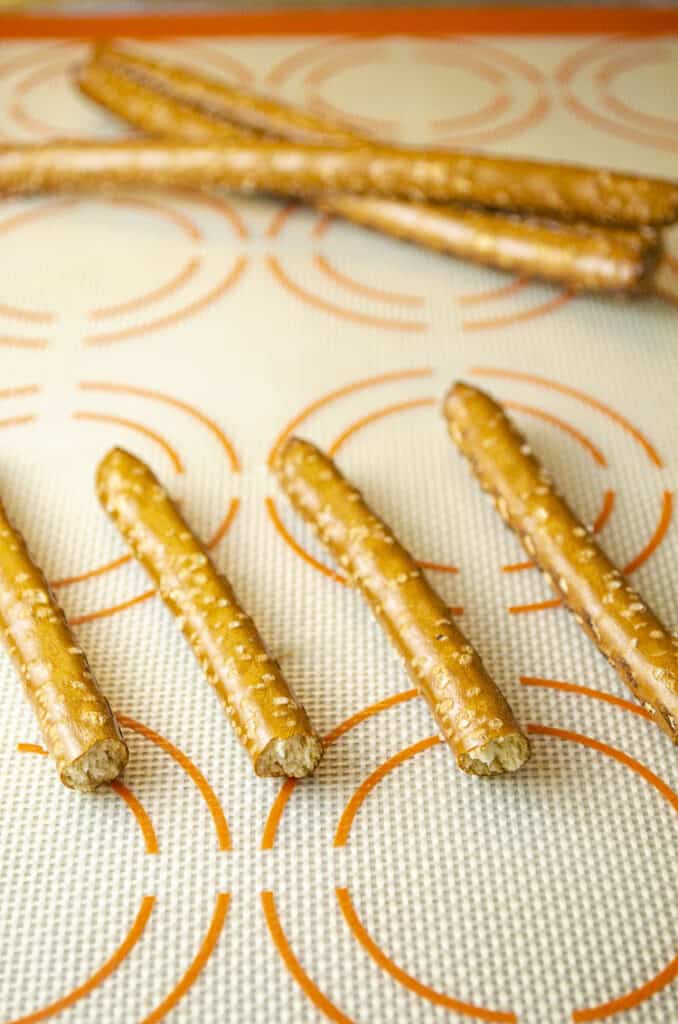
You’ll start by twisting each pretzel rod apart in the middle. Twisting them creates more of a jagged-edge where they break, which I think adds to the realistic look of the Witch Fingers.
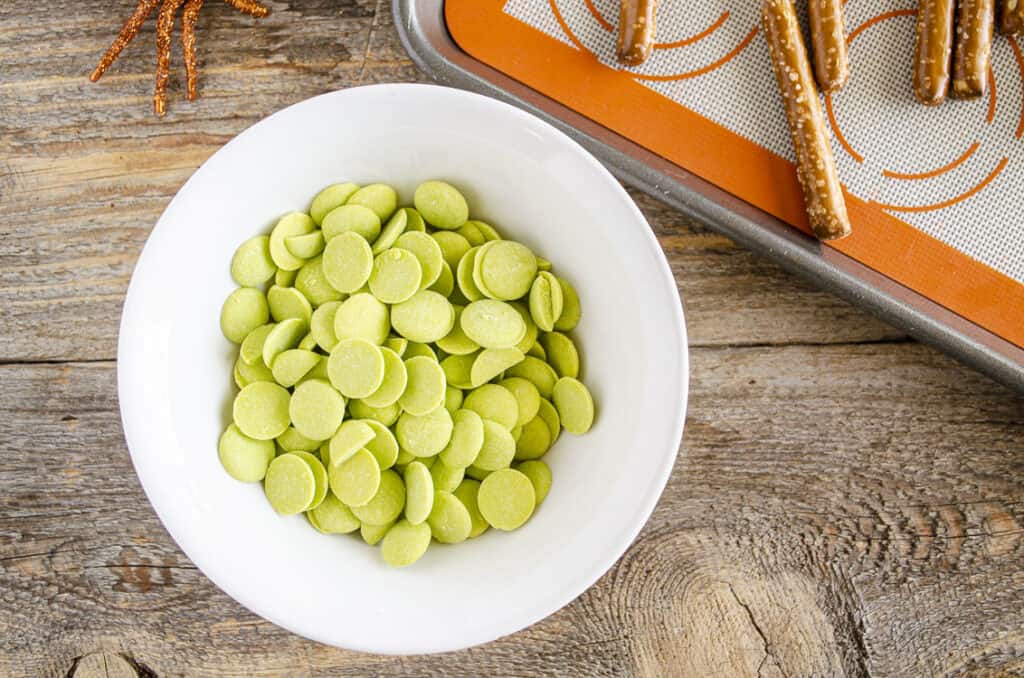
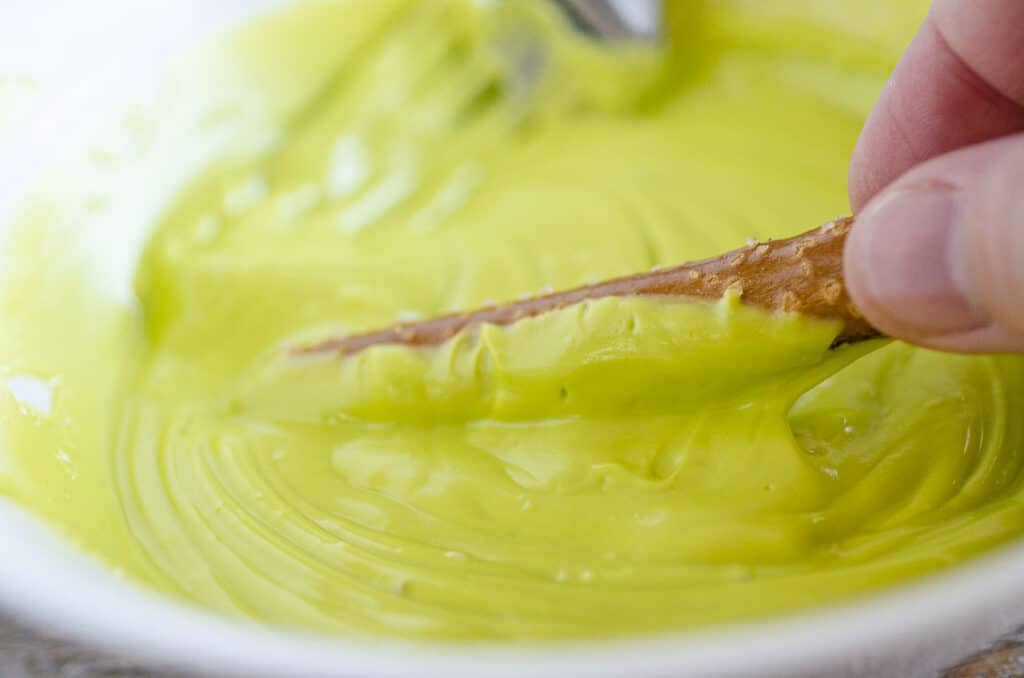
Next, melt the green Wilton Candy Melts color of your choice (I picked “Vibrant Green” color) and stir until smooth. Pick up a broken pretzel rod by the broken end and twirl the pretzel in the candy melt to coat all the way around leaving the jagged edge exposed.
You can leave the thick coating, or gently tap the pretzel rod on the side of the bowl to release excess candy melt. It’s really up to you- and the look you’d like to create! Set the dipped pretzel rods on parchment paper or a silicone baking mat.
Jelly beans are great for these Halloween treats
Next, cut jelly beans in half for fingernails. They really do add to the realistic effect of these Witch Fingers Halloween Treats. I found that it takes a bit of a delicate hand to cut them without smashing or cracking them. I used a ‘sawing’ motion with a very sharp knife to cut through the hard outer shell, then used the tip of the knife to finish cutting the gooey centers.
Press the cut jelly beans into the ends of the dipped pretzel rods and enjoy some spooky fun as these witch fingers come to life before your very eyes! Waaaaaaa!
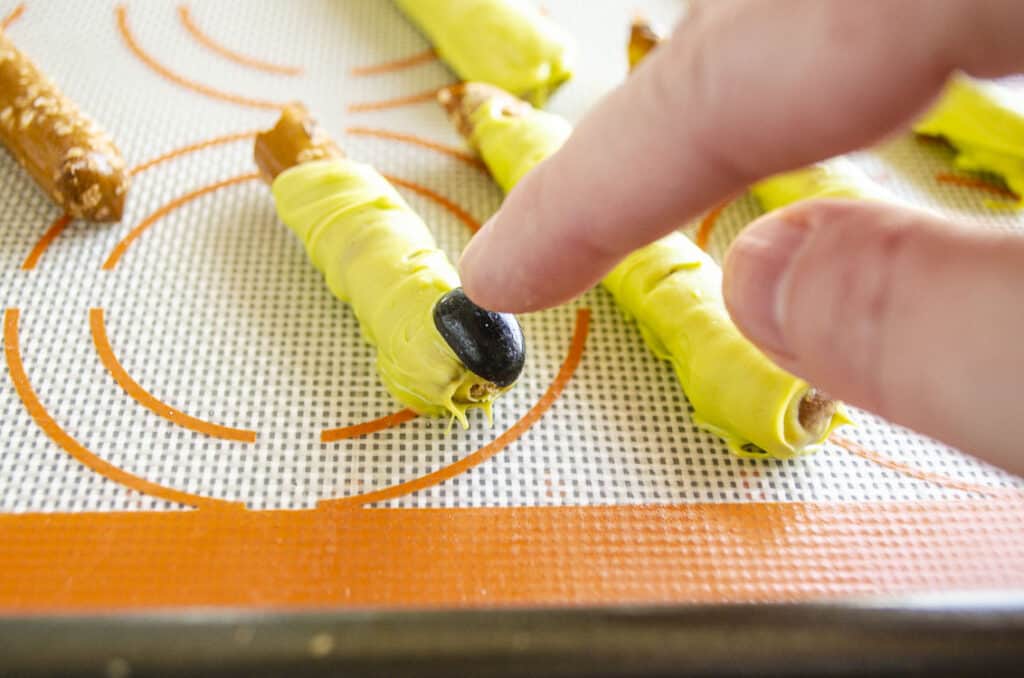
Allow the Witch Fingers to cool for about 45 minutes, then, with a toothpick in hand, you can draw in the lines for the knuckles. When you have finished, pop them into the fridge to set for about an hour. Afterwards, they can be placed in a ziplock bag for storage.
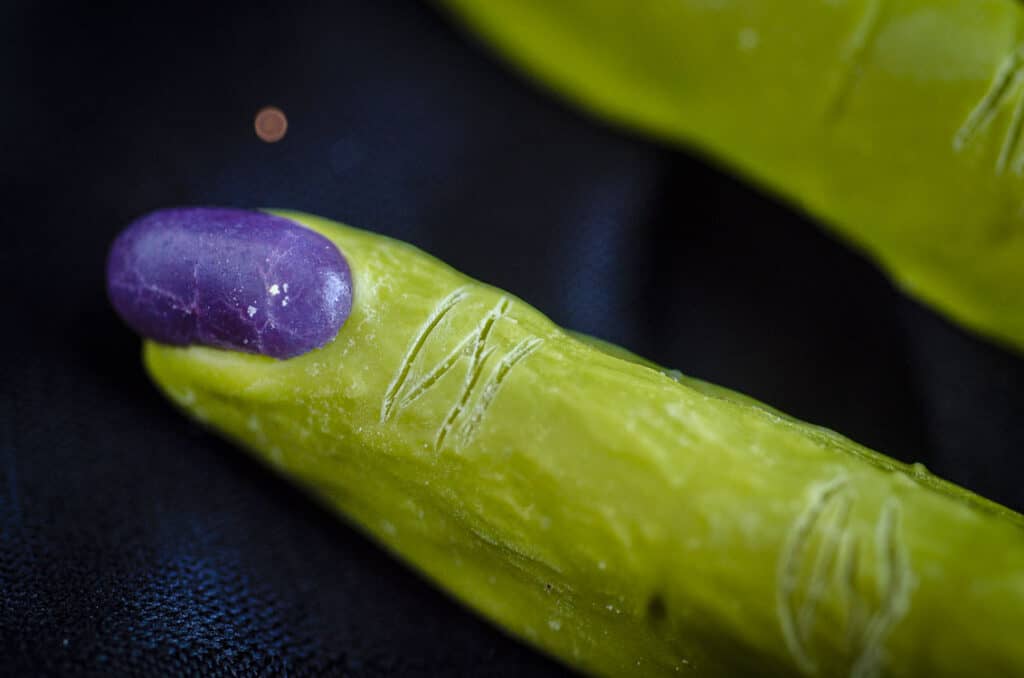
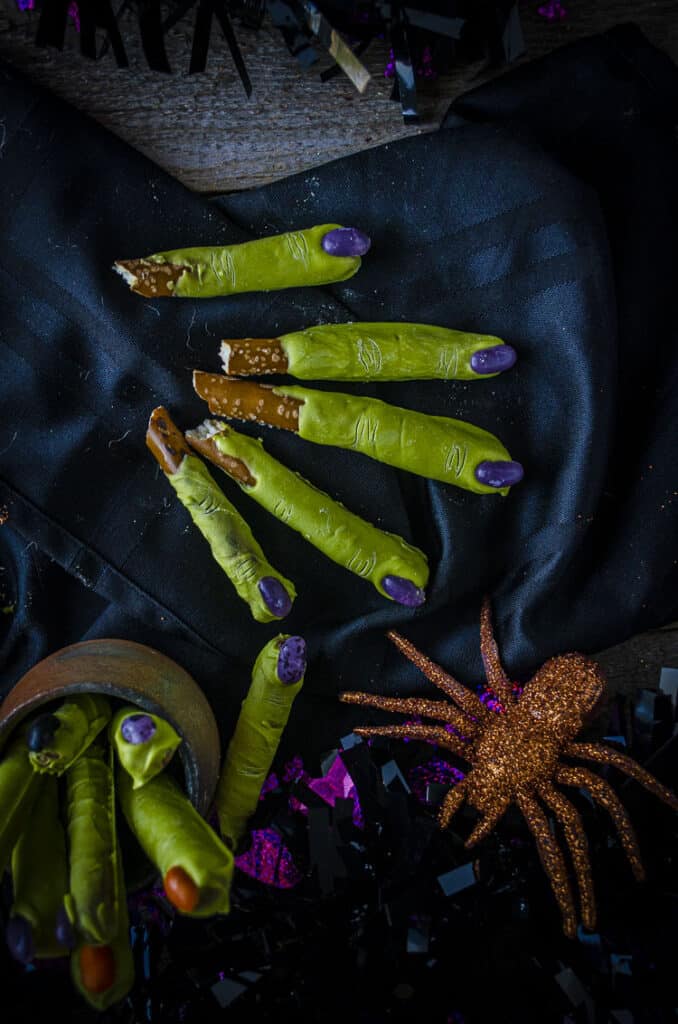
I found that I could have made tons of these with just the 3 ingredient bags shown above. I was happy with about a dozen or so :0) I know you will find these Witch Fingers Halloween Treats are creepy, crazy fun to make! Enjoy and please leave a comment and recipe rating; the feedback is most appreciated!
Print
Witch Fingers Halloween Treats
Description
Freak out your Halloween guests with these realistic looking Witch Fingers that make a delicious Halloween Treat idea. “Finger foods” has a whole new meaning now…
Ingredients
- 1 12-ounce bag of pretzel rods
- 1 8.25-ounce variety bag of Jelly Belly jelly beans
- 1 12-ounce bag of Vibrant Green Wilton Candy Melts
- toothpicks
Instructions
- Prepare your workspace by laying out a large section of parchment paper or a non-stick silicone mat on a flat surface.
- Break pretzel rods in half by gripping in the center and twisting until they break apart. Set aside.
- Using a very sharp knife, slice jelly bean colors of your choice in half lengthwise by first using a sawing motion to break through the solid outer shell, then carefully finish the cut with the tip of the knife to minimize cracking of the outer layer.
- Place the candy melts into a microwave-safe container and melt until very smooth, according to the package instructions.
- While holding onto the broken end, dip/roll pretzel rods in the candy melts. Allow the excess to drip off or tap the pretzel rod gently on the edge of the bowl to get excess candy melt off. Set onto your prepared work surface.
- Press a cut jelly bean onto the end to create a fingernail effect. Repeat with the remaining pretzel rods.
- When the candy melt has cooled and hardened, draw three lines directly above the jelly bean, and then again towards the opposite end of the pretzel to create a ‘knuckle’ effect. Place in the fridge to ‘set’ the candy melt. Serve.
Notes
You can easily make 30-40 of these with the ingredients listed above, depending on your needs and time. I made 14 Witch Fingers Halloween Treats by myself and it took me about an hour total with tons of ingredients left over to make more.
