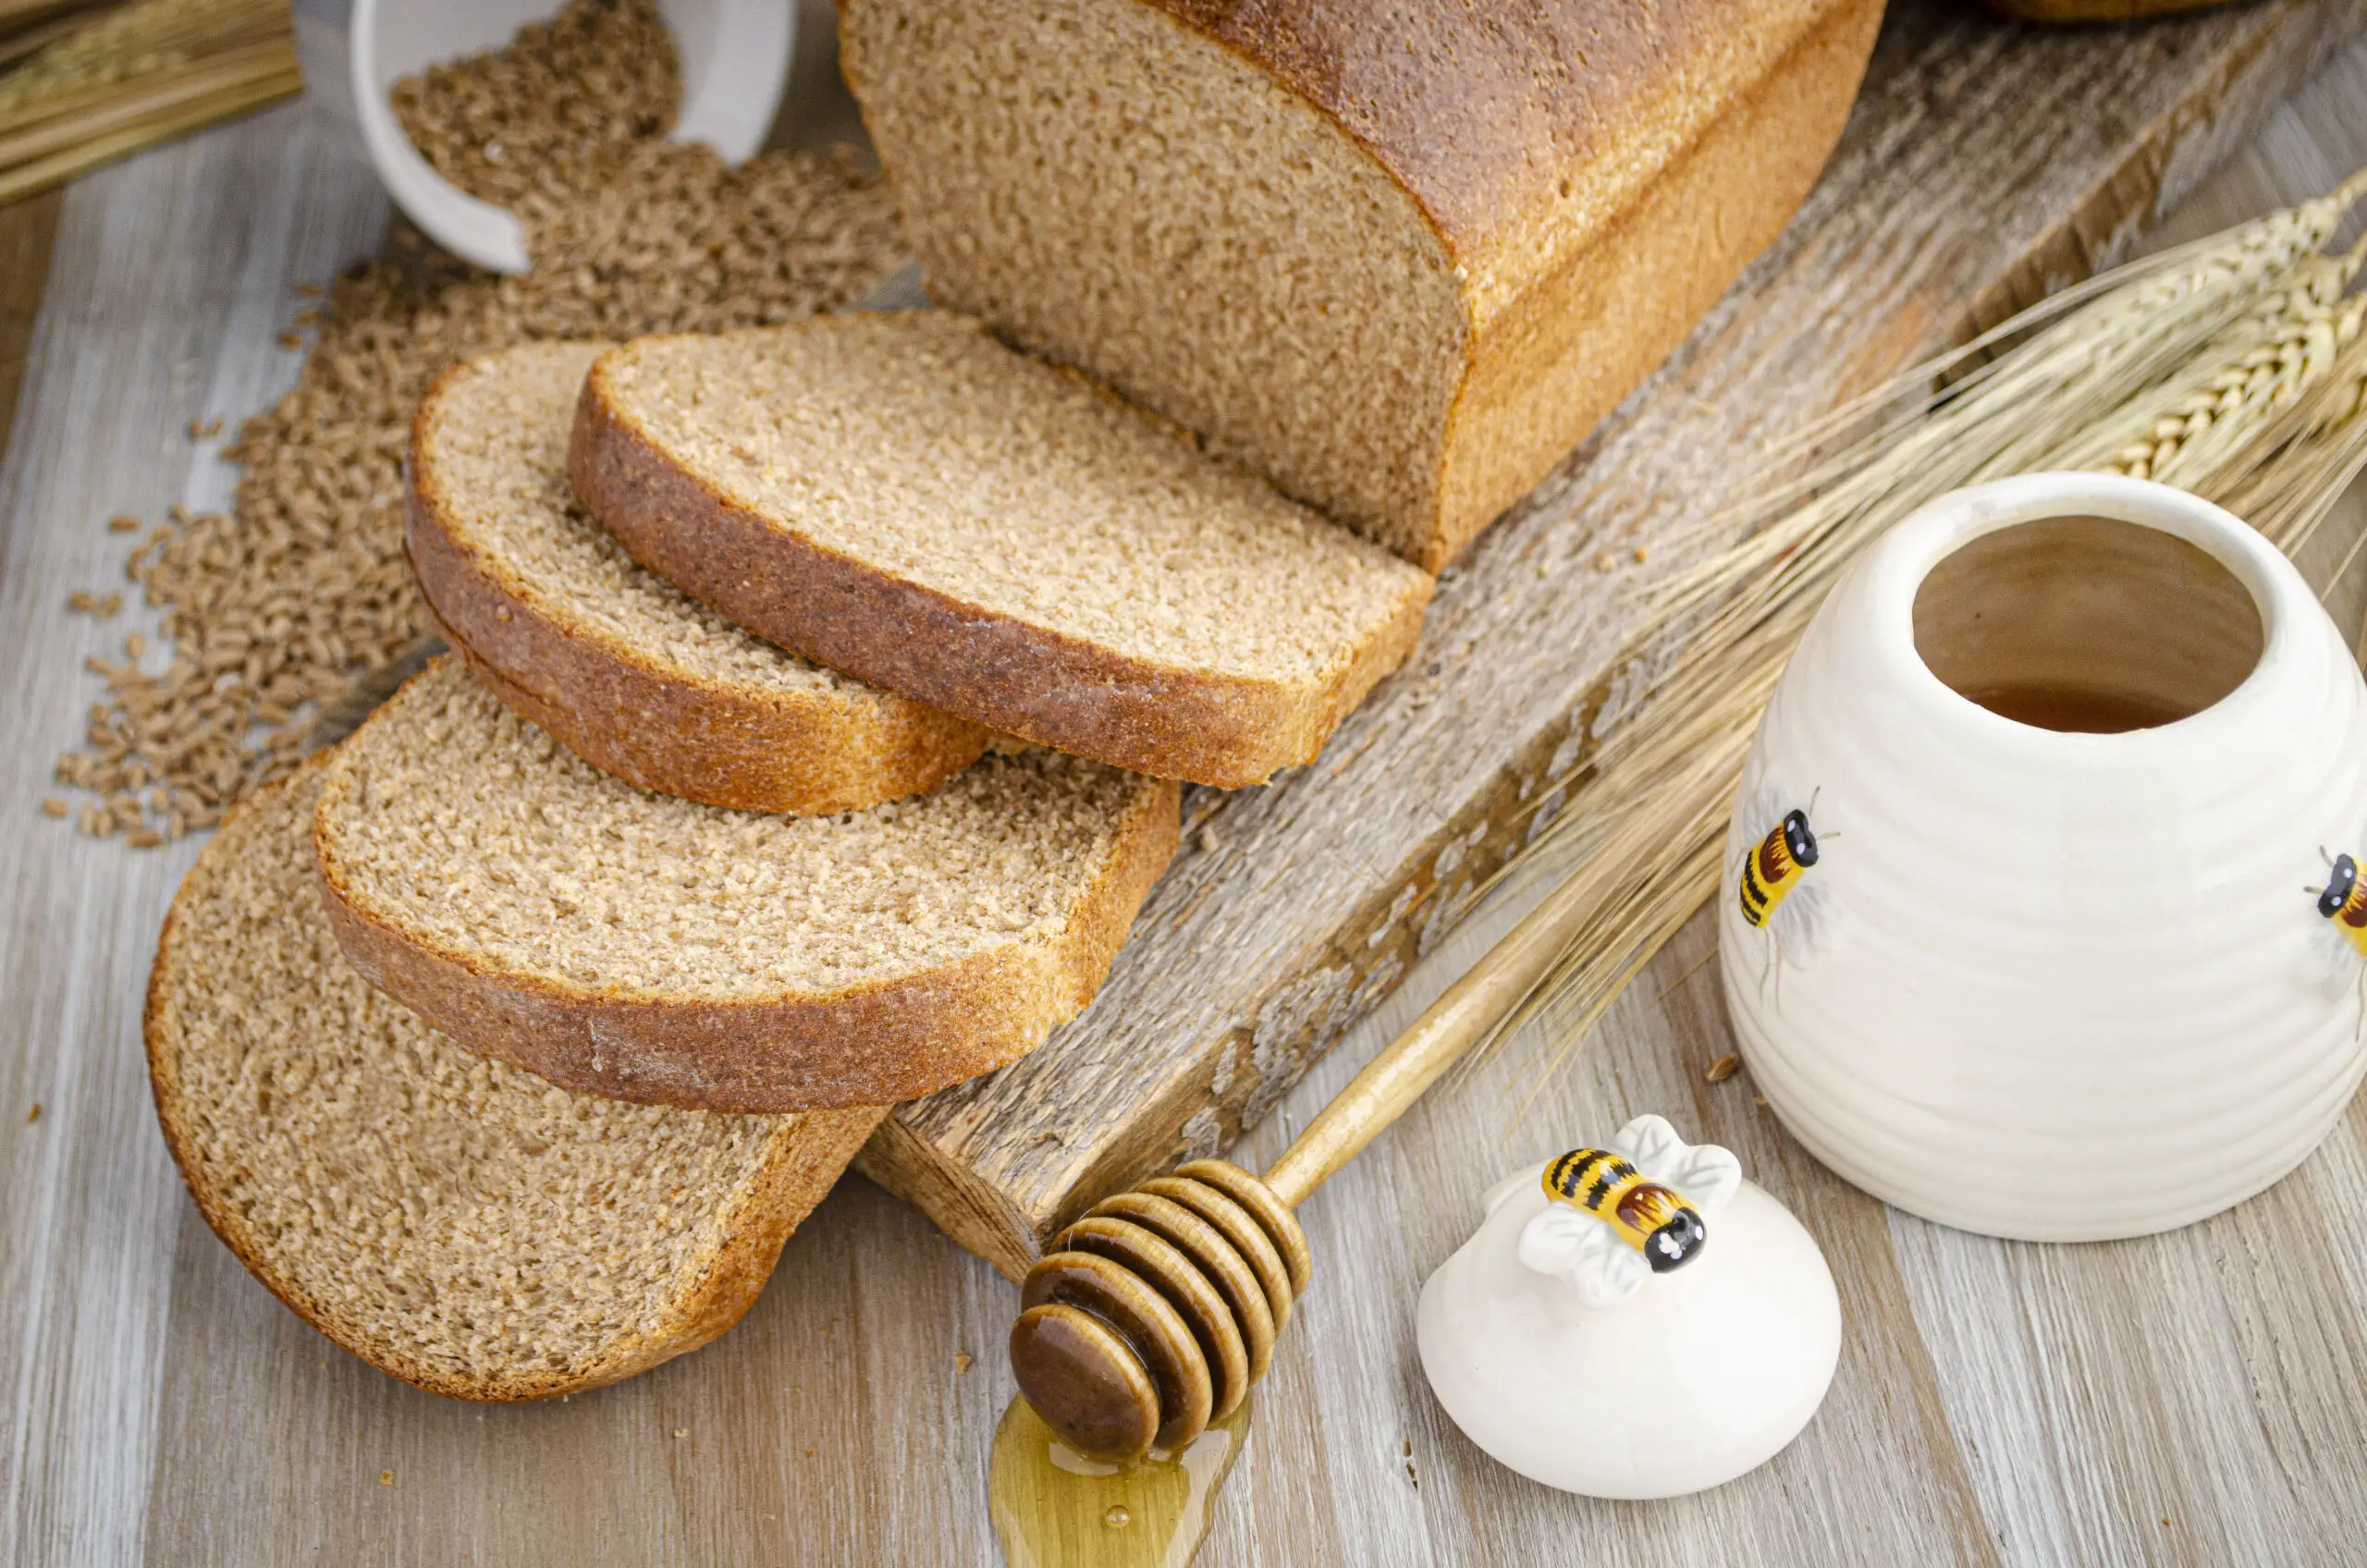
Fresh Milled Flour Bread Recipe
Post updated July 10, 2025

As an Amazon affiliate, I earn commission from qualifying purchases made with links on my website. Thank you for your support!
Why does this recipe work so well? Because this recipe has the correct ratio of flour to liquid that is needed for freshly milled whole wheat flour, and the flavor and texture benefit from the addition of buttermilk and mashed potato in the dough, which softens and gives additional moisture to the bread. This is my new ‘go-to’ recipe for whole wheat bread, and my family LOVES this bread!
What makes this recipe for Fresh Milled Bread different from all the rest?
I experimented a lot to make this milled bread recipe the best of the best; it produces healthy whole-grain bread that is delicious and moist, with a soft crumb and excellent flavor. The secret ingredient in this recipe is the mashed potato, which adds softness, flavor, and additional moisture back into the bread. Buttermilk lends this bread a nice tang, and honey sweetens it all just perfectly!
This dough is slightly stickier than other bread doughs I’ve worked with. But we want that moisture so this bread doesn’t bake up dry like other wheat bread recipes. You should still be able to work with it just fine with minimal sticky dough fingers.
Baking with Freshly Milled Flour
There are a few important things you need to know about working with freshly milled (or ground) whole wheat flour vs. all-purpose flour. Even experienced bakers can be tripped up by fresh whole wheat flour if they haven’t worked with it before. Let me explain further:
- Whole wheat flour will absorb more liquid than all-purpose flour, and it also takes a little longer for the dough to absorb all the liquids it needs, so keep this in mind as you knead your dough.
- Whole wheat dough is heavy; i.e. the yeast must work harder to lift, or rise, the dough. I have specifically written this recipe for Rapid-rise or instant yeast. This yeast is special- it’s treated to work faster and better than regular yeast when exposed to very warm temperatures. Instant yeast is fantastic for wheat bread because it does the heavy lifting without having to add a lot more yeast, like other whole wheat bread recipes.
- Another thing to consider is that freshly milled flour is higher in volume cup for cup than store-bought flour because those fine grains haven’t had time to become compacted in bags like store-bought flour. If you want to have success baking, a good kitchen scale is a necessity so you can measure flour by weight, not by volume.
- As soon as the grains are ground up and crushed in the mill (at home or a large commercial mill) they begin to slowly oxidize, thanks to the itty bitty bit of natural lipid oils contained within the germ. The faster you can use up the whole wheat flour, the healthier, tastier, and better performing (as far as gluten) it will be.
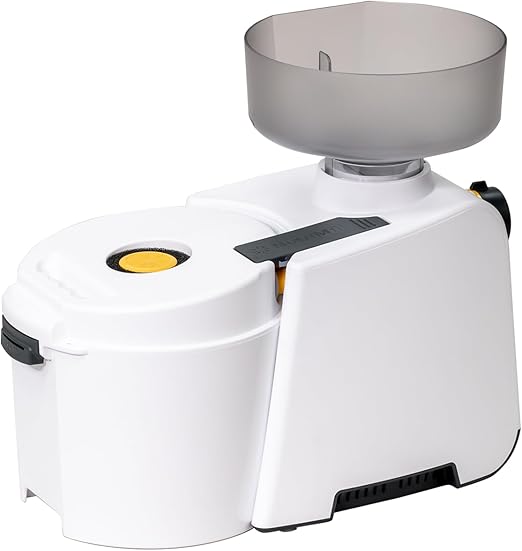
Which Wheat Grinder is Best for Me?
There are quite a few options available for grinding whole grains at home. The ‘small kitchen appliance’ variety that uses electricity is by far the most popular for people who want to mill regularly. I recommend the Nutrimill and the Wondermill. They are both excellent options for regular use. (I’m talking weekly or monthly use for people who only want to consume homemade flour.)
There are also manual crank grinders, which are essential for preppers and food storage enthusiasts. If you have countless #10 cans full of hard red wheat or white wheat stored under your beds (I’m talking to you, Latter-Day Saints!😉) having a mill to grind it all is essential if you actually want to use it someday!
Lastly, there are plenty of grain mill attachments for Kitchenaid Stand mixers. These may be best for those who just want to use it occasionally, like around the holidays. Some have said these types of mills have worn out the gears or killed their stand mixers alltogether. Grinding grain requires seriously heavy, solid metal grinding gears with lots of power behind them.

|
|

|
|
Pros:
|
Pros:
|
Pros:
|
|
Cons:
|
Cons:
|
Cons:
|
|
Our Rating:
3.5
|
Our Rating:
4.0
|
Our Rating:
3.5
|
|
$329.95
|
$249.00
|
$499.00
|
- Works without electricity
- Great for food storage & preppers
- Heavy-duty construction
- Hand crank
- Call me lazy, but this is not for daily use
- Easily fits in any kitchen
- Easy to use and clean
- Cost effective
- Smaller hopper size
- Corundum milling stones
- Grinds quickly
- Beautiful wooden finish
- Some say it does not grind flour fine enough
- Highly priced
Whole Wheat Flour Shelf Life
If you’ve heard that fresh whole wheat flour expires within 72 hours of being ground, that is false. I did some extensive digging around online and in scientific publications about the shelf life of whole wheat flour. What I found may surprise you!
There is no official “shelf life” of home-ground whole wheat flour yet. Research about the oxidation rates of freshly milled wheat is ongoing, and so far, scientific studies show that it is slow, over several weeks. Freshly milled flour will be fine to use for at least a month if stored in an airtight container at room temperature (72 degrees F).
It will store for approximately 6 months in the refrigerator (in an airtight container) with very little degradation of taste or performance. Here is one quote from a research paper I read about the shelf life of whole wheat flour:
While not enough data exist to suggest a definitive shelf-life for whole wheat flour, it is well accepted that the shelf-life of whole wheat flour is considerably shorter than regular wheat flour. Flour millers stamp use-by dates of 3 to 9 months after milling on whole wheat flour packages, while regular wheat flour use-by dates range from 9 to 15 months after milling.
Key issues and challenges in whole wheat flour milling and storage, Doblado-Maldonado et al. / Journal of Cereal Science 56 (2012) 119e126 122
Substitutions
Substituting flour: Store-bought whole wheat flour can be substituted in this recipe just fine by weighing it out just as you would the freshly milled flour. If you don’t have a scale, make the recipe with at least one LESS cup of flour than written in this recipe (that would be 6 and 1/2 cups of flour). If the dough is still really sticky after the rest in step 6, knead in two tablespoons of flour at a time until it’s no longer sticking.
There are a whole lot of bloggers out there who say to “add two or three additional tablespoons” of freshly milled flour for every cup of all-purpose flour called for in a recipe to compensate for this. This method is highly unreliable, and I don’t recommend it. Weight is the only accurate way to know if you are measuring out the correct amount of flour for a recipe, or making substitutions!
Substituting buttermilk: Clabbered milk (1 cup milk with 1 tablespoon of white or apple cider vinegar mixed in) or plain Greek yogurt thinned with some milk to a pourable consistency can also be used in place of the buttermilk. I do not recommend using powdered buttermilk for this particular bread recipe.
Substituting yeast: I mentioned earlier that this recipe is specifically written for instant or rapid-rise yeast, but active dry yeast can be substituted with substantial changes outlined below.
To use active dry yeast- in step 2, Mix 110 degree F water with honey. Stir in 4 teaspoons of active dry yeast (each packet has 2 & 1/2 teaspoons) and set it aside for a few minutes until it becomes frothy on top. Do NOT heat up the rest of the liquids to 120-130 degrees (this is too hot for the active dry yeast). Combine the water yeast mixture, mashed potato, melted butter, and buttermilk in the bowl of a stand mixer. Then add the flour and salt mixture. After kneading the dough allow it to rest, covered, for 30-45 minutes, or until doubled in size. The second rise in the bread pans will take longer as well. Bake as directed in the recipe.

FAQ
What is fresh-milled bread?
Fresh-milled bread is any bread that is baked with freshly milled flour. There is no exact definition for what qualifies milled flour as ‘fresh’, but freshly milled grains begin to oxidize immediately after being ground so the sooner you can bake it into bread, the ‘fresher’ and healthier the bread will be.
How long does freshly milled bread last?
Out on the counter: Freshly milled baked bread will last about 3 days stored in a plastic zipper-lock bag or plastic wrap; or about 4 days stored in a linen bread bag.
In the Freezer: Fresh milled bread will last about a month stored in the freezer if wrapped in foil, then placed in a freezer zipper-lock bag. The double layering will lock in as much moisture as possible in the freezer.
In the refrigerator: Do not store bread in the refrigerator, it really is the worst environment for storing bread. Many studies have been done on this and it’s either counter or freezer for bread. NO fridge. :0)
Does freshly milled flour go bad?
See “Whole Wheat Flour Shelf life” section above.

I hope you find joy in making this recipe and please give me a shoutout if you post a pic of the recipe on social! Follow me on Instagram @TheGoldilocksKitchen, Facebook page The Goldilocks Kitchen, or Pinterest @GoldilocksKitch. Don’t forget to rate the recipe and leave a comment- I want to hear your feedback! (This is a blog after all and that’s the whole point right?!)
Print
Fresh Milled Bread Recipe
- Total Time: 0 hours
- Yield: 2 loaves 1x
Description
This recipe makes two loaves of soft, moist, whole wheat bread with freshly milled flour. Honey, buttermilk, and mashed potato add additional nutrients and flavor, making this THE best recipe for fresh milled bread on the web.
Equipment needed:
- Food Thermometer
- Stand mixer
- Two standard size bread pans
Ingredients
Ingredients
- 1 & 1/3 cups water
- 1/2 cup of mashed potatoes
- 1/4 cup honey
- 6 tablespoons melted butter
- 2 cups buttermilk (don’t substitute powdered)
- 940 grams (about 7 & 1/2 cups) of freshly ground hard red wheat berries
- 1 tablespoon Rapid-rise instant yeast
- 1 tablespoon salt
- optional: two tablespoons of ground flaxseed
Instructions
- Spray the insides of your bread pans with non-stick spray and set aside. Set your oven to the ‘warm’ setting if available to create a warm place for the dough to rise.
- In a microwave-safe bowl, combine the water, mashed potato, honey, butter, and buttermilk, and set aside. Test the temperature of the liquid mixture with a food thermometer. If it is cooler than 120 degrees, reheat it to between 120 to 130 degrees F in the microwave for optimal instant yeast temperatures.
- In the stand mixer bowl, place 4 cups of whole wheat flour, then the yeast and salt. Briefly whisk to combine the dry ingredients.
- With the paddle attachment running on low speed, pour the liquid mixture into the flour mixture. Mix ingredients until just combined. Remove the paddle and insert the dough hook.
- Slowly add the remaining flour in 1/2 cup increments as the dough is kneaded at medium-low speed. The dough should pull away from the sides of the bowl after all the flour is added. Knead the dough for a total of about 6-8 minutes, scraping down the hook about halfway through. It will be soft and slightly sticky. If it is still sticking to the sides of the bowl, knead in additional flour until it comes clean.
- Remove the dough hook and the bowl from the stand mixer. Cover the bowl with plastic wrap and leave it on the counter to rest for 10 minutes. At this stage, I turn off the ‘warm’ setting on my oven so it can cool a bit. (The ‘warm’ oven setting on most ovens will be too hot for bread.)
- On a clean dry surface, empty the dough and divide it into two equal parts. Set one half aside and cover loosely with plastic wrap. Roll the other piece of dough out into a rectangle that is the width of your bread pan and about as long as your rolling pin. Roll the dough up from the short end to the short end. Pinch the seam and ends together. Place the dough, seam side down, into a prepared bread pan. Repeat with the other piece of dough.
- Cover both bread pans very loosely with plastic wrap and place the dough in your warmed oven. Allow the dough to rise until the center of the dough is equal in height to the bread pan rim, about 30-45 minutes.
- Remove the bread pans from the oven, and set the heat to 400 degrees F. When the oven is ready, remove the plastic wrap from the bread and place it in the oven on the center rack. Bake for 5 minutes, then turn the heat down to 350 degrees F. Bake for 25 minutes. Remove from the oven, let cool for 5 minutes in the pans, then remove bread loaves from pans and place on a wire cooling rack. Optional: brush melted, salted butter over the top. Allow the loaves to cool for an hour before slicing, and three hours before freezing.
Notes
Clabbered milk (milk mixed with a splash of vinegar) can be substituted for buttermilk.
Prepared instant mashed potatoes can be substituted for regular mashed potatoes. Avoid using flavored varieties like garlic herb. The instant potatoes should be plain or butter flavor only.
- Prep Time: 1 hr.
- Cook Time: 30 minutes
- Category: Bread
- Method: Baking
- Cuisine: American
Nutrition
- Serving Size: 1 slice (1/2 inch width)
- Calories: 142
- Sugar: 3
- Sodium: 253
- Fat: 2.7
- Saturated Fat: 1.5
- Carbohydrates: 25.6
- Fiber: 0.8
- Protein: 3.6
- Cholesterol: 6


Love this bread recipe, but what size loaf pans do you use?
I believe my red pans are on the large size, 9 X 5 inch. However, I’ve also made this recipe with a glass 4 1/2 X 8 1/2 inch size just fine. These are pretty standard large loaf sizes when you are purchasing bread pans; this recipe does make lots of dough :0)