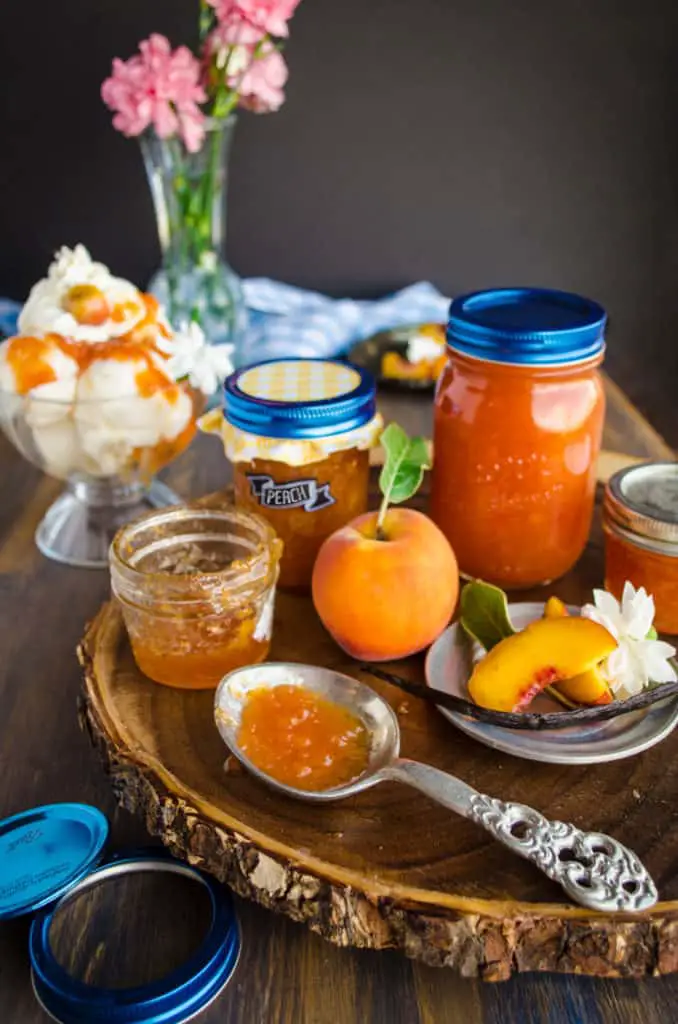
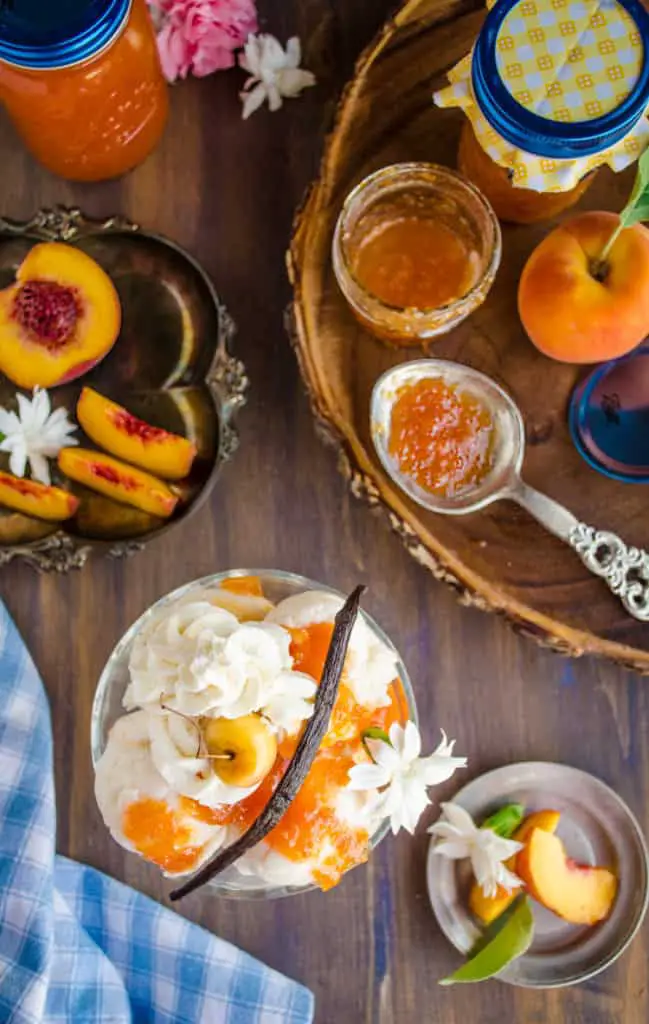
Homemade Vanilla Bean Peach Jam
One taste of Homemade Vanilla Bean Peach Jam will have you buying peaches (and vanilla beans) in bulk.
How many of you remember seeing your mother or grandmother canning fruits/veggies as a child? Canning quickly became obsolete with the rise of refrigerators and importation of produce from all over the world. Folks didn’t feel there was a need to preserve food anymore. Why bother when you could run down to the grocery store to buy anything you needed any time of year?
Canning preserves is a skill that I’d personally like to be a pro at. Being self sufficient, or prepared if an emergency should strike, is really important to me. Since Peach season is upon us, what better way for me to practice than by making one of my very fav jams ever?? Peach jam is amazing~ but since I plan to give away much of it for the holidays, I wanted to elevate the recipe just a bit to be more of a novelty. Hence the creation of Homemade Vanilla Bean Peach Jam!
Homemade Vanilla Bean Peach Jam Recipe
Classic peach jam consists of ripe peaches cooked with sugar and lemon juice. Those ingredients alone will make a delicious albeit, runny, jam. Pectin can be added to help it thicken, but I prefer this trick: just add a peeled diced apple. The apple has enough natural pectin to help the peach jam set up better without having to add commercial pectin. Along with the apple, I cook the peaches with half a vanilla pod and it’s seeds, so the jam is infused with the complex, creamy mellow flavors of vanilla. To round out the flavors, one secret ingredient: three canned maraschino cherries and about a teaspoon or two of their syrup. Layers of flavor make this jam exceptionally delicious!
This jam is so easy!
Throwing all the fruit into my food processor truly makes this an easy, easy recipe. I do like to mince the Maraschino cherries myself just to ensure that they are tiny. Last but not least, cut a vanilla pod in half crosswise, saving the other half in the fridge for another recipe. One whole vanilla pod is a bit much for this recipe, only 1/2 is needed. Slice the other half open to scrape out the ‘vanilla caviar’ (seeds); add both seeds and pod to the pot with the sugar and lemon juice. Now we’re cookin’!
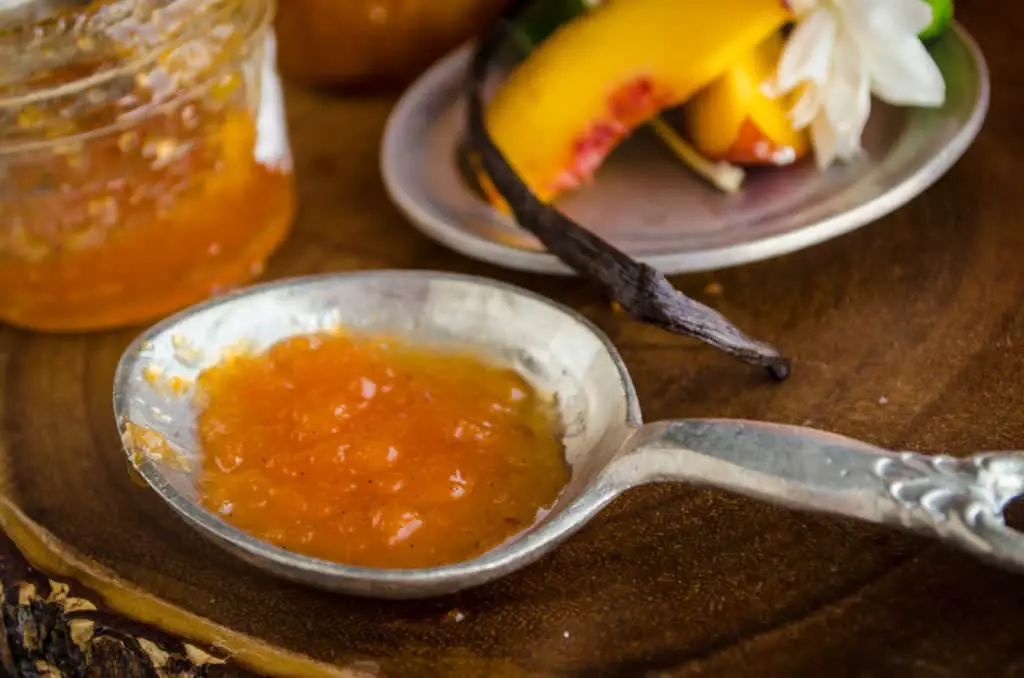
When it’s ready, you’ll start to hear the bubbles ‘glop’ and often spit a little jam out of the pot. This usually takes about 20 minutes of boiling for me, but it could be different for you depending on your altitude. (I’m at about 5000 feet) Cooking Jam is really kind of subjective to how you like it, so don’t stress too much about whether it’s the perfect consistency or not. Cook it to how you like it :0)
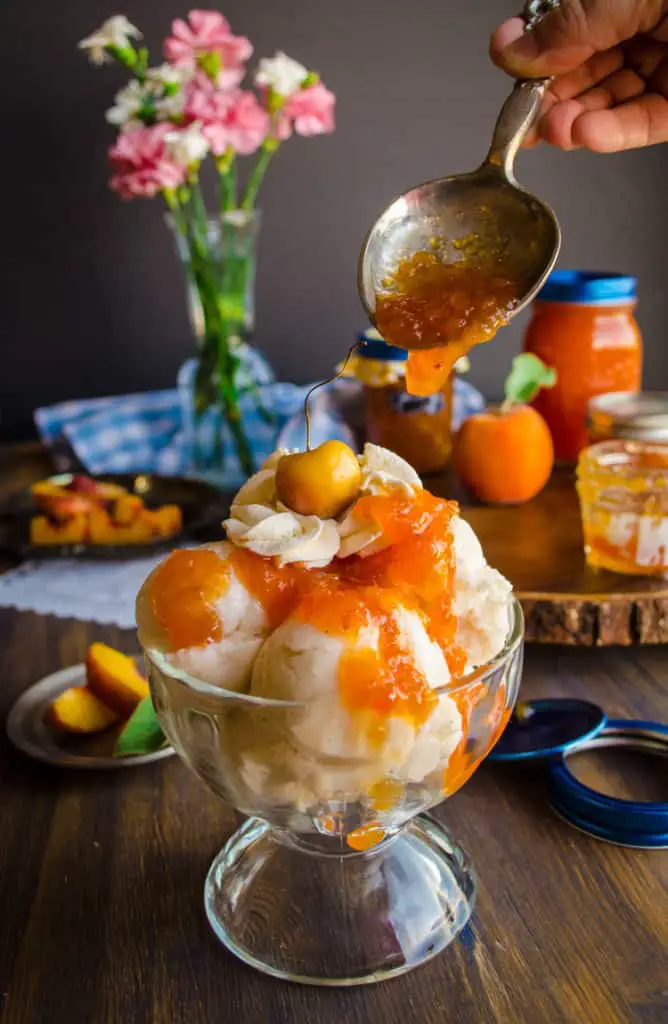
Now it’s time for the freezer test! Drop a small spoonful onto a frozen plate and place it in the freezer. After chilling for a couple minutes, test the consistency by running your finger through the jam on the plate. IF your finger leaves a nice trail and the jam doesn’t run to fill the gap, it’s about done! You’re making one of the most delicious jams out there! Homemade Vanilla Bean Peach Jam is the best thing to happen to homemade toasted bread, ice cream sundaes, yogurt smoothies, pancakes, waffles, even cheese and crackers!
You don’t need to can this recipe, it works just as well as freezer jam.
That’s the beauty of making Homemade Vanilla Bean Peach Jam, you don’t need to can it! It will live happily in your freezer for up to one year in glass or plastic containers if you don’t want to go through the canning and preserving process. When you’re ready to eat it, remove a container to your fridge and let it thaw. Then gobble it up however you choose, always replacing what’s left back into the fridge. Love this jam? Check out my recipe for Holiday Spiced Plum Jam, you’ll be having visions of sugar plums dancing in your head :0)
Print
Homemade Vanilla Bean Peach Jam
Ingredients
- 2 pounds of ripe yellow peaches
- 1 apple
- 3 jarred maraschino cherries
- 2 teaspoons maraschino cherry juice from jar
- 1/2 Vanilla bean
- 3 Tablespoons bottled lemon juice (do not use fresh)
- 2 and 1/2 cups of sugar
Instructions
- Pit peaches and slice into fourths. Peel and core apple. Slice and dice into 1 inch chunks. Place peach and apple fruit into a food processor and process for about 20 seconds, stopping to scrape sides and mix up fruit so all processes down. Pour into a large stovetop dutch oven. (A 4-quart sauce pan will work too.)
- Dice the cherries and add them and juice from the jar into the pot.
- Slice vanilla bean lengthwise. Scrape out the vanilla seeds, and add them and the vanilla bean to the pot.
- Stir in the lemon juice and sugar. Let sit covered for about 20 minutes.
- Remove the lid and boil the jam for about 5 minutes over medium high heat, stirring often and scraping any foam off the top. Turn the heat to medium low and cover. Simmer for about 15 minutes stirring every five minutes.
- Remove the lid and return to medium high heat. Boil for about 5 more minutes, stirring often, until the jam is thick and gloppy. Remove from heat when desired consistency is reached, using the freezer test.
- For freezer jam:
- Completely cool jam, and store in either glass or plastic containers. Will last in the Freezer 1 year(remember to leave space for expansion, or fridge 3 months.
- To Process (Can) for room temp storage:
- Do not let jam cool. Fill hot sanitized canning jars with hot jam, leaving 1/4 inch headspace for expansion. Remove any bubbles by sliding a small spatula or wooden skewer between the jar and the jam. Wipe rim and place lid on and screw band on just fingertip tight. Completely submerge in hot water with at least 1 inch of water above lids. Boil for 10 mins (sea level-1K ft.) 15 mins (1K-3K ft.) 20 mins (3K-6K ft.) 25 mins (6K-8k ft.) Turn off heat and let jars sit in hot water for 5 mins. Then remove, cool, and ensure lids have sealed by pressing on the center. If they pop back up, the can did not seal. Jars can be stored at room temp for up to 1 year.