How To Prebake A Pie Crust
Follow this foolproof method for prebaking a pie crust.
Press the pie dough firmly into your pie plate and trim/decorate the edges. Cover lightly with plastic wrap and chill in the freezer for 20 minutes, then freeze for 20 minutes. Remove the plastic wrap and cover the entire pie with aluminum foil pressed down to cover the surface of the dough. Fill the pie plate with pie weights, pennies or beans to the rim. Bake at 375 F for 30 minutes, remove the pie weights and foil, and bake for an additional 15 minutes until golden brown.
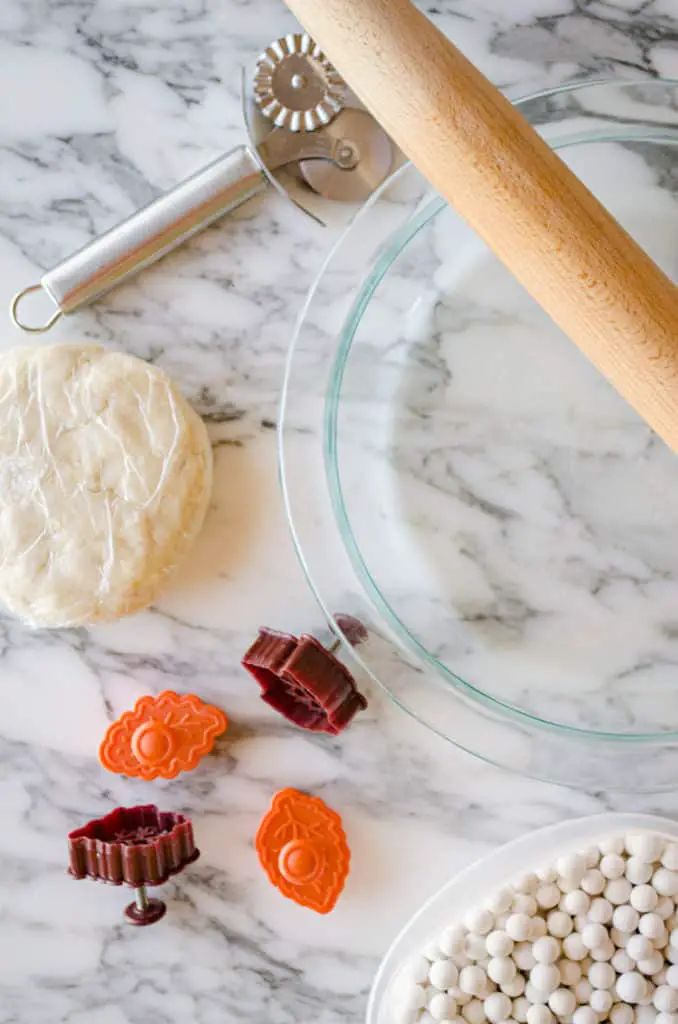
If you’ve ever tried to prebake (or “blind bake”) a pie crust for your favorite custard or cream pie, you may have ended up with a shrunken and/or miss-shaped or burnt crust. These problems are simple to avoid if you’ll follow my instructions below. You’ll need heavy duty aluminum foil, a standard sized 9-inch pie plate and pie weights, which can be anything heavy and oven safe, such as dried beans, coins or ceramic beads.
Begin by rolling out handmade dough to approximately 11 inches in diameter (for a 9 inch pie plate). If you’re working with store-bought frozen dough, simply allow it to thaw according to package directions until its easy to work with.
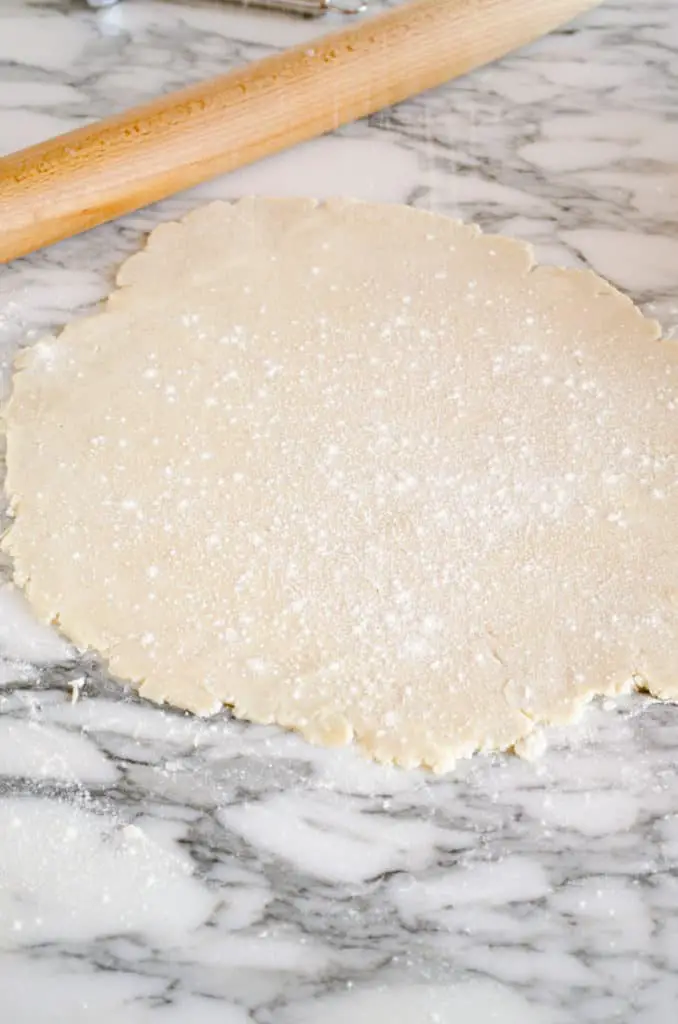
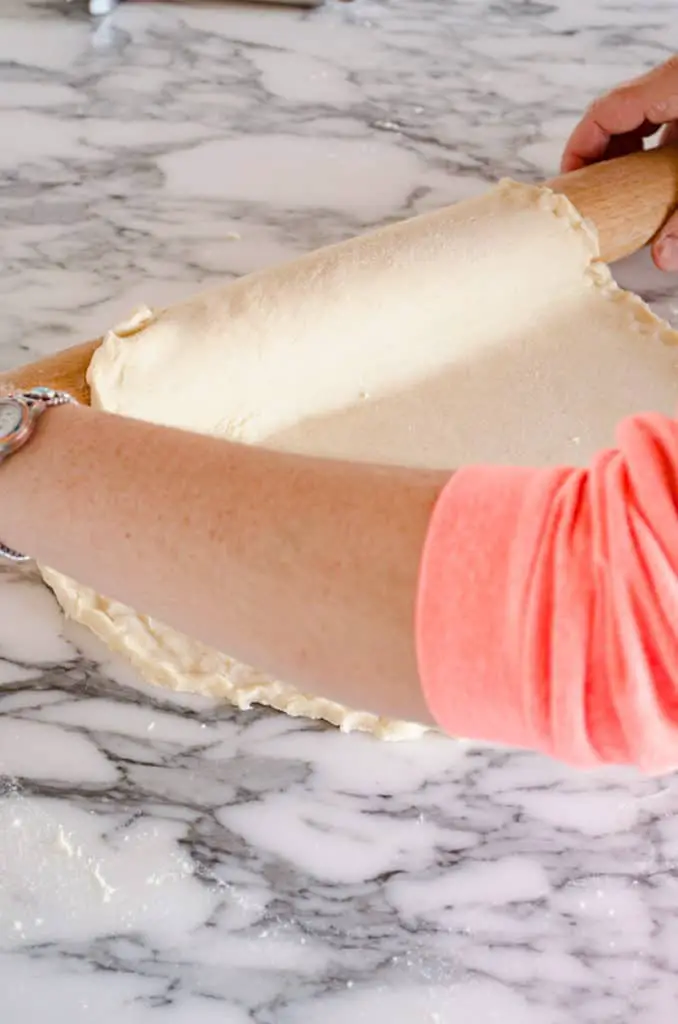
Lift up an edge of rolled-out dough and place it over the top of a rolling pin. A french style rolling pin with tapered ends is extra handy for this “how to prebake a pie crust” method, and is the type show in the photos.
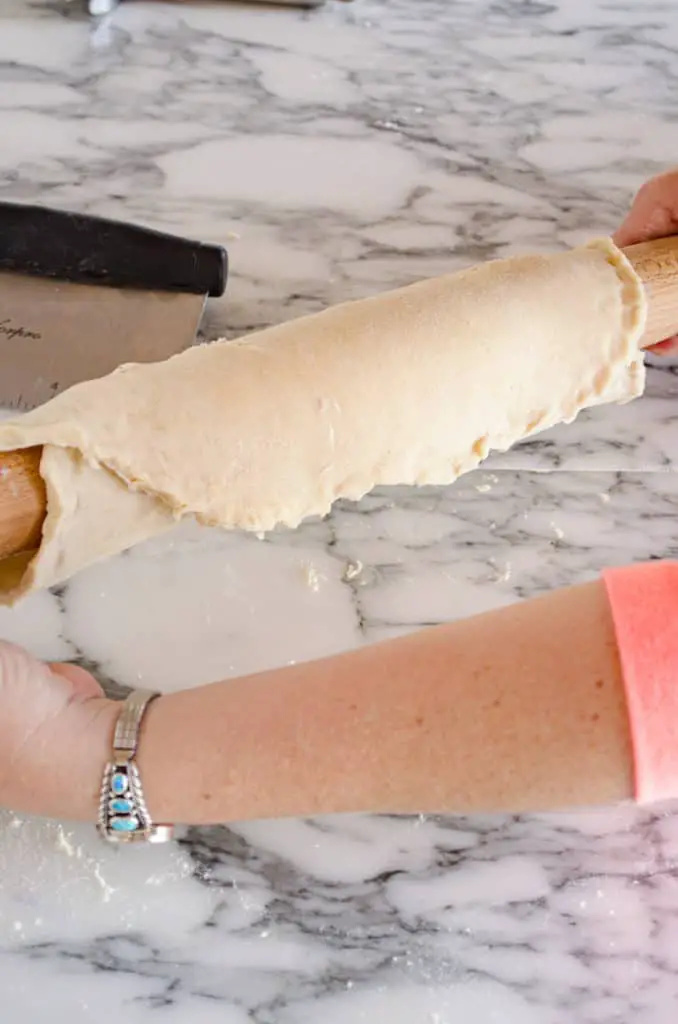
Carefully roll the dough completely around the rolling pin.
Now, unroll the dough directly over the pie plate from one side to the other, ensuring that you have some dough overhanging all sides as best as you can. This dough was giving me a bit of trouble- I decided to try using a gluten-free flour mix when I made this pie dough. It was definitely harder to work with than regular dough!
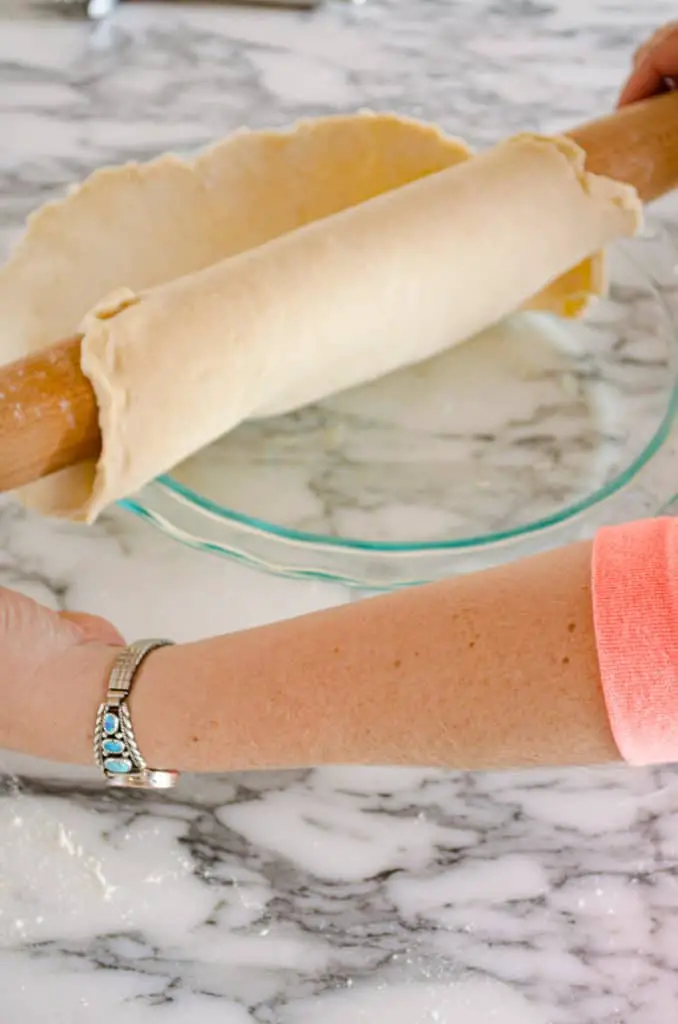
Gently lift up on the edges of the dough and press it down into the pie plate to completely form fit the bottom edge without ripping the dough apart. If it’s not perfect, don’t worry about it! It’s easy to cover up errors by pinching pieces of dough together, or with a decorative edge. I didn’t quite roll my dough out large enough for this plate. But I’ll be fixing this soon enough :0)
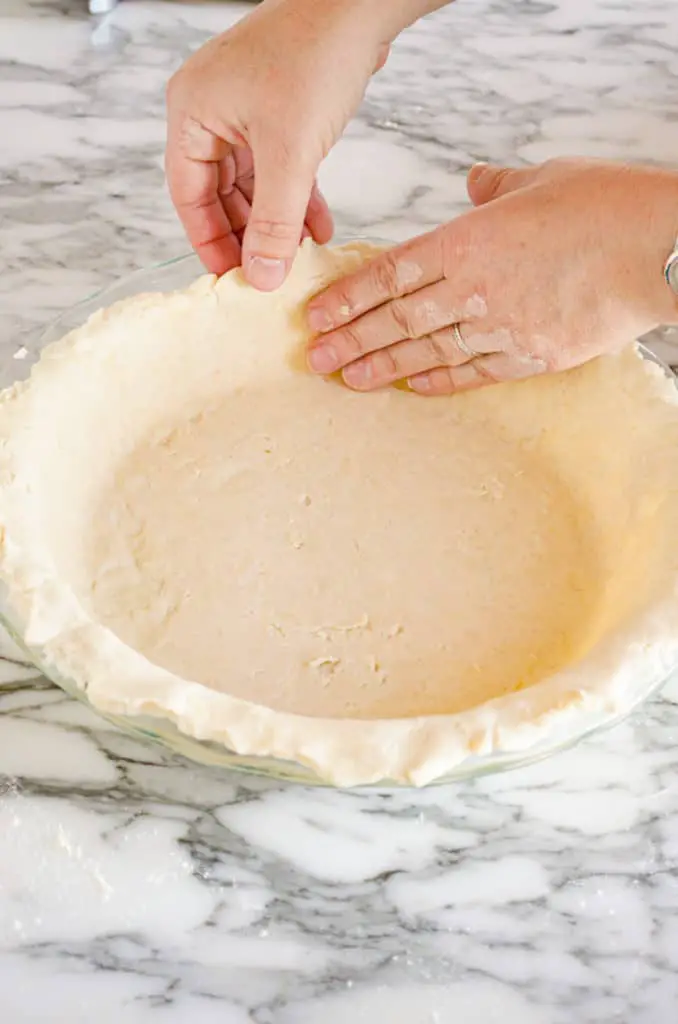
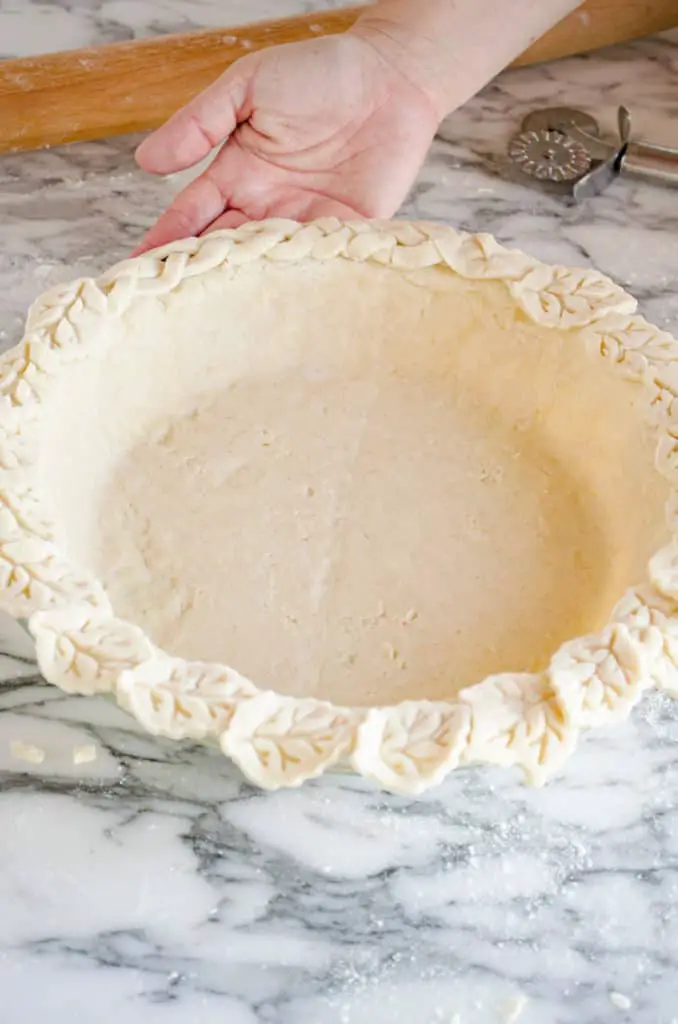
Trim excess dough that’s hanging over the plate, but NOT right up to the edge of the plate. The dough will shrink a bit while baking and I recommend you have about a 1/2 inch of dough hanging out past the edge of the pie plate. Here I’ve used excess dough to create a lovely border by braiding strips and using decorative dough cutters in the shapes of leaves.
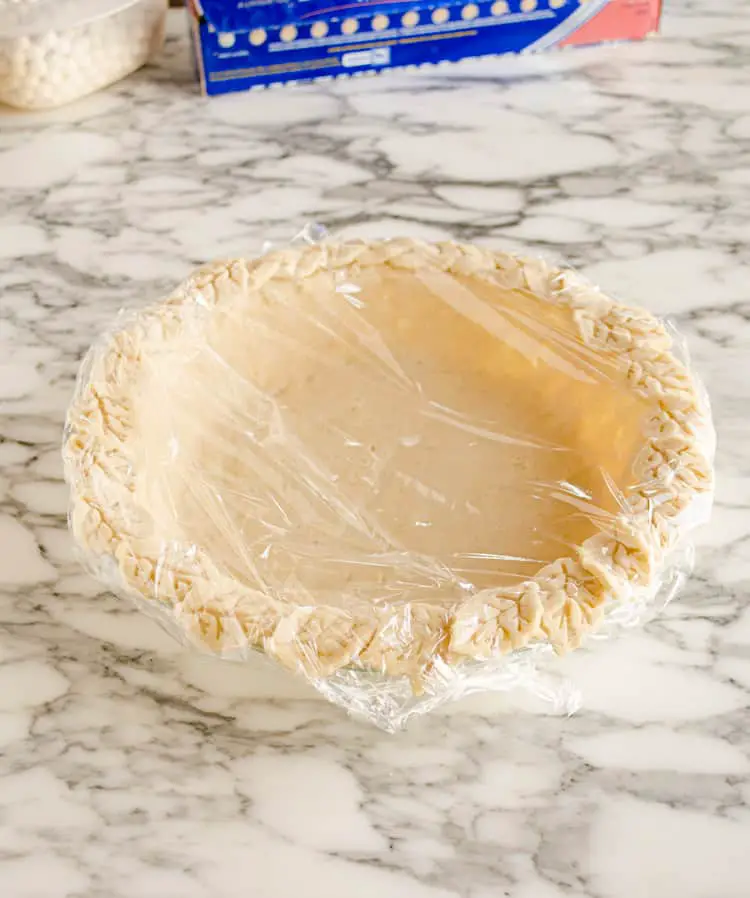
Once you’re happy with the dough, wrap it in plastic wrap and place it in the fridge for 20 minutes, then the freezer for another 20 minutes to chill the dough so it becomes stiff.
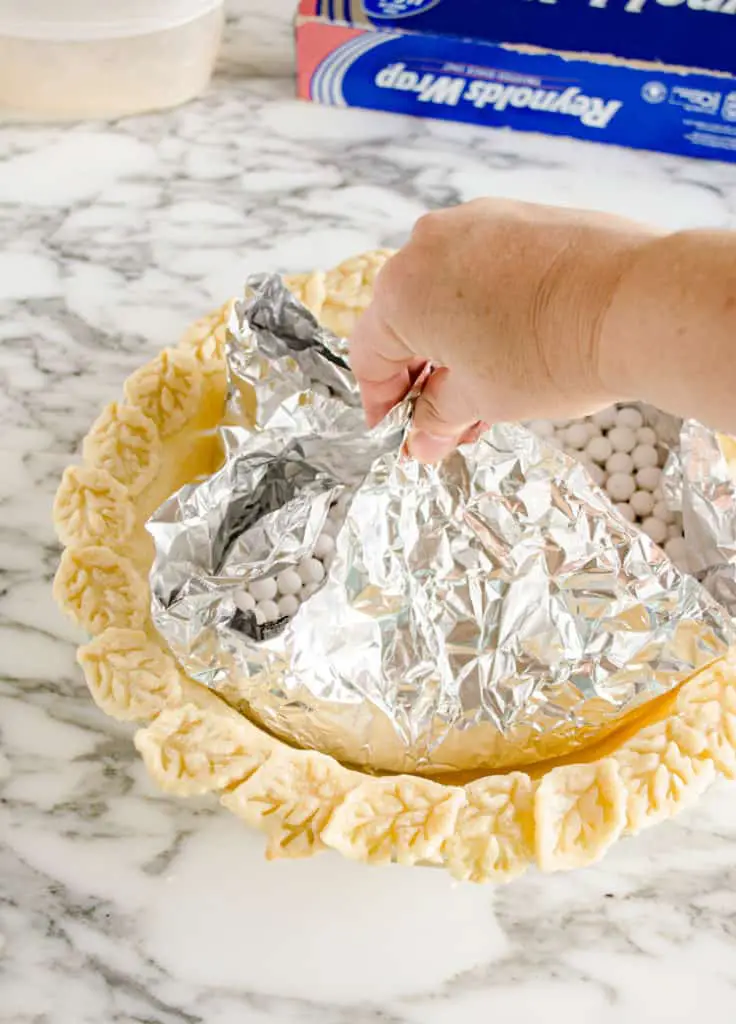
Remove the pie plate from the freezer. Remove the plastic wrap. Set your oven to heat to 375 degrees F. Gently press two layers of aluminum foil (preferably heavy duty) into the pie plate over the dough to completely form fit the bottom of the pie plate again.
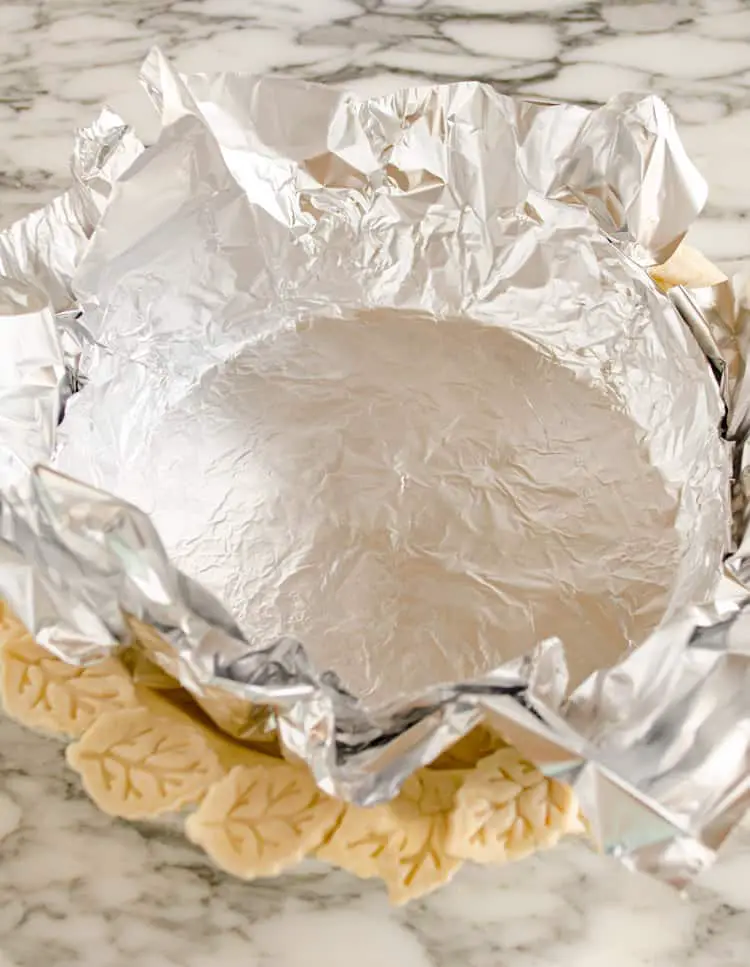
Carefully wrap the foil around the edges of the crust to completely cover it.
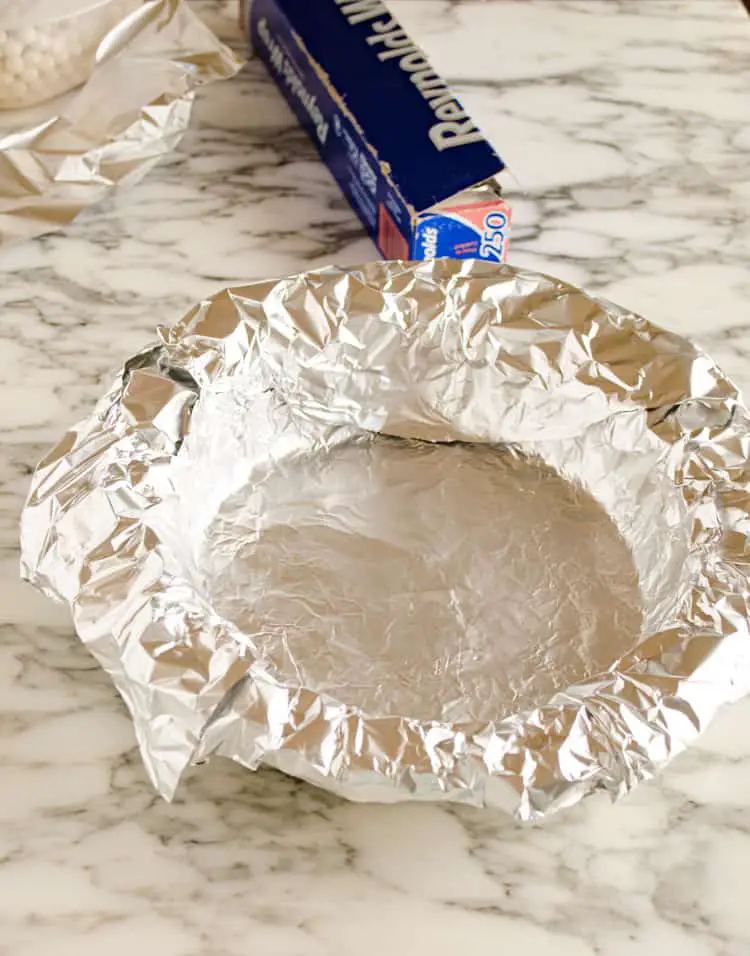
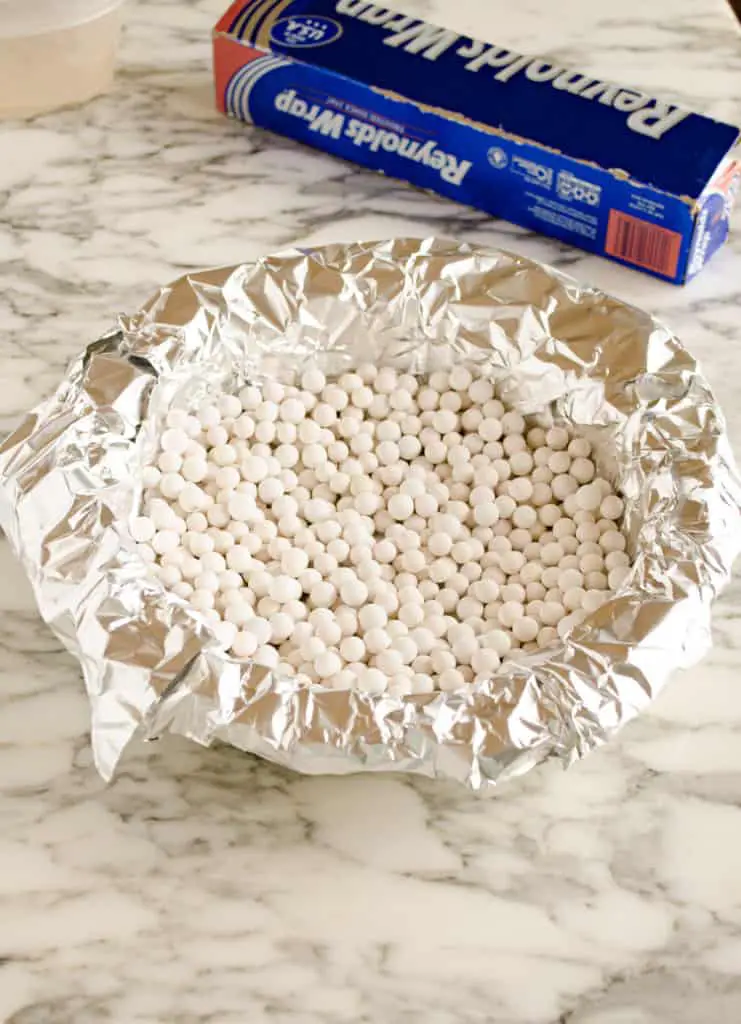
Fill the pie plate with at least two cups of ceramic pie weights (as shown here), or you can fill it up with pennies or dry beans; whatever you use just make sure it’s oven safe, is small, and has a bit of weight. This step is essential to properly prebaking a pie crust. Without the weights, it would shrink and shrivel right up while it bakes in the oven.
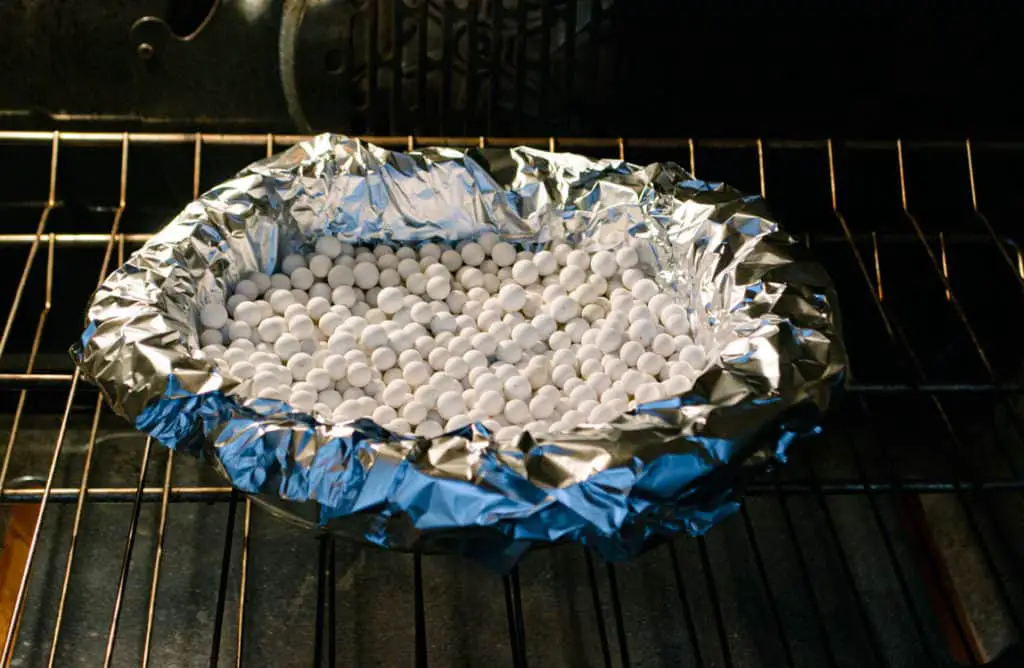
Bake on the lower-middle position in your oven for about 30 minutes.
Remove the pie plate and carefully gather the corners of the foil until you can lift it and the weights out of the pie. If you need a half-baked crust; place it back into the oven to bake for about 5 more minutes uncovered.
If you need a fully baked pie crust; bake for 15 minutes or until the pie crust is golden brown. Sometimes the crust can bake faster and darken too quickly. If you see this is happening, cover just the crust with a ring of aluminum foil and continue to bake until the bottom is properly golden brown.
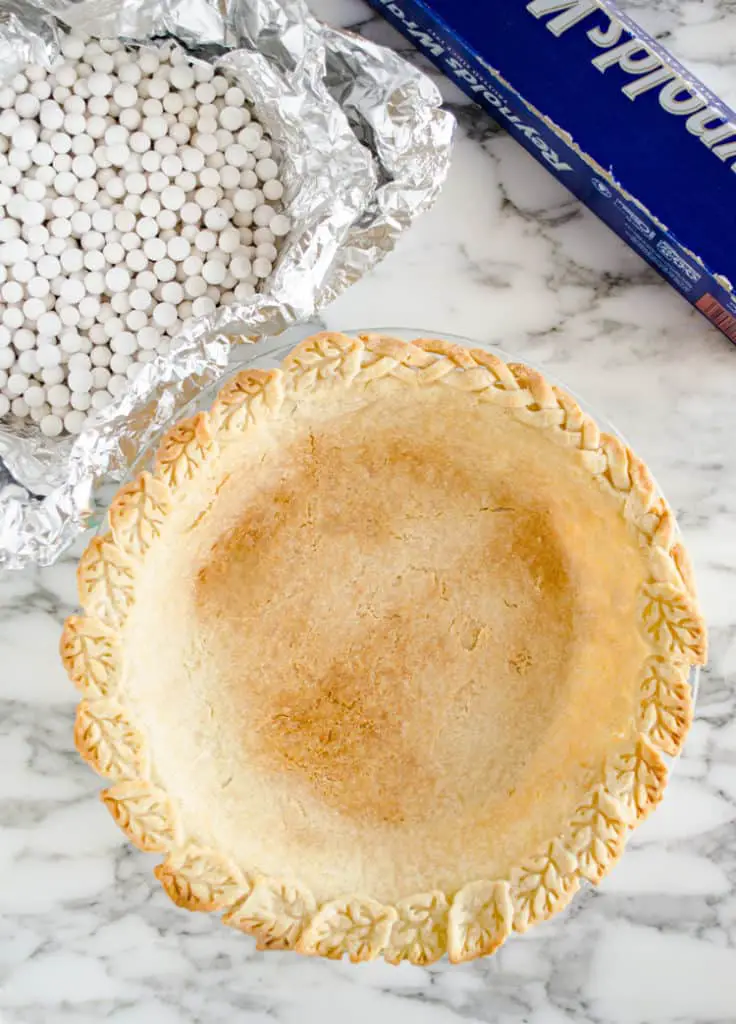
And here it is! A beautifully prebaked pie crust that is ready for a pecan pie filling, or maybe chocolate cream? Or how about green chile apple or strawberry rhubarb?? Whatever pie you fancy, you now know how to prebake a pie crust! Enjoy and happy baking ;0)

That crust looks delicious!
Great writing!! The methods you have shown are really easy and effective. Keep sharing the good stuff. Wish you all the best.