THE Best Potato Bread
THE Best Potato Bread recipe from The Goldilocks Kitchen is easy, versatile, and tastes like a little slice of Heaven.

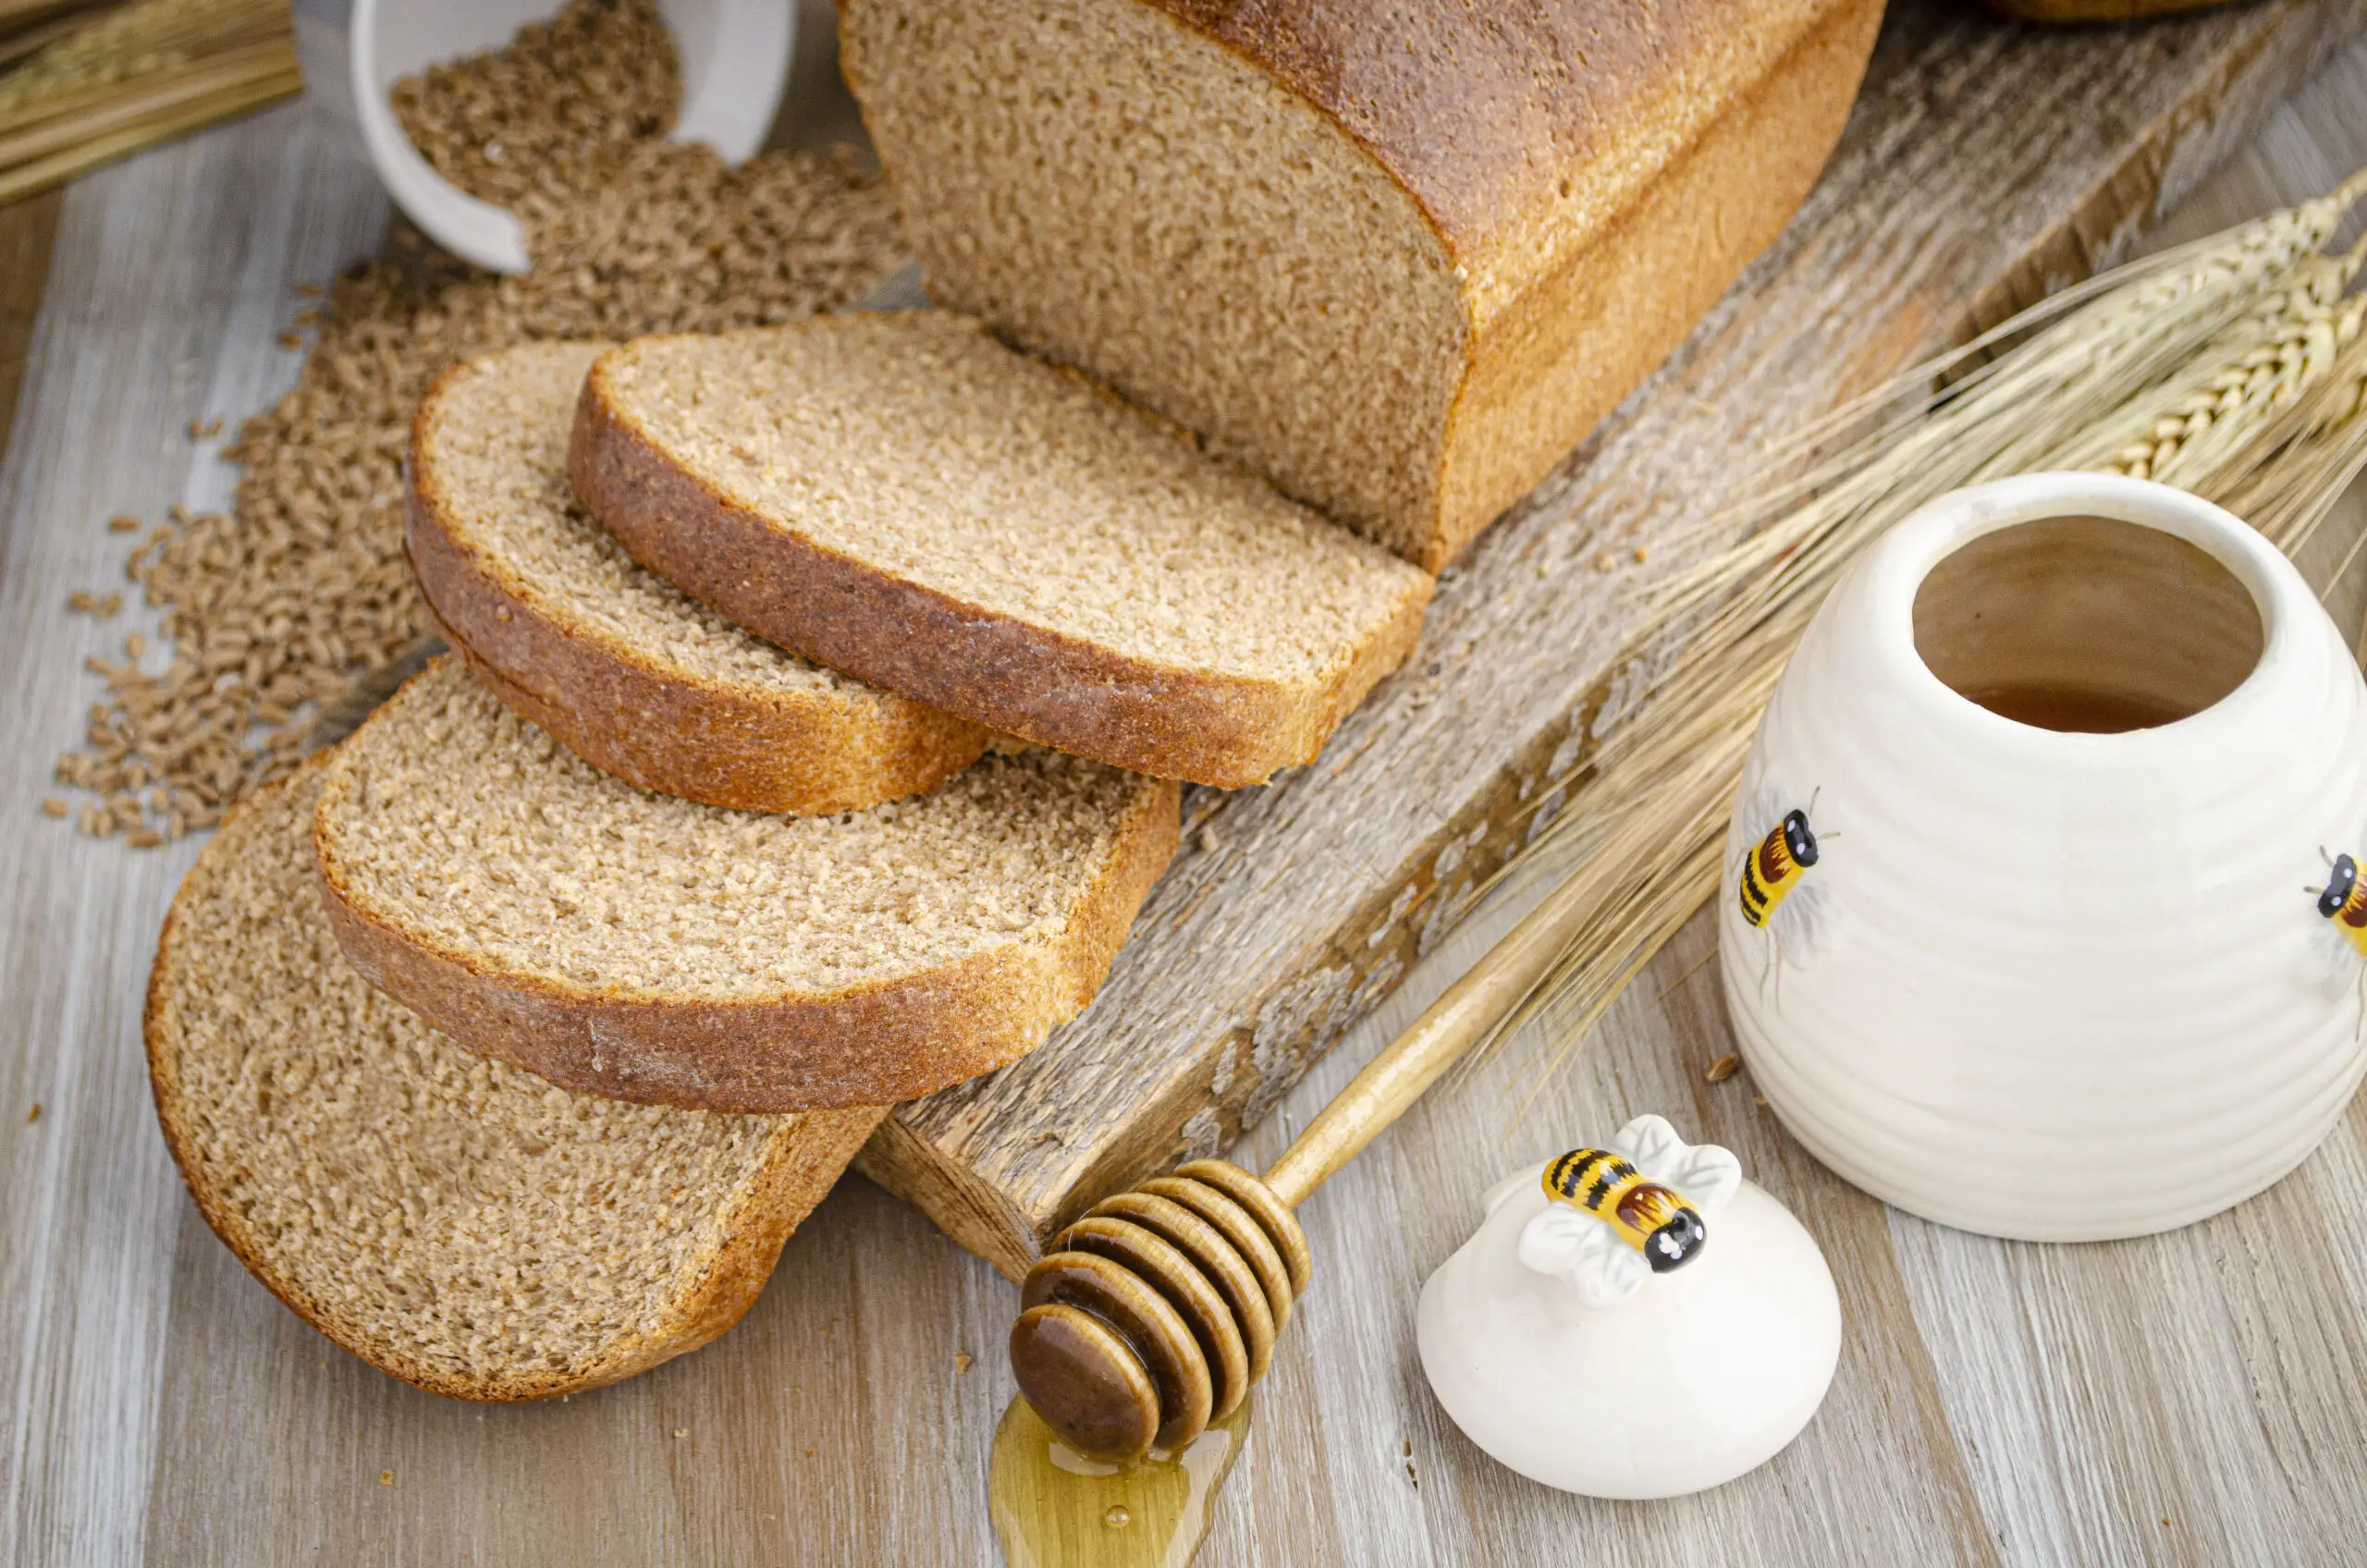
I’ve worked and re-worked this blog post to make this recipe for homemade potato bread the easiest, fastest, and best-tasting bread there is. So light and fluffy! There really is nothing that can beat the delicious taste and aroma of fresh, homemade bread. The Best Potato Bread Recipe can be made into three loaves of bread OR approximately three dozen dinner rolls. You’ll love baking this recipe and sharing it with friends and family. And get some practice in the fine art of baking bread too. So tie on your apron and let’s get started!

Helpful tips when making The Best Potato Bread (or any other homemade bread).
The Best Potato bread is so delicious because the potato itself lends additional moisture to the bread, giving it an extra softness. In this recipe, you can use instant mashed potato or leftover mashed or baked potatoes. (Just don’t use mashed potato with strong flavors in it like bacon or garlic.)
The first thing I would recommend you do is purchase an instant-read food thermometer if you don’t already have one. This tool is really essential to anyone who has a desire to become a good cook. It will seriously save your life! (Plus countless recipes too.)

For this recipe, you will need Instant or Rapid Rise Yeast. It has gone through a process that makes it work three times as fast as traditional yeast, but you must use it properly to get these kinds of results! Rapid rise yeast is to be added to your DRY ingredients first. Then combine the dry ingredients (flour, salt, yeast) with liquids that are between 120°F to 130°F to make your dough. The dough and bowl it’s in should feel warm to the touch. You’ll have delicious bread or dinner rolls in no time if you use the yeast properly. Honestly, I don’t know why anyone would use anything other than this type of yeast for bread unless you enjoy dedicating an entire day of your life to baking a couple of loaves of bread.
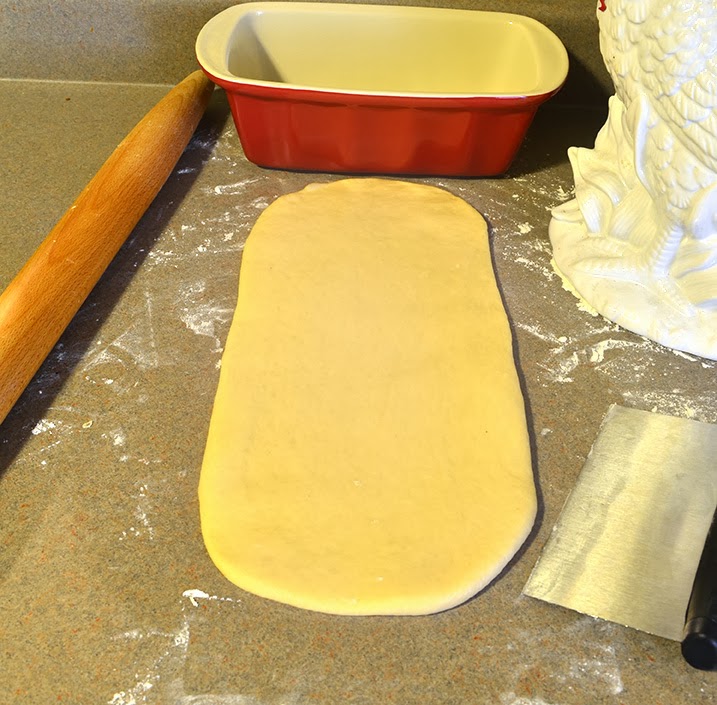
Once your dough is made there’s a technique you’ll need to learn to properly place the dough into the bread pan. Divide the dough into three equally-sized sections by eyeballing it or using a kitchen scale. Then, using your hands and fingers, gently pull and push the dough into a rectangular shape that’s about as wide as your loaf pan. Now roll the dough out so it’s about 1/2 to 1/4 inch thick, doing your best to maintain the width of the rectangle.
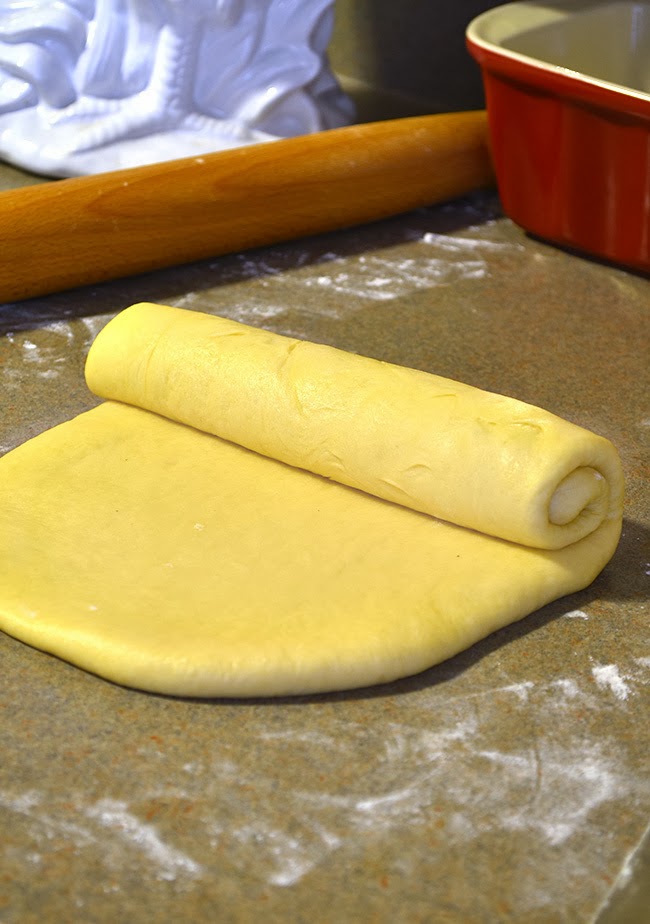
Then gently roll it from one short end to the other, as shown below. Turn the dough up and pinch shut the seams on the bottom and sides. Place the rolled dough seam side down in a greased loaf pan, pressing it gently so the dough touches all sides. Repeat with the remaining portions. I put the loaf pans in a warm oven to rise, loosely covering them with plastic wrap to keep them from drying out. Don’t use a towel. I know that’s the way grandma used to do it, but that’s because grandma didn’t have plastic wrap!


Allow the bread to rise in the oven until the bread dough is an inch above the rim of the loaf pan; at this point remove them and heat your oven to 350° F. Remove the plastic wrap right before you place the bread into the oven to bake. The Best Potato Bread is done when the internal temperature reaches 190° F. Once again our handy instant-read thermometer is a lifesaver. Insert it just above the rim of the loaf pan down towards the center of the bread to take a reading.
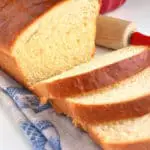
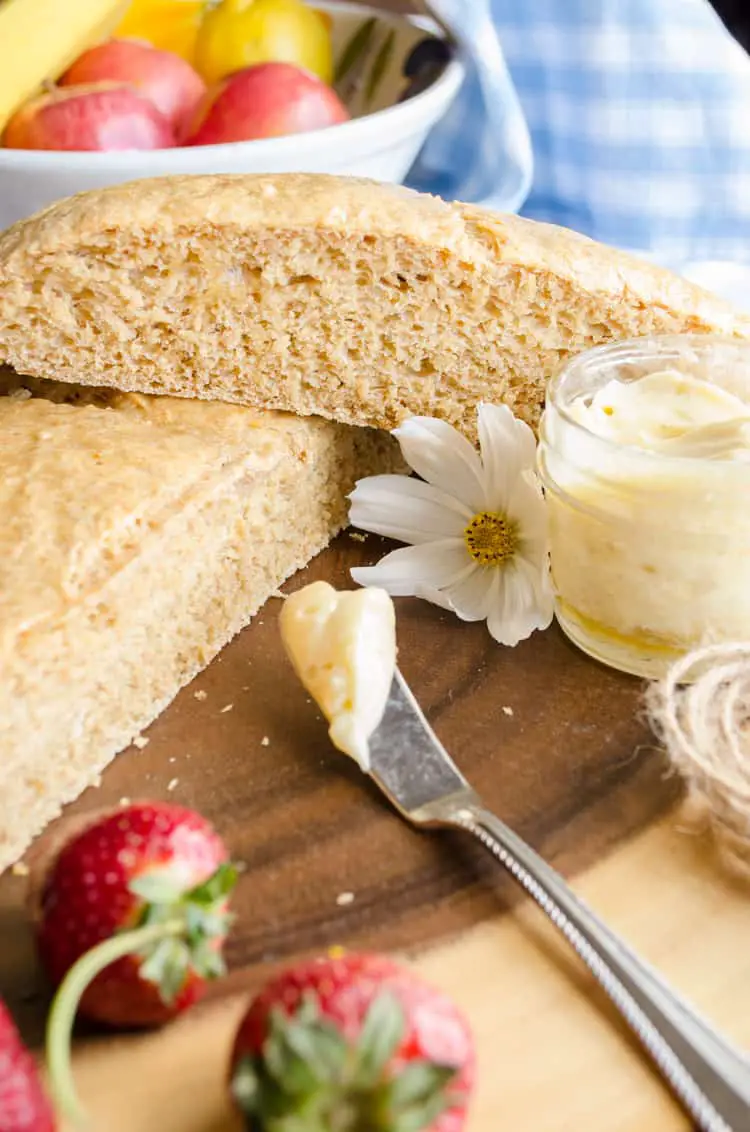
Once done, allow the loaves to cool in the bread pans for 5 minutes before dumping them out onto a cooling rack to cool on their sides. I like to get out my pastry brush and glaze the top of the loaves with melted salted butter while they’re still warm. This makes the crust even softer and will prevent it from drying out. Plus it adds additional flavor to your bread.
The Best Potato Bread Dinner Rolls
After dividing the dough into three equal parts, roll each portion out into a giant circle (like a pizza) one at a time. Slice the dough just like a pizza with a pizza cutter ( I make my slices a little thin to get more rolls). Roll each “slice” of dough from the outside into the middle and place on a non-stick baking sheet, spaced 2 inches apart. When the baking sheet is full, cover loosely with plastic wrap and place in a warm oven to double in size. Remove from the oven; heat oven to 350° F. Remove the plastic wrap and bake two sheets at a time for about 10-15 minutes or until golden brown on top, rotating halfway through baking time to help them bake evenly.
Enjoy this amazing recipe and please take a moment to leave a comment and subscribe to my blog. Thanks!
The Best Potato Bread
- Total Time: 1 hours 30 minutes
- Yield: 2 Loaves 1x
Description
The Best Potato Bread is soft, moist, and 100% delicious! This recipe will not only teach you how easy it is to make bread with rapid-rise yeast, it also teaches you the correct way to use it! (99% of people are using it wrong!)
Ingredients
- 6 1/2 cups bread flour divided; more for dusting work surface
- 1 and 1/2 tsp salt
- 1 and 1/2 Tbsp Rapid Rise/Quick rise active dry yeast
- 1 tablespoon dough enhancer (optional)
- 1 and 1/2 cups prepared instant mashed potatoes
- 3/4 cup softened butter
- 3/4 cup granulated sugar
- 3/4 cup milk
- 3 room temperature eggs, lightly beaten
Instructions
1. Begin by turning your oven to the warm setting (or as low as it will go) and move an oven rack to the center position. Whisk 4 cups of flour with the salt and yeast in a mixing bowl.
2. In a microwave-safe container, stir together the mashed potatoes, butter, sugar, and milk. Microwave the mixture until the butter is melted and the mixture reaches 125-130 degrees Fahrenheit on a food thermometer.
3. Pour the heated potato-milk mixture into the bowl of a stand mixer. With the paddle attachment on medium-low speed, add the flour-yeast mixture and the eggs and mix until fully incorporated. Scrape down the paddle and switch it for the dough hook.
4. Slowly add the remaining flour about 1/4 cup at a time while the machine is running on medium-low, stopping to scrape down the dough hook after a couple of minutes. The dough should knead for about seven to nine minutes total. With the machine off and unplugged, gently press your finger into the dough. If it ‘bounces back’ a bit and doesn’t stick to your finger, it’s done. If it sticks to your finger, add another tablespoon or two of flour and knead until the dough pulls away from the bowl.
5. Remove the mixing bowl from the mixer and pull the dough hook out. Cover the bowl with plastic wrap and leave it for 10 minutes on the counter. This would be a good time to lightly grease/spray your loaf pans. Turn OFF the oven. (You just want residual heat in there for raising the dough.)
6. Dump out the dough onto a clean flourless surface. Knead by hand for a few seconds until it comes together into a nice sort of ‘ball’. With a sharp knife or a bench scraper, divide the dough into three even sections. Cover two pieces with plastic wrap while you roll the third piece of dough into a long rectangle about 1/2 inch thick and 8 inches wide. (It should be about as wide as the loaf pan you plan to bake it in.) Carefully roll the dough from one short end to the other and pinch the seams and ends together. Place the dough, seam side down, in a lightly greased bread pan. Gently press the dough down enough that it touches the sides of the pan. Cover very lightly with plastic wrap. Repeat the process for the other loaf and place pans in the warm oven to rise 35-45 minutes.
7. Gently remove the loaf pans from the oven when they have risen about 1 inch above the rim and place them somewhere draft-free. Heat your oven to 350 degrees Farenheight. Remove the plastic wrap and bake the loaves on the middle rack for about 35 minutes, or until internal temp reaches 190 degrees. Remove loaves and let them cool in the bread pans for about 5 minutes, then gently dump out onto a wire rack (optional: glaze the crust with melted butter). Dump the loaves out onto their sides to cool for approximately 1 hour. Slice and serve, or wrap tightly with plastic wrap and additionally in tin foil to store in the freezer.
Notes
For The Best Potato Bread rolls: (Makes approximately 45 rolls)
Follow the recipe through step 5. Shape each section into a ball and cover three sections with plastic wrap. Roll one section into a large “pizza” round about 1/8 inch thick.
Using a pizza cutter, slice the dough like a pizza, creating about eight to ten wedge shapes. Roll each wedge from the outside to the center and place individual rolls on a baking sheet lined with non-stick parchment or silicone. Leave at least two inches between rolls for expansion. Repeat with the other dough balls until baking sheet(s) are full of rolls.
Loosely cover with plastic wrap and place in a warmed oven to double in size, about 30 minutes. Remove rolls from oven and set heat to 350 degrees F. Bake rolls for approximately 15 minutes, or until they become slightly golden brown on top. Remove and brush with melted salted butter.
- Prep Time: 40 minutes
- Cook Time: 50 minutes
- Category: Side
- Cuisine: American


Great recipe! For some reason, I'm having trouble with the second rise. Everything goes as our should up until that point. Any suggestions would be greatly appreciated! !
Thanks so much for your question, I really want to help you figure this out! Is the dough rising properly in the first rise-aka doubling in size in an hour or less? I use 'rapid rise' yeast and I did notice in the post I failed to mention that. I'll make sure to fix that! If you are using regular yeast, the rise times will be nearly double what's listed above. But everything else in the recipe will be the same. Also make sure you handle the dough gently when punching it down and rolling it out. I always put my bread back in the warm oven to rise again once it's in the pan. I hope this helps, please let me know!
Hi Emily. Thanks for sharing. What did you use for the glaze?
Loaay
I used melted butter for the glaze :0)
Hi Emily! I have a yeast here at home but its not rapid yeast. does it matter?
and also.. I have no thermometer at home is there a way I would know when milk reaches 110 deg? pls. advise. thanks
Hi Ruth! Yes the type of yeast you use will effect the rising time of your dough. If it's not rapid rise yeast the amount of rising time will be about double what is listed in this recipe. It will still work~ you'll just have to be patient and make sure you schedule the time you'll need to make the recipe.
As for the milk, you want it to feel warm but not hot~ if you can stick your finger in it and not get burnt or feel any discomfort than you should be fine :0) Hope that helps!
I think I missed something, I didnt see dough enhancer listed in the ingredients but then when reading the directions it lists it, so how much enhancer is required and do you have to use it? Thank you for sharing the recipe!
You are absolutely right! I forgot to talk about that in my post, my bad! I will make sure to correct that asap. I like using it in all my breads, but it is definitely NOT a necessity. Your bread should be fine without it. I do find that it gives a bit of extra lift, creating more fluffy breads. Thank you so much for pointing that out to me. You are awesome! Good luck with the bread :0)
What size pans did you use?
Hi Joi! Sorry for not getting back with you sooner, somehow your comment slipped through the cracks and I didn’t see it! I bought my loaf pans at my local grocery store. They’re 9 inch by 5 inch stoneware loaf pans made by Good Cook. I love them, they work great :0)
I’ve made bread before a few times, but I’ve never put potatoes in it. My bread doesn’t usually turn out this pretty either. Maybe I’ll have to try your trick of rolling the dough before I put it in the pan. This reminds me that we are almost out of bread at our place and I won’t have time to make it until the weekend. A bakery will work until I have time to try this fun looking recipe.
Thanks Anna, I bet you’ll love it :0)
I made this bread today. It turned out perfectly. I did not use bread enhancer and did not have a thermometer. I did not have rapid rise yeast. I did not roll out the dough, but rather patted it down into a rectangle. After the suggested rising time of 45 minutes, my dough had not risen enough. I turned the oven back on warm for 2 minutes and then turned the oven off. I let the dough sit for a few more minutes. That did the trick. This is the most beautiful bread I have ever made and it taste good too. I wonder if sweet potatoes could be substituted for mashed potatoes?
Sherry you’re amazing! Thanks so much for letting me know about your experience with this recipe. So glad to hear that even with some variations in the recipe it still turned out great. I’m so glad you love it, it’s like a staple at my house. I slather a warm slice with some peach jam that I canned last summer. The sweet potato idea sounds really great, I will have to experiment with that one! Thanks again :0)
Emily, have you used this recipe to make rolls instead of loaves? I’m going to make them for Thanksgiving. Wish me luck, I’m a hit or miss when it comes to making bread! o.O
Tracy I think that would be great! Maybe I’ll try that too…just roll them into balls and place in a greased 13X9 dish. Let them rise once and bake them up. I’d bake them at 350 and watch them close~ I’m not sure how long it would take them to bake. Maybe 10-15 minutes??? Let me know and I’ll write a little addendum to the post about it!
Awesome suggestion, thanks tons!
I was wondering what brand of dough enhancer that you use? I have baked my own homemade bread for years and I’ve never used it. I am curious to see the difference it makes.
Hi Anna!
I usually use ‘Grandma’s’ dough enhancer in my potato bread recipe. I think it does make a difference in the rise, although it is small. You definitely can make this bread recipe without it and it should turn out just fine :0)
Hi Emily:
Thank you for the potato bread recipe. But, I have not been able to print it.
Please help.
Thank you,
Frances
Hi Frances! I have just updated the recipe into a new format. It should work for you now, sorry about the inconvenience :0(.
Seems like a fantastic recipe. I’ve got a recipe that I need to locate and talk about for a challah bread I’ve made.
The measures of enabling the dough rise are very similar to this recipe.
What do you do with the eggs?
Hi Naomi! My deepest apologies, I streamlined this recipe recently and I left out that key part! The Recipe is now corrected to instruct the baker to add the lightly beaten eggs along with the flour-yeast mixture in step 3.