Trader Joe’s Copycat Harvest Whole Wheat Bread
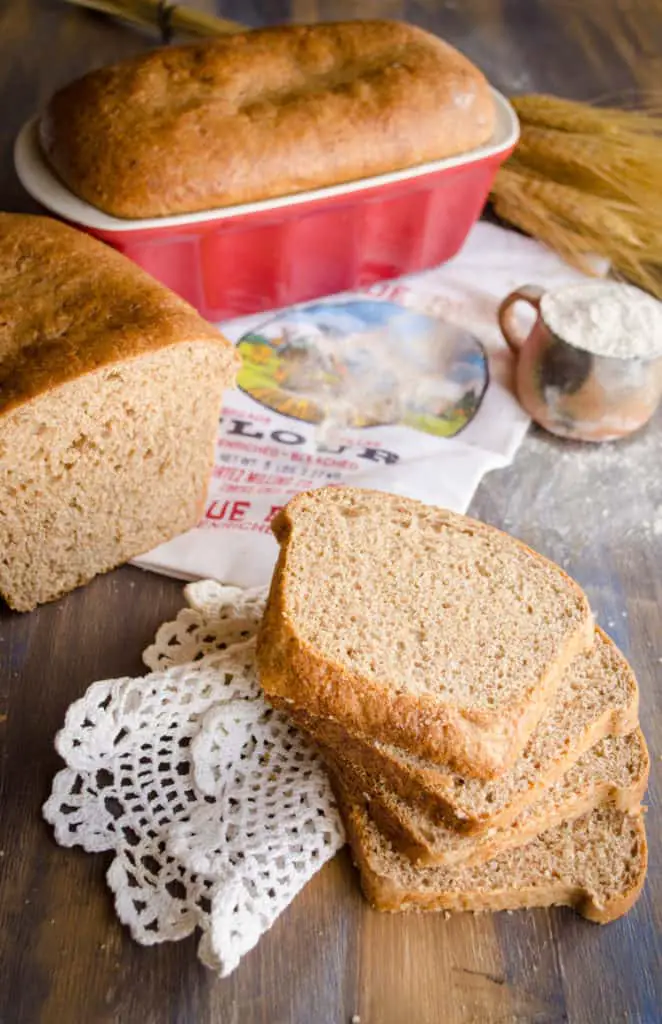
Our Favorite Store Bought Whole Wheat Bread~Gone!
Recently, in some states, Trader Joe’s grocery stores had to pull their Harvest Whole Wheat Bread from its shelves indefinitely because of a manufacturing error. This may be nothing but a blip on your ‘news radar’, but my family and I loved this bread, and we often stocked up on several loaves when we shopped there (and funny looks when stripping the shelves bare of wheat bread haha). What was our family to do without our favorite wheat bread?! Make it ourselves of course :0) So I set out to recreate a Trader Joe’s Copycat Harvest Whole Wheat Bread recipe!
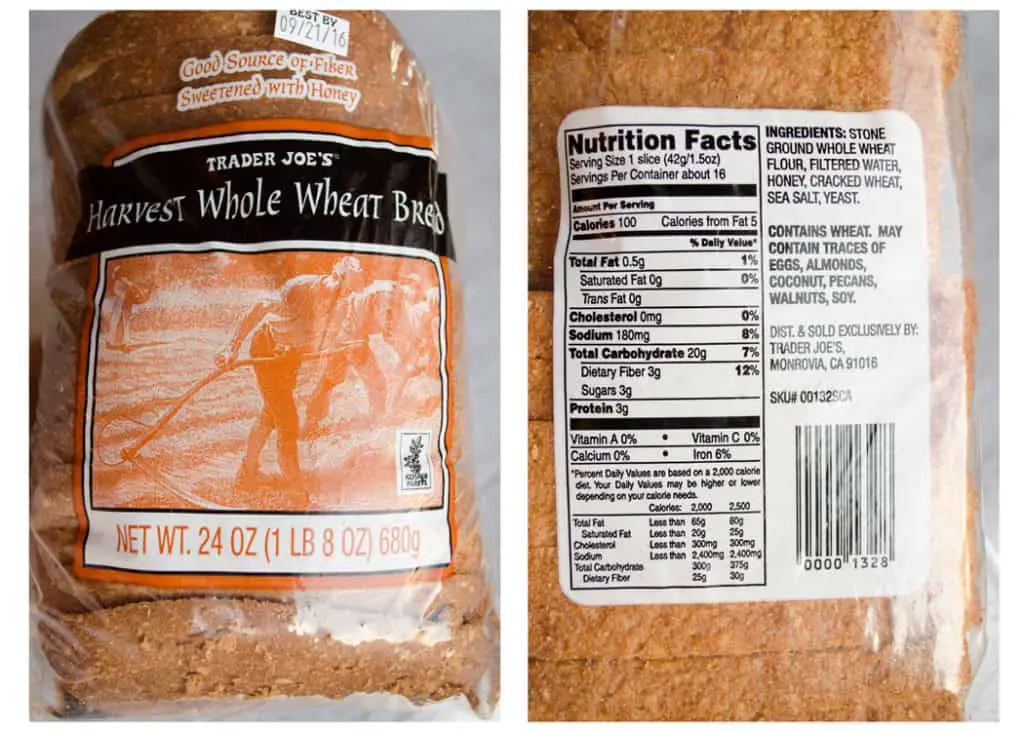
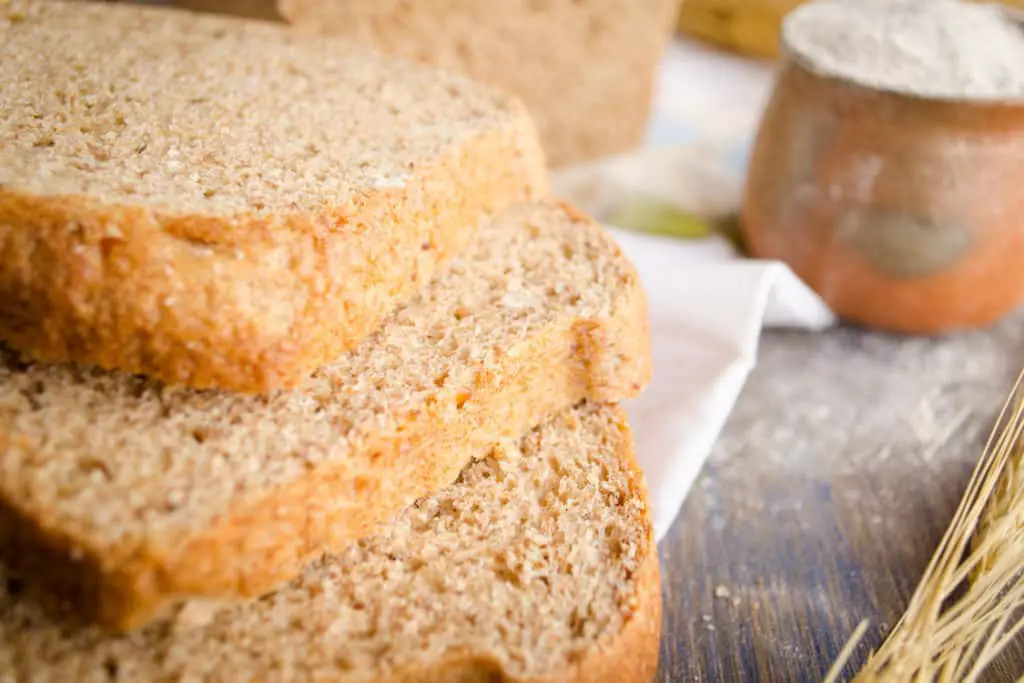 This particular wheat bread had a delicious wholesome nutty flavor that was even better toasted. Studying the ingredient list, I learned the original recipe (shown above) was replaced in the fall of 2016 with the one that was eventually pulled from the shelves that included additional ingredients like oat fiber, inulin (chicory root), guar gum, honey, sea salt, and cultured whey (milk) among other things. So there were two versions of this bread that were quite different, yet we hadn’t noticed much of a change in taste! With my final copycat recipe, I have combined some elements from both recipes for superior flavor and texture and wholesome goodness.
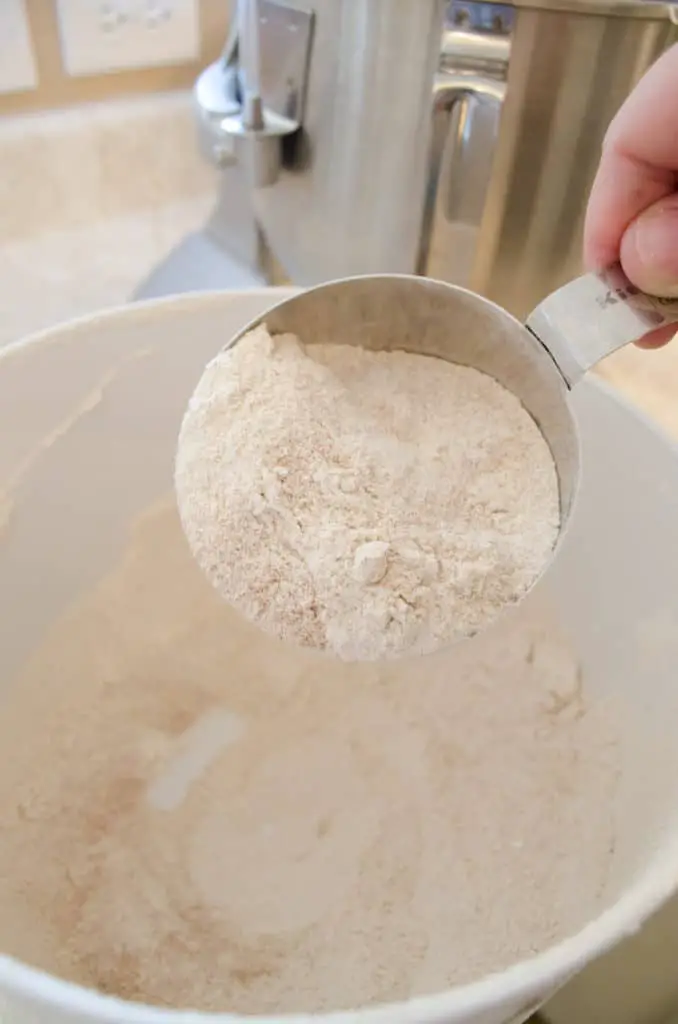
Start With Fresh Ground Whole Wheat Flour if Possible.
I am the proud owner of an electric grain mill (Wonder Mill~ so awesome!) and I use it to grind whole wheat berries (kernels) for this bread recipe. Fresh ground flour is THE BEST! Now, before you roll your eyes at me thinking, ‘No way am I going to invest in a grain mill just for this bread recipe!” there are alternatives people; read on!
High end blenders such as Vitamix, Blendtec and even Nutribullet can grind wheat berries into fresh flour suitable for baking at home. Using any other type of blender however, is not recommended (not enough power in the motor). Do you have a coffee grinder? This will work too if you run the wheat berries through twice, then run the resulting coarse flour in a food processor for about a minute (more detailed instruction here). Your last option is to purchase stone ground whole wheat flour from the store. Keep in mind that whatever method you choose, you’ll need about 5 cups of wheat berries or about 8 cups of whole wheat flour. If you purchase your whole wheat flour from the store, alter my recipe below by using 6 1/2 to 7 cups of flour instead of the recommended 7 1/2 cups. This recipe is written to produce two large loaves.
The Recipe.
Both recipes for this bread contained bulgur wheat, an important ingredient. You’ll need to cook it on the stovetop and then process in a food processor for about 5 pulses. I cook up 3 cups of bulgur at a time and store it in the fridge so it’s ready to use when it’s time to make bread. You’ll need 1/2 cup of this prepared and processed bulgur for this recipe.
*One other important note I need to make before diving into the particulars of this recipe~ I always ALWAYS use rapid rise/instant yeast. Why drive a horse and buggy when you could drive a car or truck??? Modern science has graced us with instant yeast, which is much faster and easier to use than traditional yeast. Rapid rise yeast has been specially treated to work quickly in hot temperatures that would normally kill regular yeast. And you can skip the first rise too; I love rapid rise yeast!
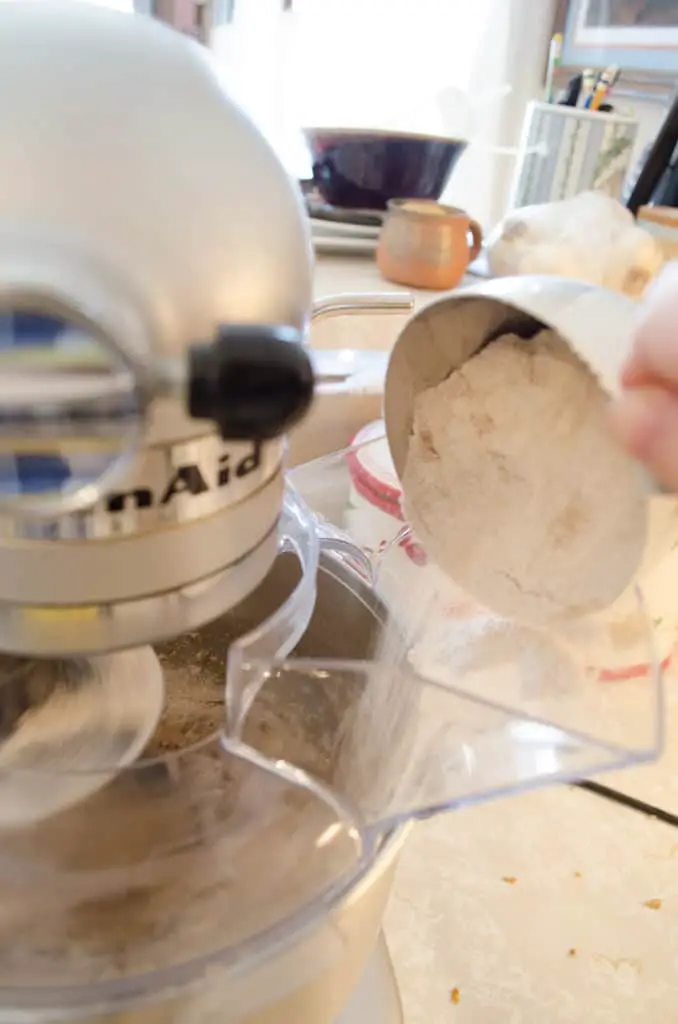
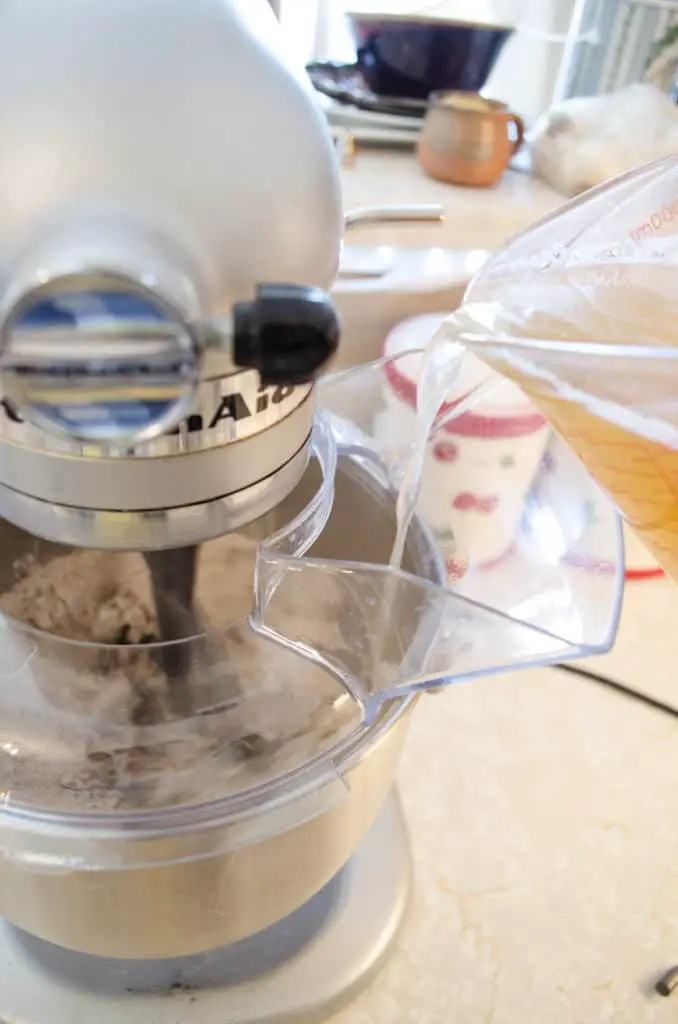
Begin by setting your oven to its’ warm setting or as low a temp as it will go. Raising this dough in a warm oven will help it to rise fast. Whisk together the water, honey and sugar in a large microwave safe bowl (I like to use my 4 cup Pyrex measuring cup) to ensure even heating. Heat in the microwave until you reach a temp between 120 and 130 degrees (about 2 minutes on high). While the liquids are heating up, I’ll place 4 cups of flour, yeast and all the rest of the dry ingredients except the cooked bulgur, into the bowl of my stand mixer. Hand whisk the dry ingredients together, and then with the paddle attachment and mixer running on low, slowly pour in the hot liquids. Now, add in the bulgur.
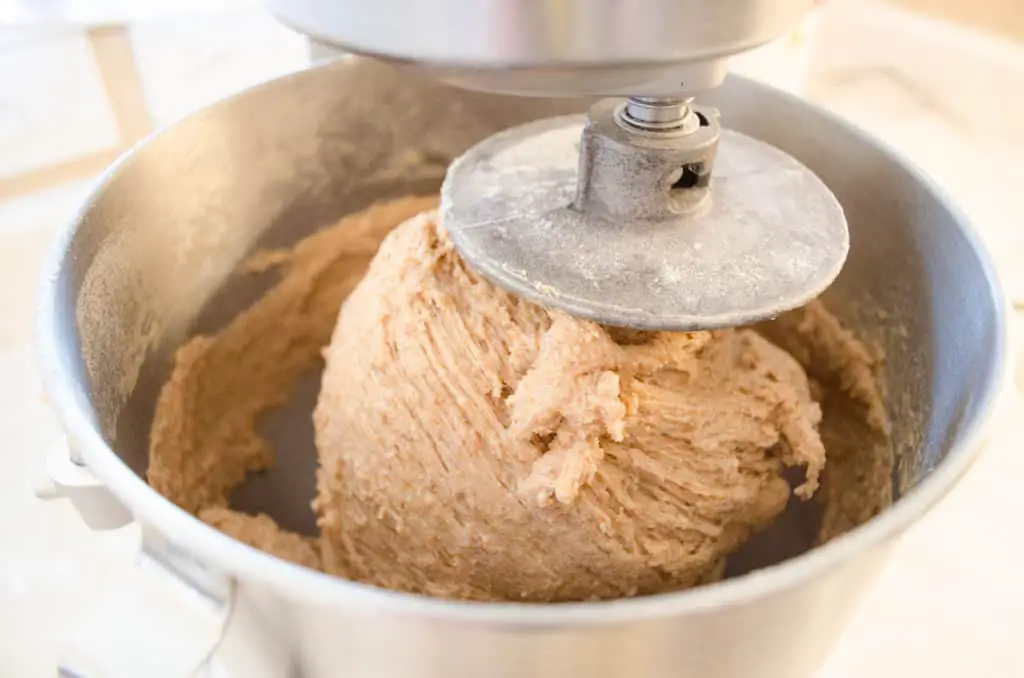
You’ll have bread soup at this point; totally okay. This is where I switch out my paddle attachment for the dough hook and slowly add in the rest of the flour until I get the right consistency to the dough. To help ensure that the dough is kneaded long enough, (to build up the right amount of gluten) I will set my timer to 9 minutes and begin to slowly add flour, about 1/2 cup a minute. I try to have a total of 3 cups of flour added in by the 5 minute mark. Scrape down the dough hook, then let the machine continue to knead the dough, turning the speed up a notch. The formation of the gluten should help to pull the dough together without having to add too much more flour. This will help your bread to be moist and light. It’s ready when you can gently press your finger into the dough and pull it out with minimal sticking. The impression should bounce back at you and start to disappear.
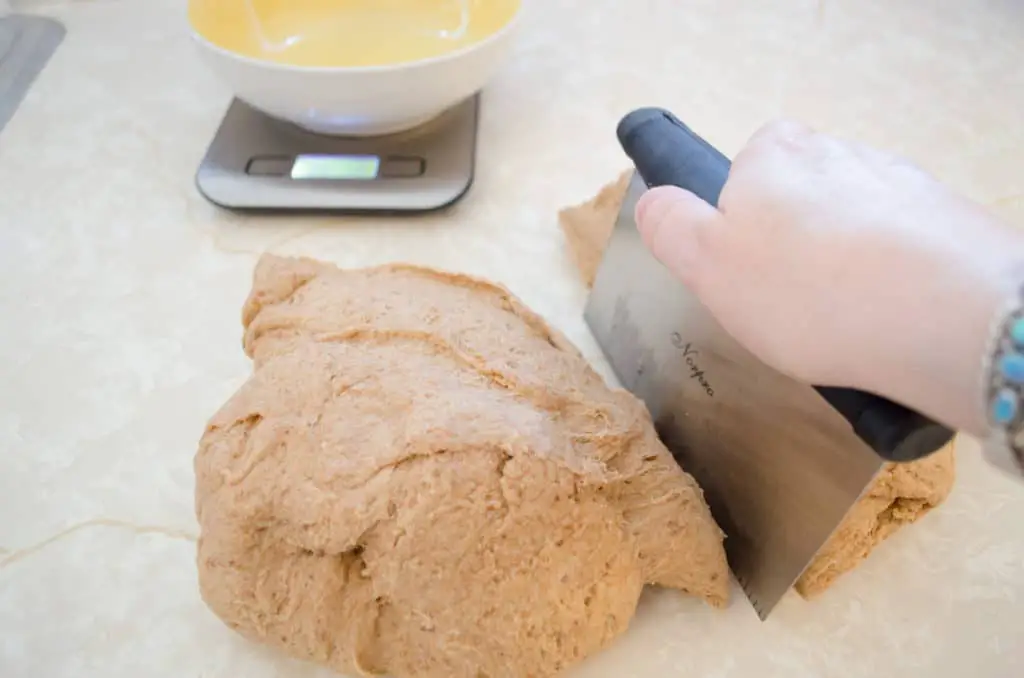
Pull the dough hook out and cover the bowl tightly with plastic wrap. Turn your oven off (we want to raise this dough with the residual heat of the oven). Let the dough rest for 10 minutes. Remove the dough and place on a clean dry surface. You shouldn’t need to flour~ but if the dough is super sticky hand knead a bit more flour into it and let it rest again. Divide the dough in half (you can eyeball it~ I like get technical with my scale) and cover one piece with plastic wrap as you work with the other.
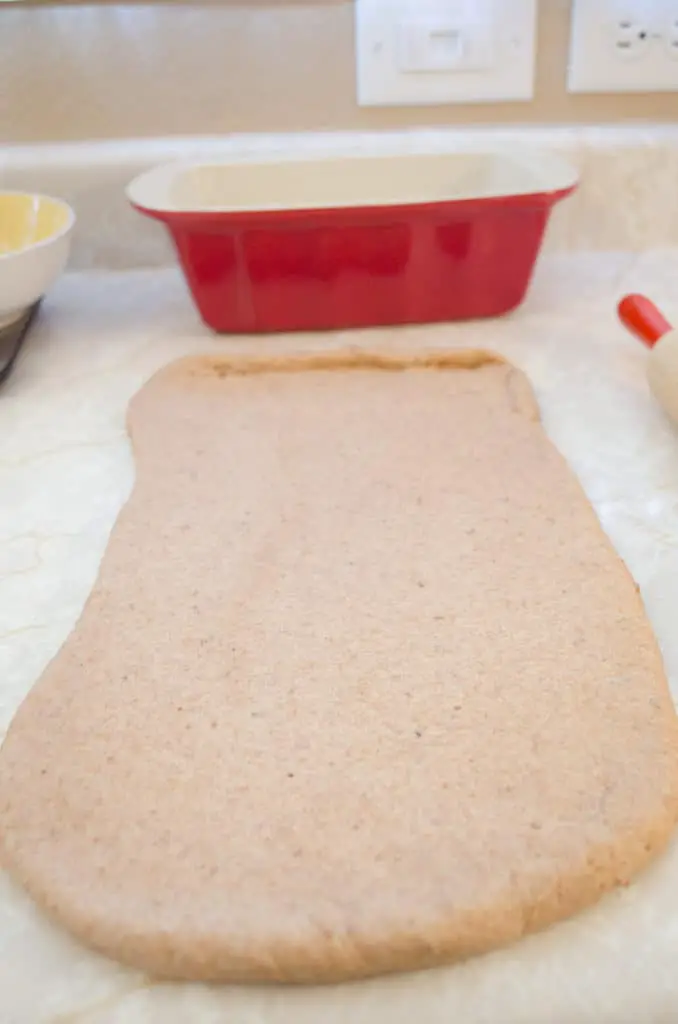
With your hands and a rolling pin, roll the dough out into a long rectangular shape that is about as wide as your bread pan. ( I use my hands to stretch the dough into rounded corners and the rolling pin does the rest.) I usually roll mine out to a length of 14-16 inches.
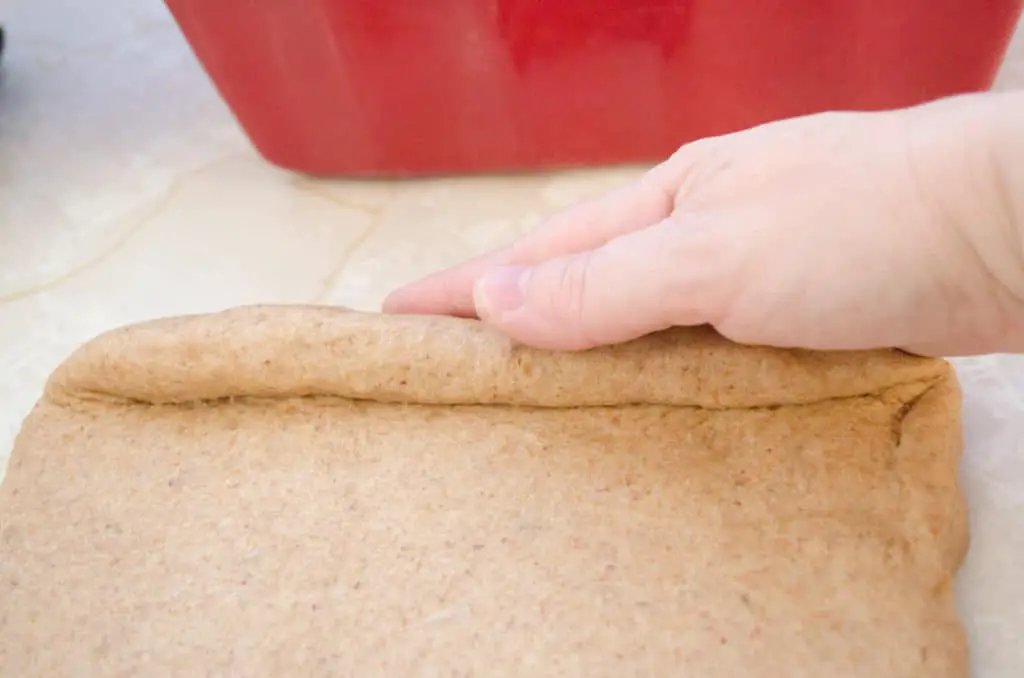
Roll the dough tightly from the far end towards you. (Short end to short end.) When you reach the end, pinch together the seams and the ends, as shown below.
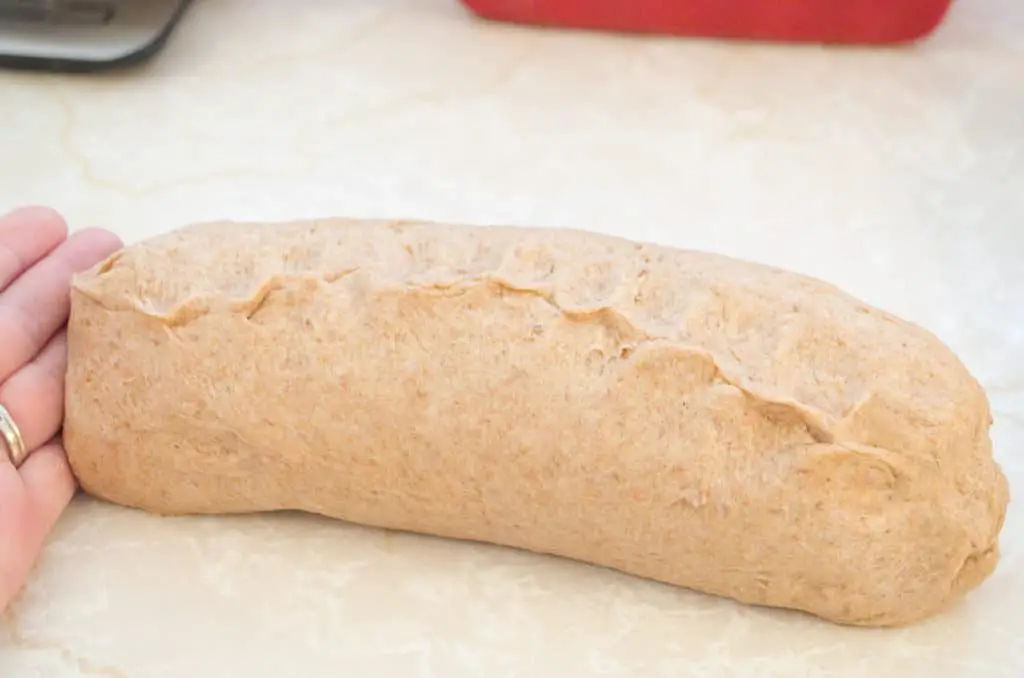
Place the dough seam side down in a sprayed bread pan. Then cover it loosely with a piece of sprayed plastic wrap (sprayed side down of course), and place it in the warm oven to rise. Repeat with the other half of the dough. I use 9″ X 5″ Stoneware pans by Good Cook. Check the rising dough often! I check mine after 20 minutes, and keep an eye on it so it doesn’t rise too much. If the dough rises too much, you’ll get some sagging in the middle when it bakes. You’ll be amazed at how quickly this dough rises!
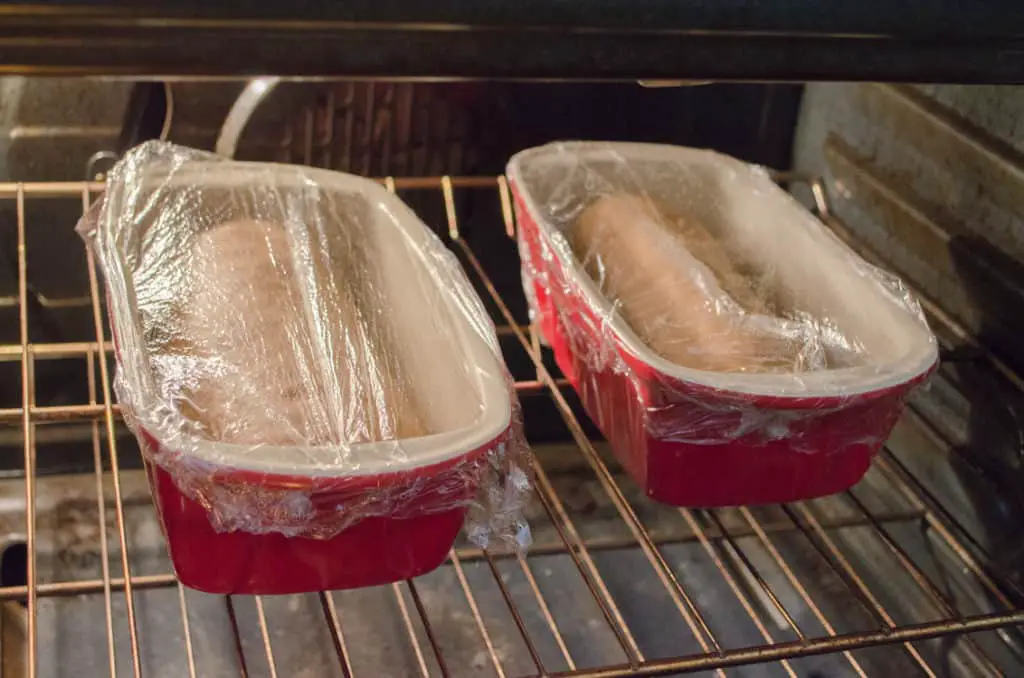
When the center of the dough has risen 1″ above the rim of the bread pan, remove from the oven. Turn on the oven and heat to 350 degrees F, then gently remove the plastic wrap and place the bread into the oven. Bake for 30 minutes, then remove and gently dump out on a cooling rack.
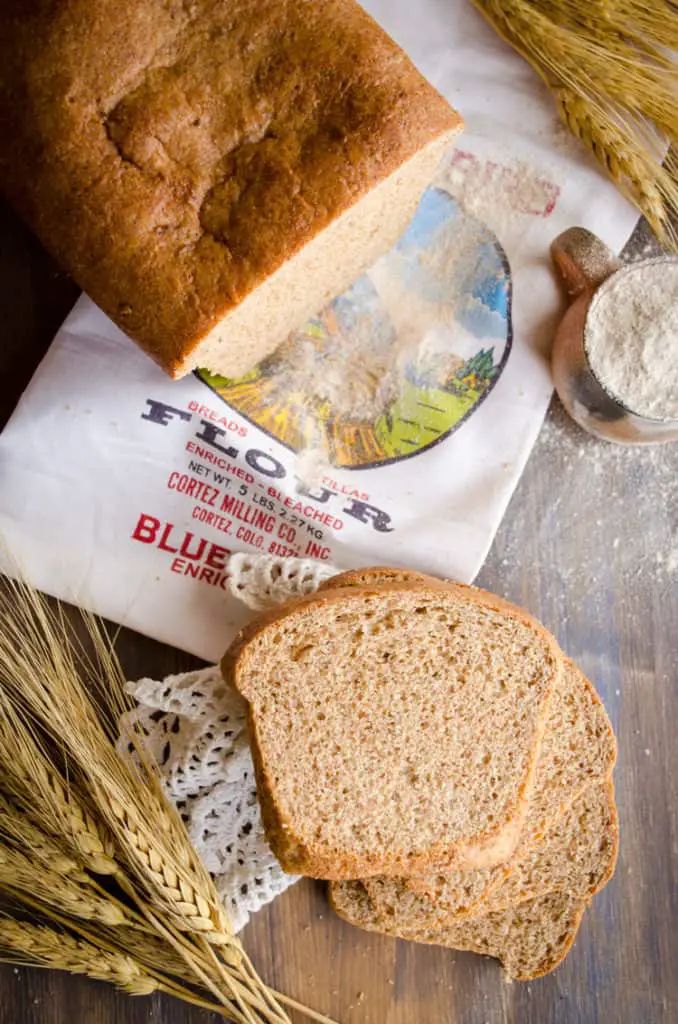
You must practice patience when waiting for these loaves to cool :0) Cut them too soon and you’ll have doughy slices of bread. Let them cool for at least 45 minutes before cutting. You may ‘glaze’ the loaves with melted butter to soften the crust if you wish when they are cool enough to handle. If you skip the butter glaze, these loaves are 100% dairy free. Either way, they’re 100% good for you! I’d love to hear your feedback in the comments below. Happy baking :0)
Print
Trader Joe’s Copycat Harvest Wheat Bread
- Total Time: 1 hour 50 minutes
Description
Amazingly wholesome, healthy and delicious bread baked fresh at home. This recipe is written for an altitude of 5500 feet~ If baking at sea level increase the yeast by 1/2 tablespoon.
Ingredients
- 7 cups sifted whole wheat flour (or 4 and 1/2 cups of wheat berries freshly ground)
- 1 Tablespoon salt
- 2 and 1/2 Tablespoons Rapid Rise (instant) yeast
- 2 Tablespoons Vital Wheat Gluten
- 1/3 cup toasted wheat germ
- 2 Tablespoons ground flaxseed
- 2 Tablespoons Rye flour (optional)
- 1/2 cup Bulgur wheat prepared (cooked)
- 3 Tablespoons good quality olive oil
- 2 and 1/4 cups water
- 2/3 cup honey
- 1/4 cup granulated sugar
- 1/4 cup melted butter (optional)
Instructions
- Set your oven rack to the middle position and heat your oven to the lowest setting it will go, or place it on ‘warm’ setting. Spray two 9 X 5 bread pans with nonstick spray and set aside.
- In the bowl of a stand mixer, add 4 cups of whole wheat flour, the yeast, salt, vital wheat gluten, ground flax, rye flour and toasted wheat germ. Whisk thoroughly to combine. Set the bowl beneath the mixer and attach the paddle.
- In a microwave safe dish, whisk together the water, honey and sugar. Microwave the liquid mixture for about 2 minutes on high until the mixture reaches a uniform temperature of around 125 degrees, but no more than 130 degrees (whisk it again right before measuring the temp).
- With the mixer running on low speed, slowly pour the hot liquid into the flour mixture. Add in the olive oil and the prepared bulgur wheat and continue to mix until thoroughly combined, about 10 seconds.
- Switch out the paddle attachment for the dough hook. Set a timer for 9 minutes and slowly add 2 and 1/2 more cups of flour, 1/2 cup at a time with the mixer running on low speed. When the timer reaches about the 5 minute mark, stop the mixer and scrape down the dough hook and sides of the bowl. Return the mixer to low and let the machine continue to knead the dough without adding any more flour until the 8 minute mark. If by eight minutes the dough is still sticking to the sides of the bowl, add in 1/4 to 1/2 cup more flour and knead just until no more white streaks remain.
- Remove the dough hook and cover the bowl (with the dough still in it) with plastic wrap and leave it alone for 10 minutes.
- Turn off your oven and empty the bread dough onto a clean surface. Divide in half. Roll out to a rectangle approximately 16X8 in size and 1/4 inch thick. Roll one short end to the other short end. Crimp the edge and the ends together and place in the bread pans seam side down. Cover loosely with plastic wrap that has been sprayed with non-stick spray (spray side down) and set in the warm oven to rise for 30 to 45 minutes or until the dough has risen 1 inch above the rim.
- Remove the pans from the oven and preheat the oven to 350 degrees. Bake the bread for 30 minutes, rotating halfway through. Gently dump out the loaves and set on a wire rack to cool. If you like softer crust, brush melted butter on the top and sides of the loaves. Let cool for at least 45 mins before cutting slices to serve.
Notes
*See post for important instructions on preparing bulgur for this recipe.
- Prep Time: 1 hour 20 minutes
- Cook Time: 30 minutes





The title intrigued me. Anyway, this is a really amazing article. Thanks for sharing!